Promo videos have become very popular with the advent of online streaming as a way for businesses to get across a message. One of the more popular video presentations within the promo video world are called explainer videos. Explainer videos often rely heavily on some form of animation.They hold the viewers attention and clearly convey a message. These types of videos are all over the internet and TV commercials, but you rarely see them used in the taxidermy world. We decided to change that ! The first explainer video we built was for our online video education web site, Taxidermy Insider®. These types of videos would work well for any type of business and I see many application for these within the taxidermy industry .
You can hire a company to make one of these videos for you, make them yourself, or do a combination of both. I chose to do a combo with this first video. I had two other people and myself working on it. I had a very talented artist make the animations for me, and a professional do the voice over work. I did the final editing, video production work and got it prepared for the web. It should be noted that I have my own video production equipment and video editing software. It is not necessary to invest in this to make a great explainer video, but I found it was easier for me to get the look I wanted dong some of the production work myself.
Step 1. Write a script for your video
The script is the voice behind the video. It is what everything is built around , including the animation. Most explainer videos are around 1 to 2 minutes and feature a simple and direct message. Use clear terms that explain your business to the customer. Remember the animation will also be telling a story at the same time, so it is not necessary to go into great detail with the voice over. You always want to build a video around the voice work, so laying down the voice over is your first step. You can do this yourself with a good mic. I have done that on a number of my videos, but I have found that hiring a pro is easier! You can find many voice over professionals on Fiverr who will lay down an explanier video track for around $ 25.00.
Step 2. Choose an animation type
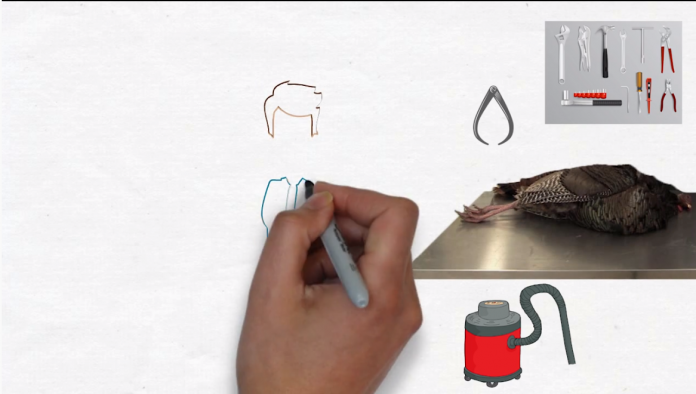
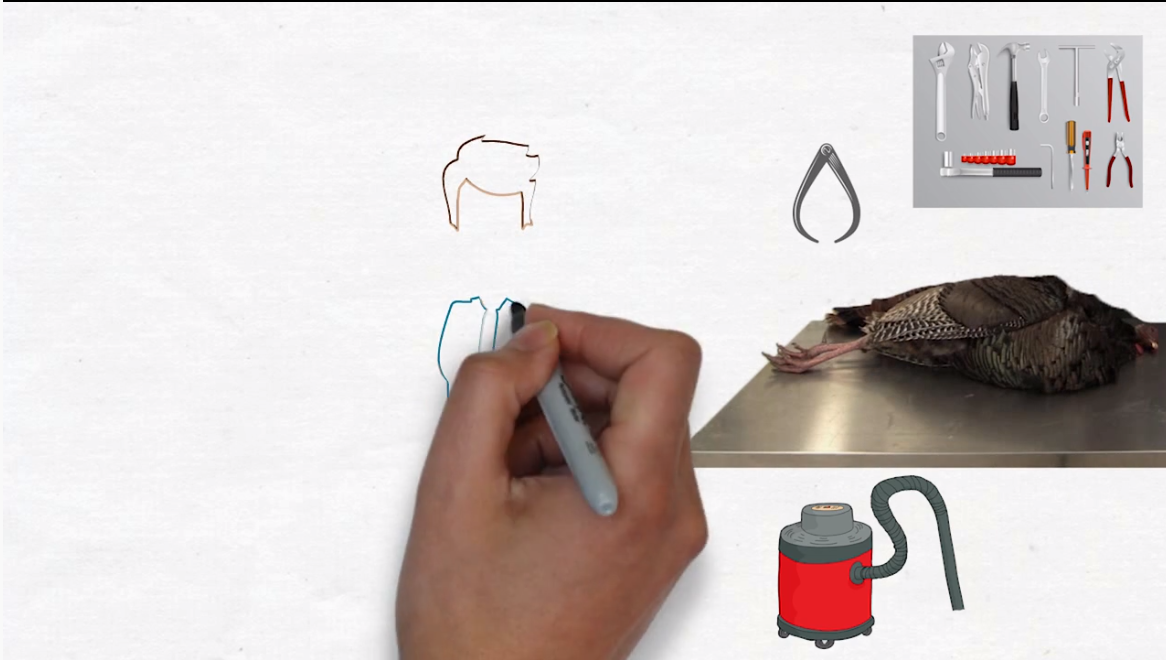
There many different kinds of animations that are used in explainer videos . Some of the more popular types are whiteboard, motion graphic,kinetic typography ,cutout, live action+animation,cartoon,and info graphics animation. I decided to do a mix .To me, this is the most powerful way to get a point across,and the most interesting. If you are hiring a firm to do the entire project for you, it will cost less to have them just use one type of animation for the whole video. In any case, you will probably want to hire someone to do the animation work , then build your video around that. Whiteboard animation is the most popular and economical. It features someone drawing the video frame and keeps peoples attention focused on the video. I incorporated that into my video in a number of places.
An example of whiteboard animation I used in my explainer video.
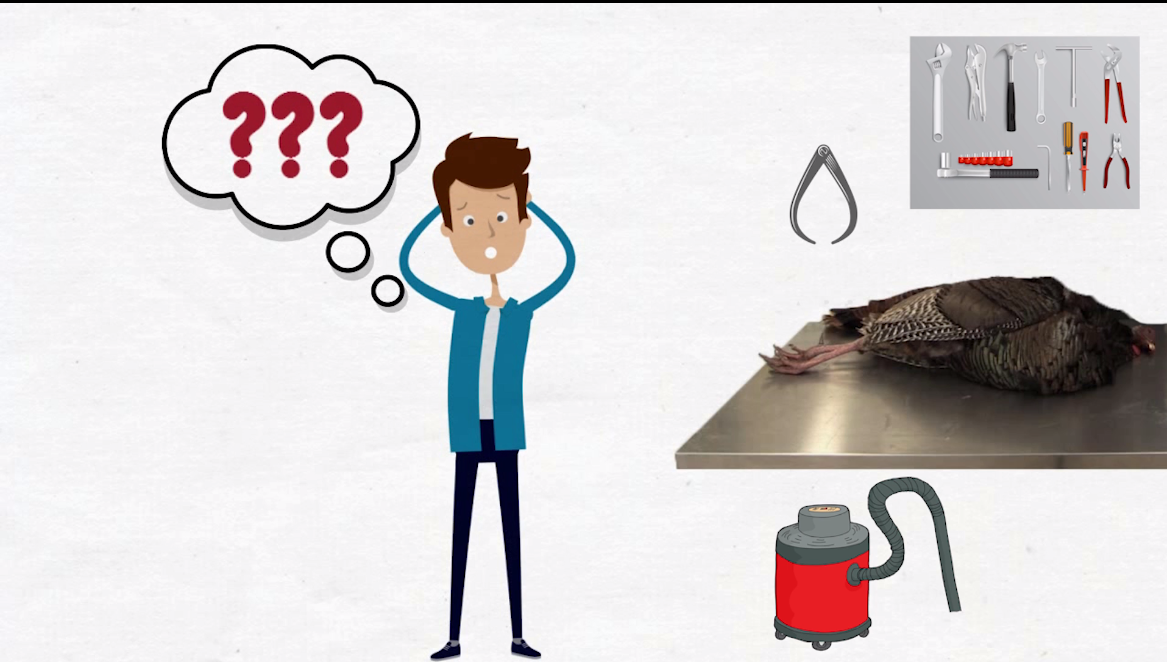
Cartoon animation is an excellent way to hold peoples attention, but is also quite expensive to have made. I utilized some cartoon animation in my video , animating the whiteboard figure.
Animated cartoons are excellent at holding peoples attention.
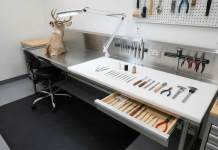
I also incorporated info graphics into this video. I call them props. In the opening scene I needed to let the viewer know quickly that this is a taxidermy shop, so I added some tools and of course the turkey ! The turkey was the actual bird used in the course.The work bench was also real. The tools and the vac are cartoon drawings. As you can see, just adding a few images tells a story quickly.Mixing actual pictures with the cartoon drawings also adds some flavor to the video and keeps it real.These are also referred to as cut outs .
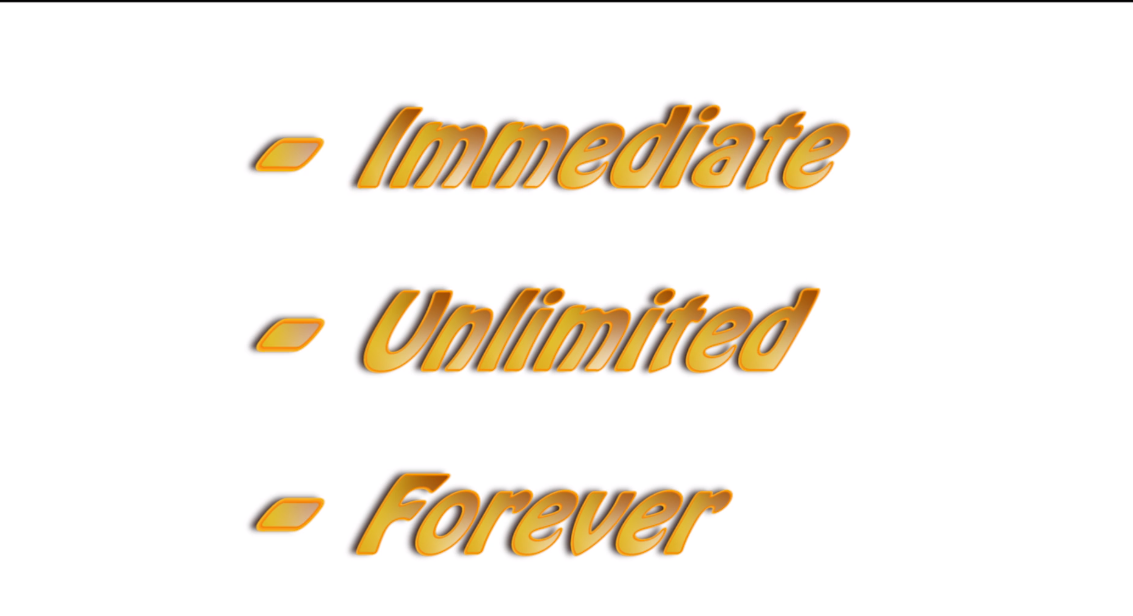
Part of the info graphics I employed was kinetic typography, or making words, letters, numbers, and sentences move in the video.
Big, bold moving text provides a simple but powerful way to get a point across.
The animation work will be the most expensive part of making your video. Depending on what you want and who makes it, the price can range from $ 50 to $5000. Expect to pay around $ 100 for simple , black and white whiteboard animation to $ 300 plus for a short cartoon animation. Fiverr is a good place to get started finding an artist.
Step 3. Mix in some pictures and videos
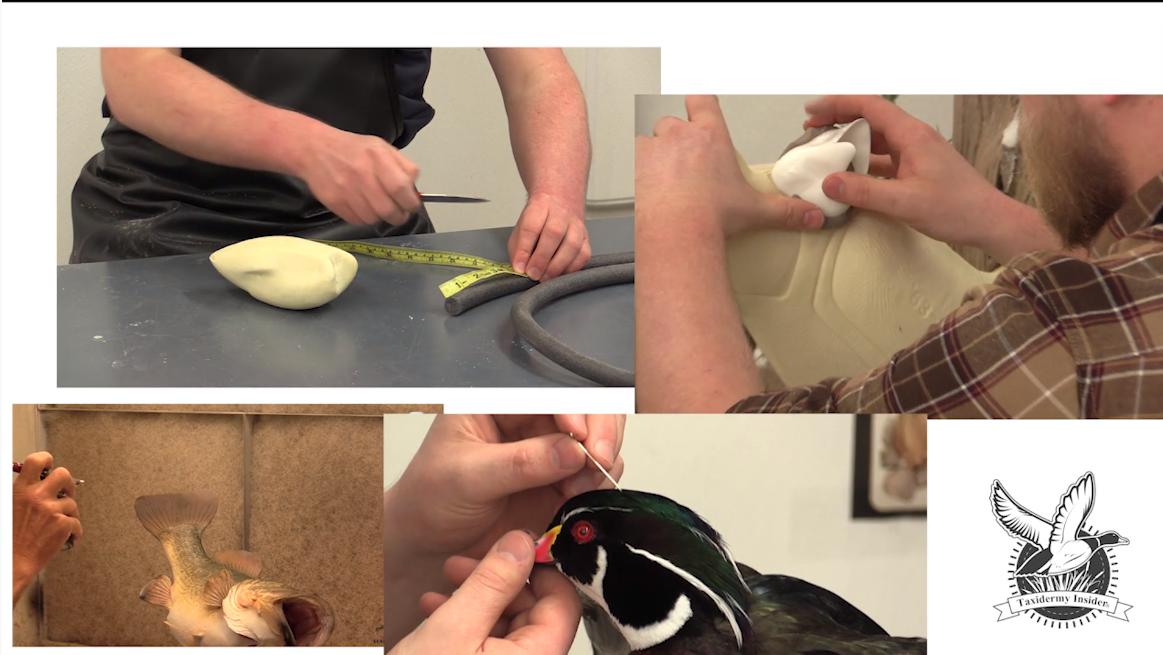
I added a lot of screen shots, video clips, and still pictures in my video. I think it really keeps people focused on our content and makes the video more interesting.
Video clips playing at the same time
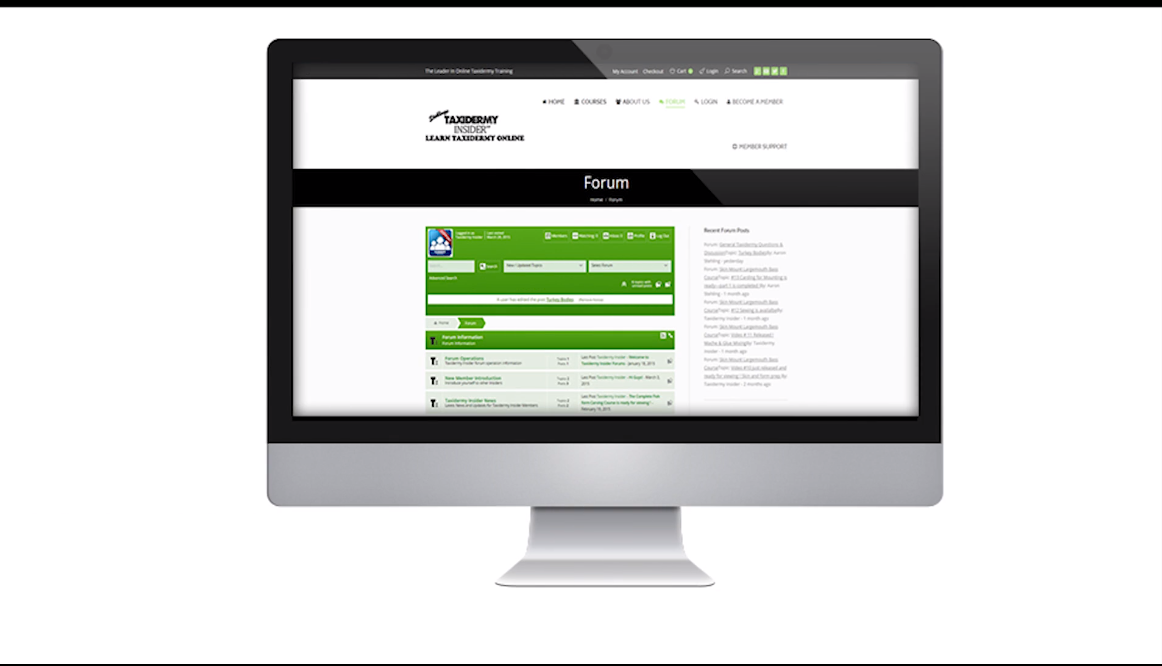
An example of screen capture framed in a drawn monitor
Step 4. Video editing software
Now that you have all the piece, you have to put them together and make a great explainer video. I use adobe Premier Pro for my video editing. It is a powerful and flexible tool, but it does have a learning curve . Some of the lower cost editing software will work, but you will sacrifice some features.The other option is to hire someone to put it together for you.
Step 5. The Build Out
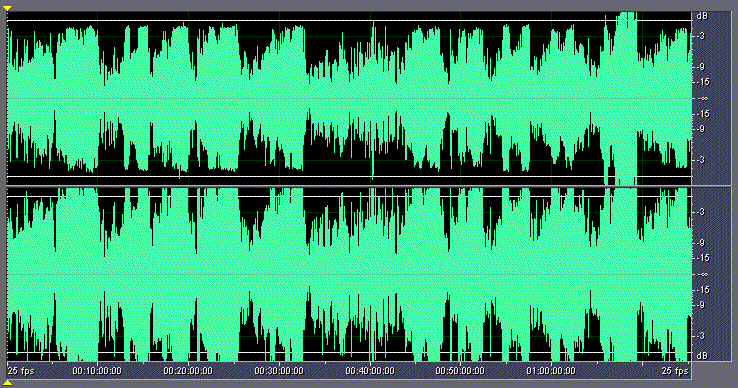
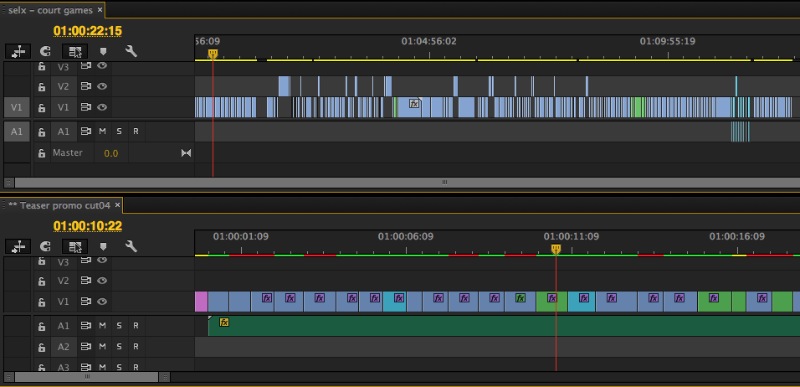
Now the fun part, putting it all together ! I always start by adding my audio track first( voice over), then building the content to it. You want your images to match your voice over message.
A premier pro editing timeline
Step 6. Background Music ?
Many explainer videos have background music that helps to move the video along . I personally am not a huge fan of using it as I think it distracts from the voice over.
Step 7. Push it live
When your video is complete it is time to push it live and get people to watch it. Embedding it on your website and uploading it to You Tube are great ways to get attention.
The finished video:
Some other examples of promo videos we have made
The Stehling Brothers Productions Intro. This was a fun project we built completely in house using only Premier Pro. It takes info graphics to the edge of animation.
Promo video we made for www.fleshingmachines.com. This video features voice over, background music, info graphics, video clips and stills.This was made in house with Premier Pro .


