
[avatar user=”D.Price” size=”thumbnail” align=”right” link=”file” target=”_blank” /]
ON YOUR FLESHING MACHINE
By D. Price
The #1 question I get, time and time again on fleshing machines is how do you determine where to set the guards? I answer, there is no magic number, it is not necessarily 1/8” or ¼” it is a feel thing that is only learned with experience. That truly is the only way I can describe it. It is kind of like someone asking you how far do you press the gas pedal to go 60 MPH?
There are way too many variables to consider just like with the accelerator, such as are you going uphill or downhill, are you loaded with a heavy payload or driving a light weight compact car? With the fleshing machine, what size motor does it have as well as how thick of a skin are you working with? Is it a Whitetail cape or a Moose cape? How sharp is the blade, is it freshly ground or used and dull?
LET’S GET STARTED
Here are a few simple “Rules Of Thumb” I like to share with folks who ask me this question.
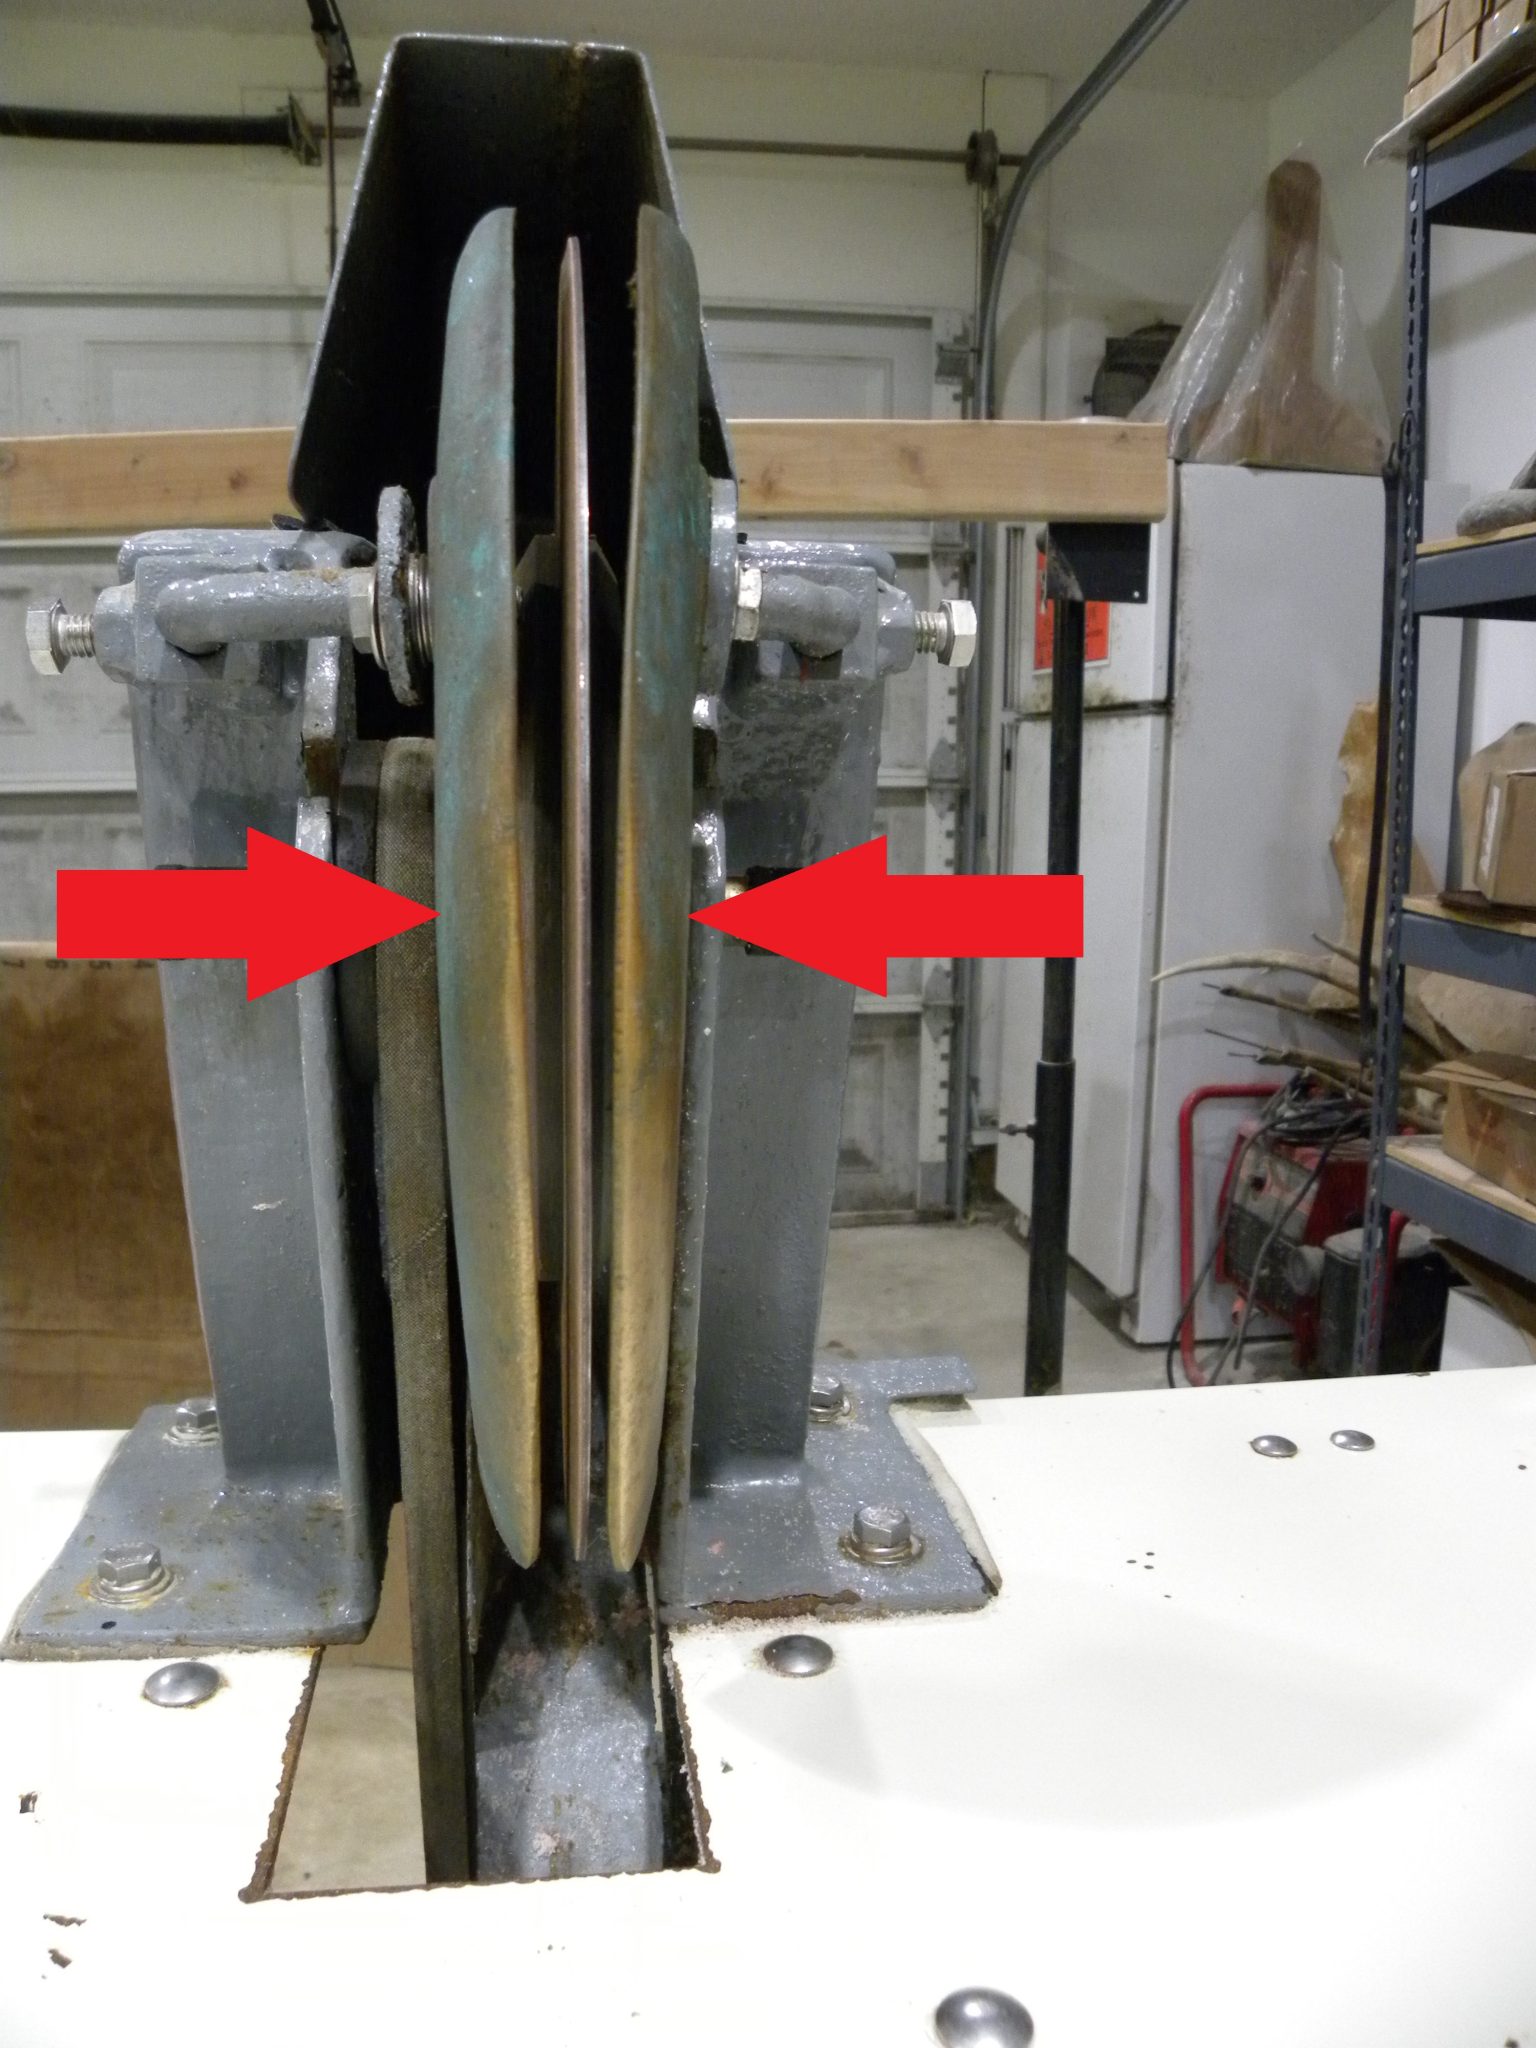
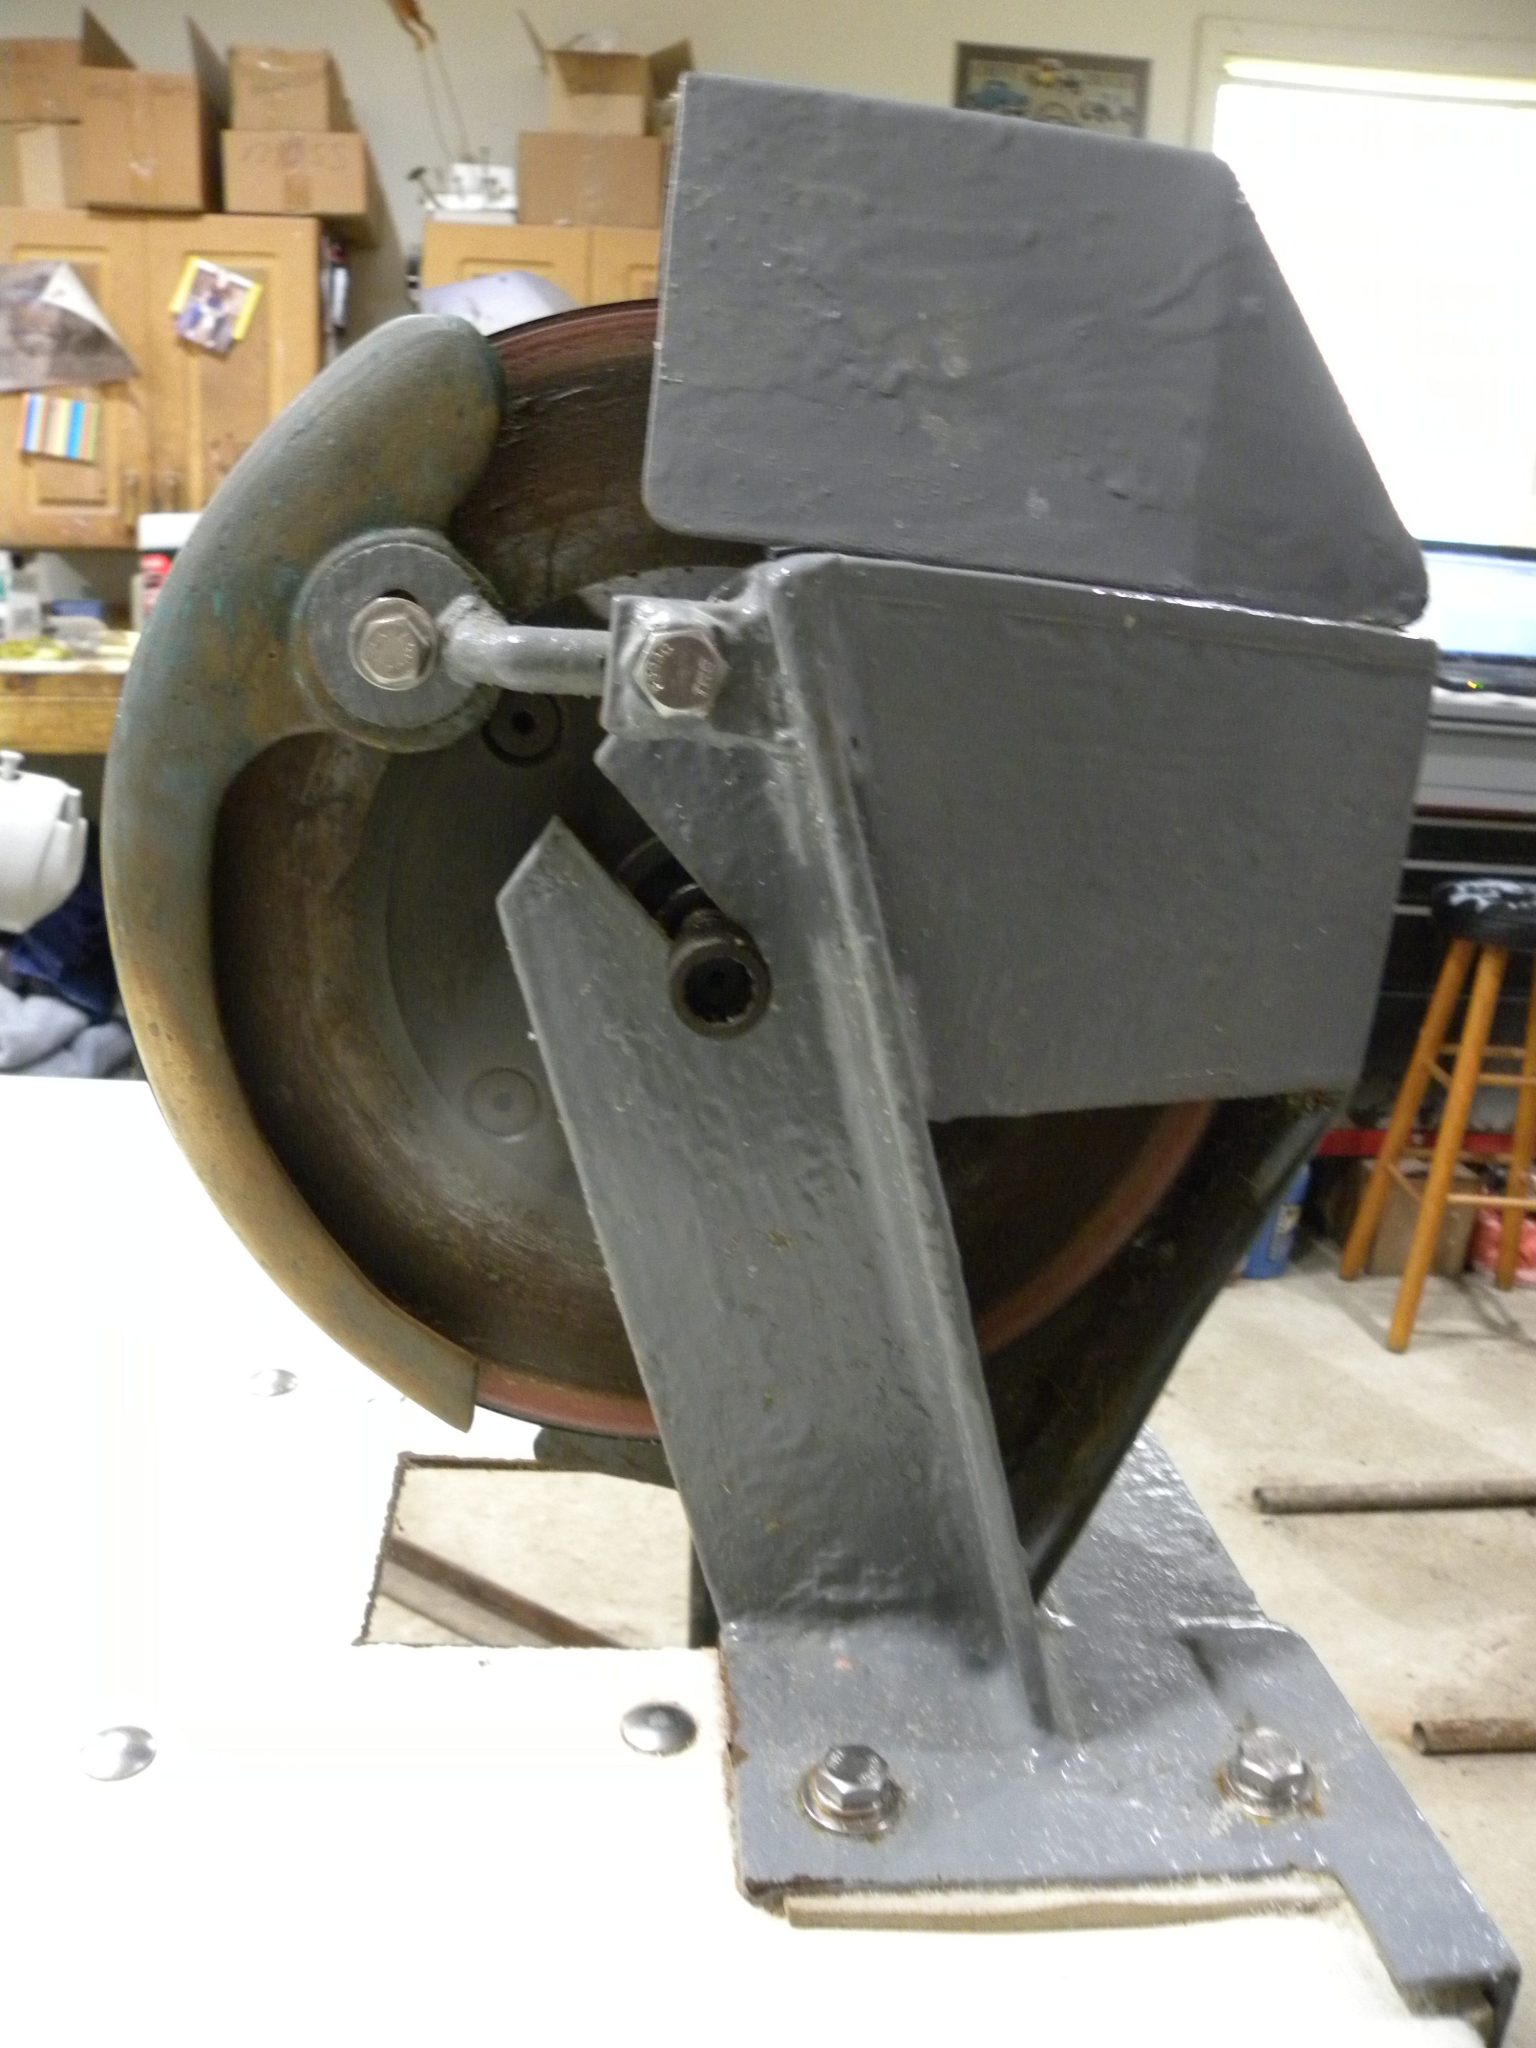
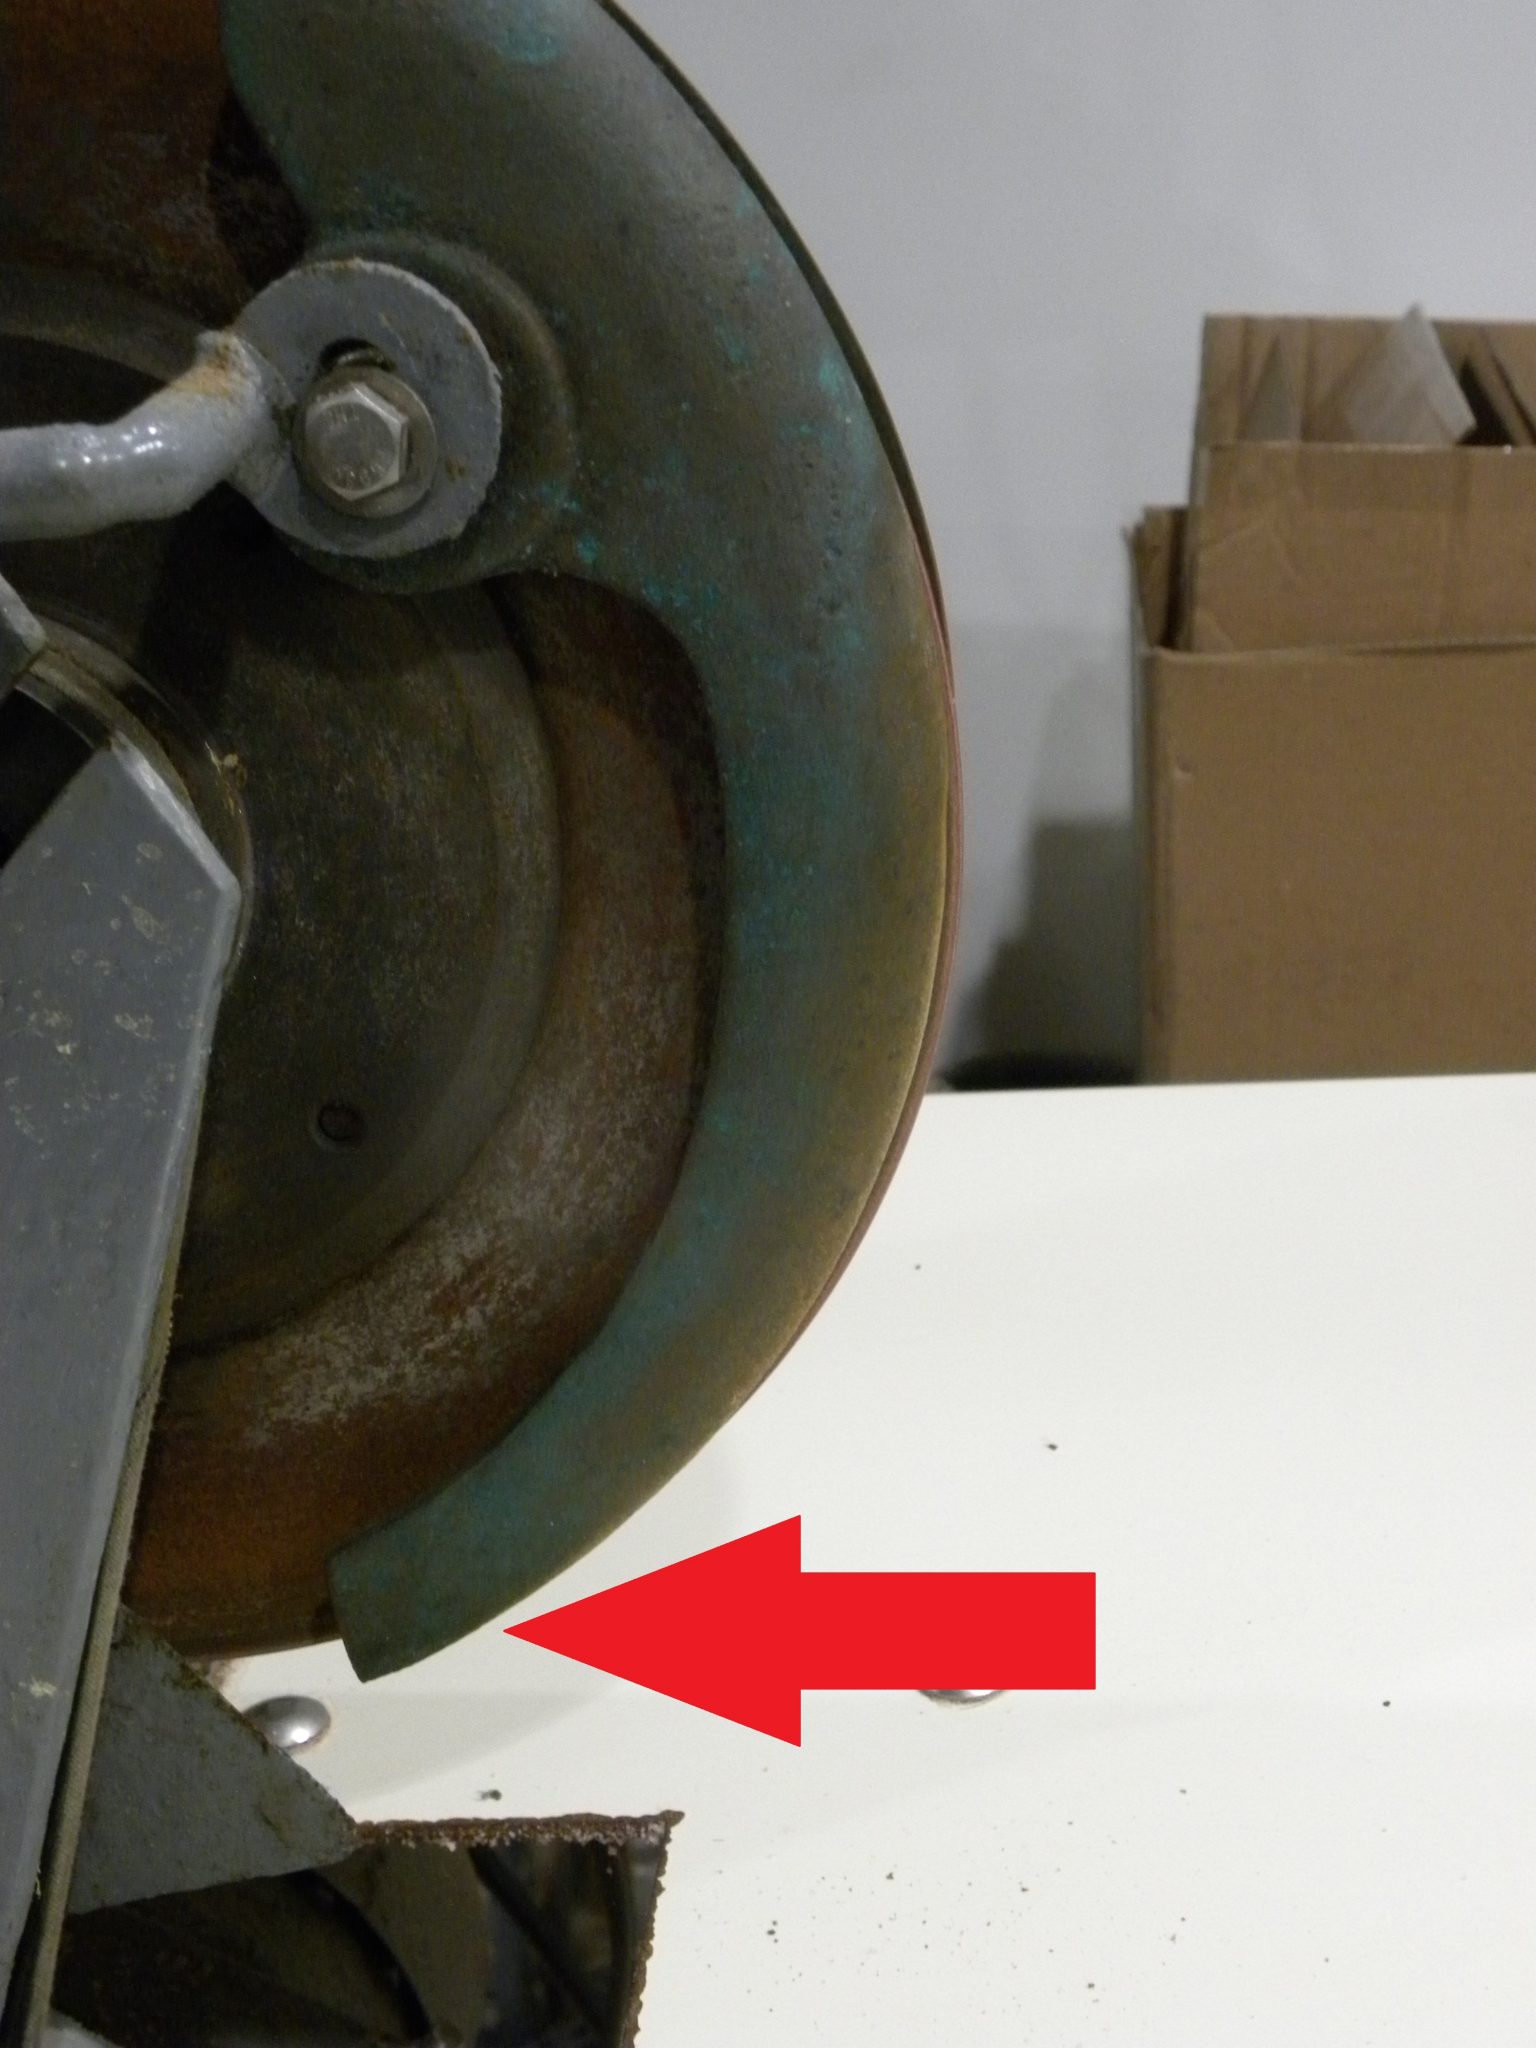
Very first thing, make sure both the right and left guards are installed on your machine. With the two guards in their proper location you can see that I have quite a bit of space between the blade and the guards. I have heard people say that they need to be as close as possible to the blade without touching it, this is “FALSE”. Without any clearance there is nowhere for the fleshings to fall and clear the work area.
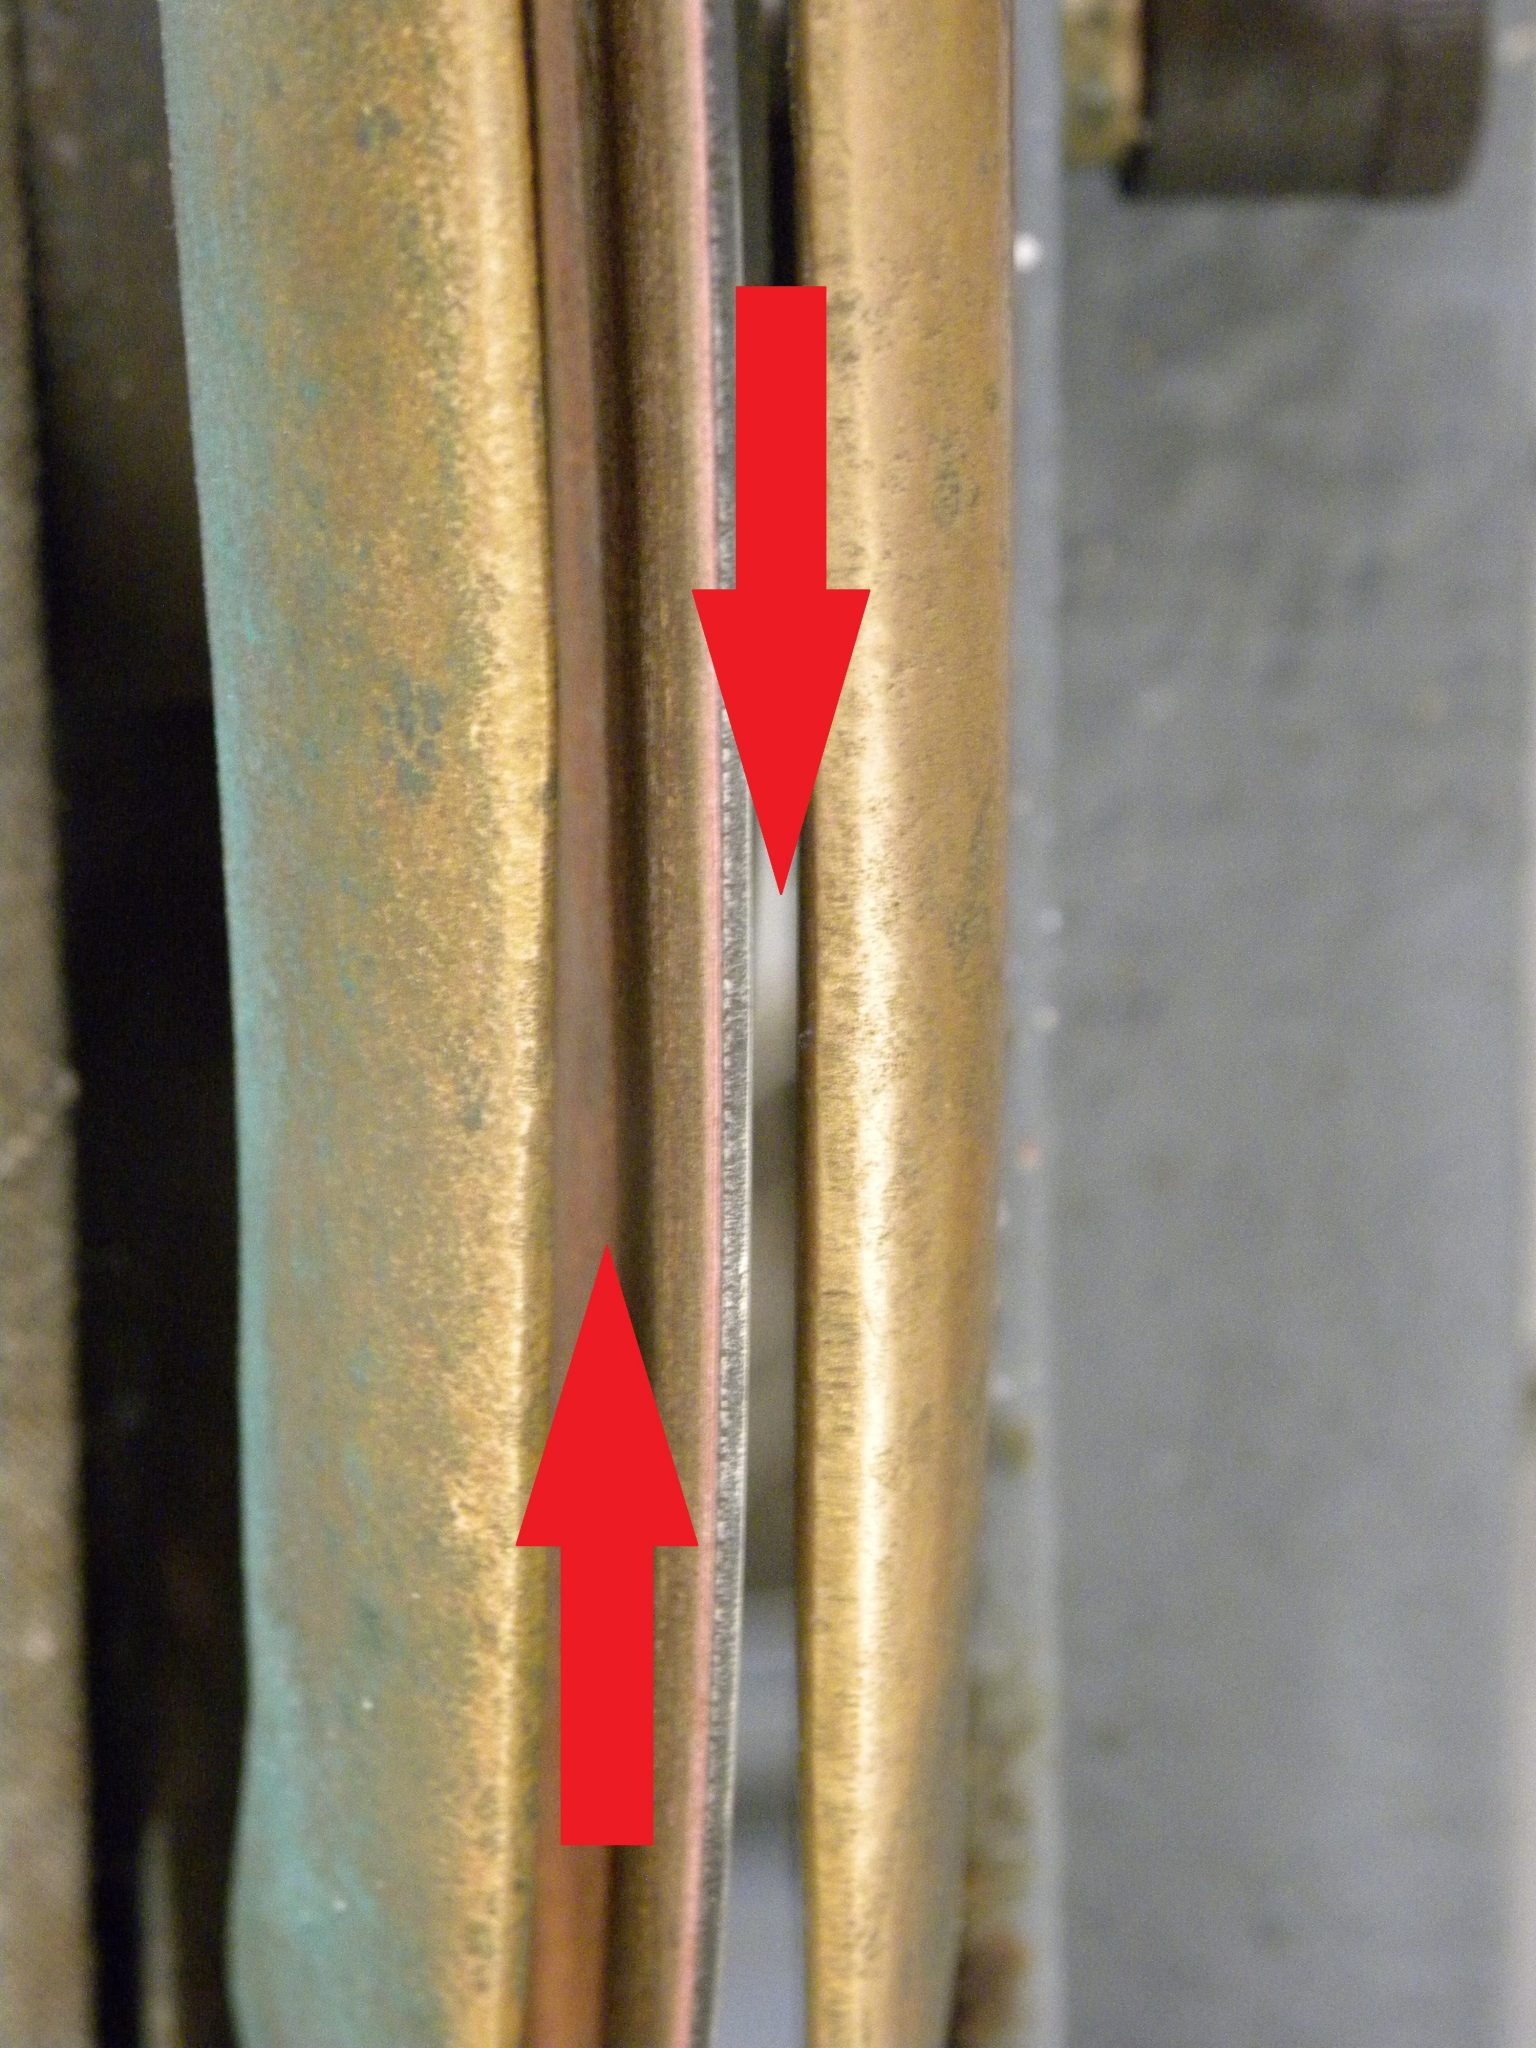
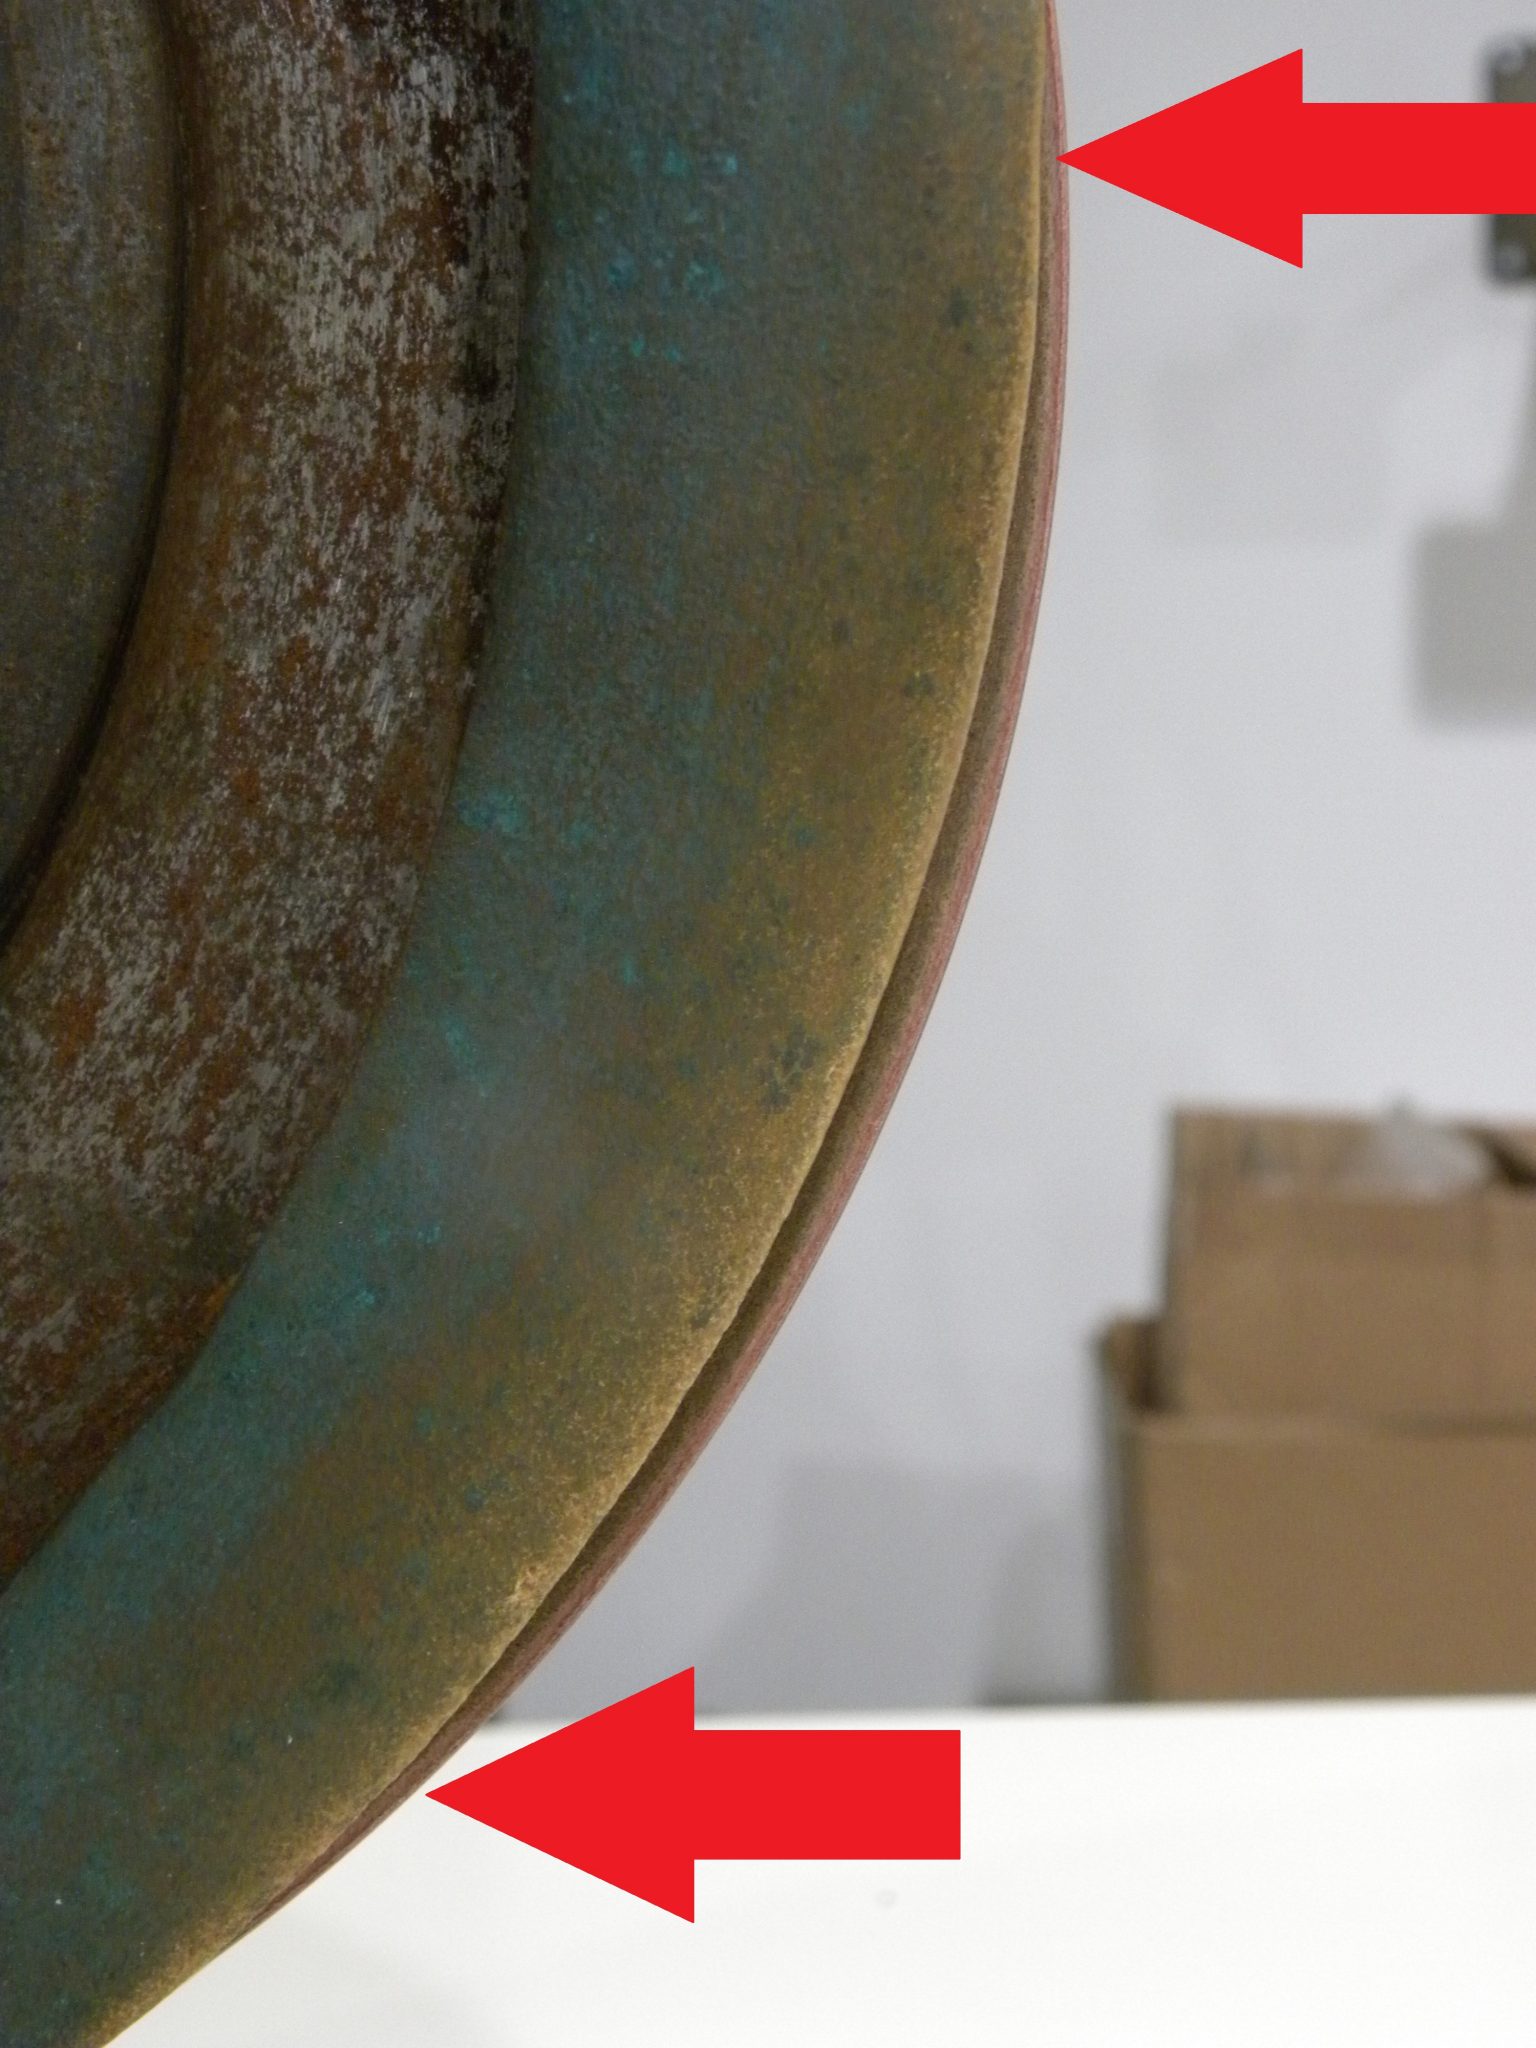
One of two things will happen. Either the fleshings will pile up in front of the machine or they will bind up between the blade and guards and cause the blade to stop. Here is a close up of the same area.

SETTING THE CUTTING SIDE GUARD
Ok, on the left side of the machine you want to set your guard so that you are working with the middle to lower half of the blade. This will be much more comfortable for you. Also, this will help to control the skin better. If you get to high up on the blade it will tend to grab or snatch the skin. This could cause damages in the skin itself.

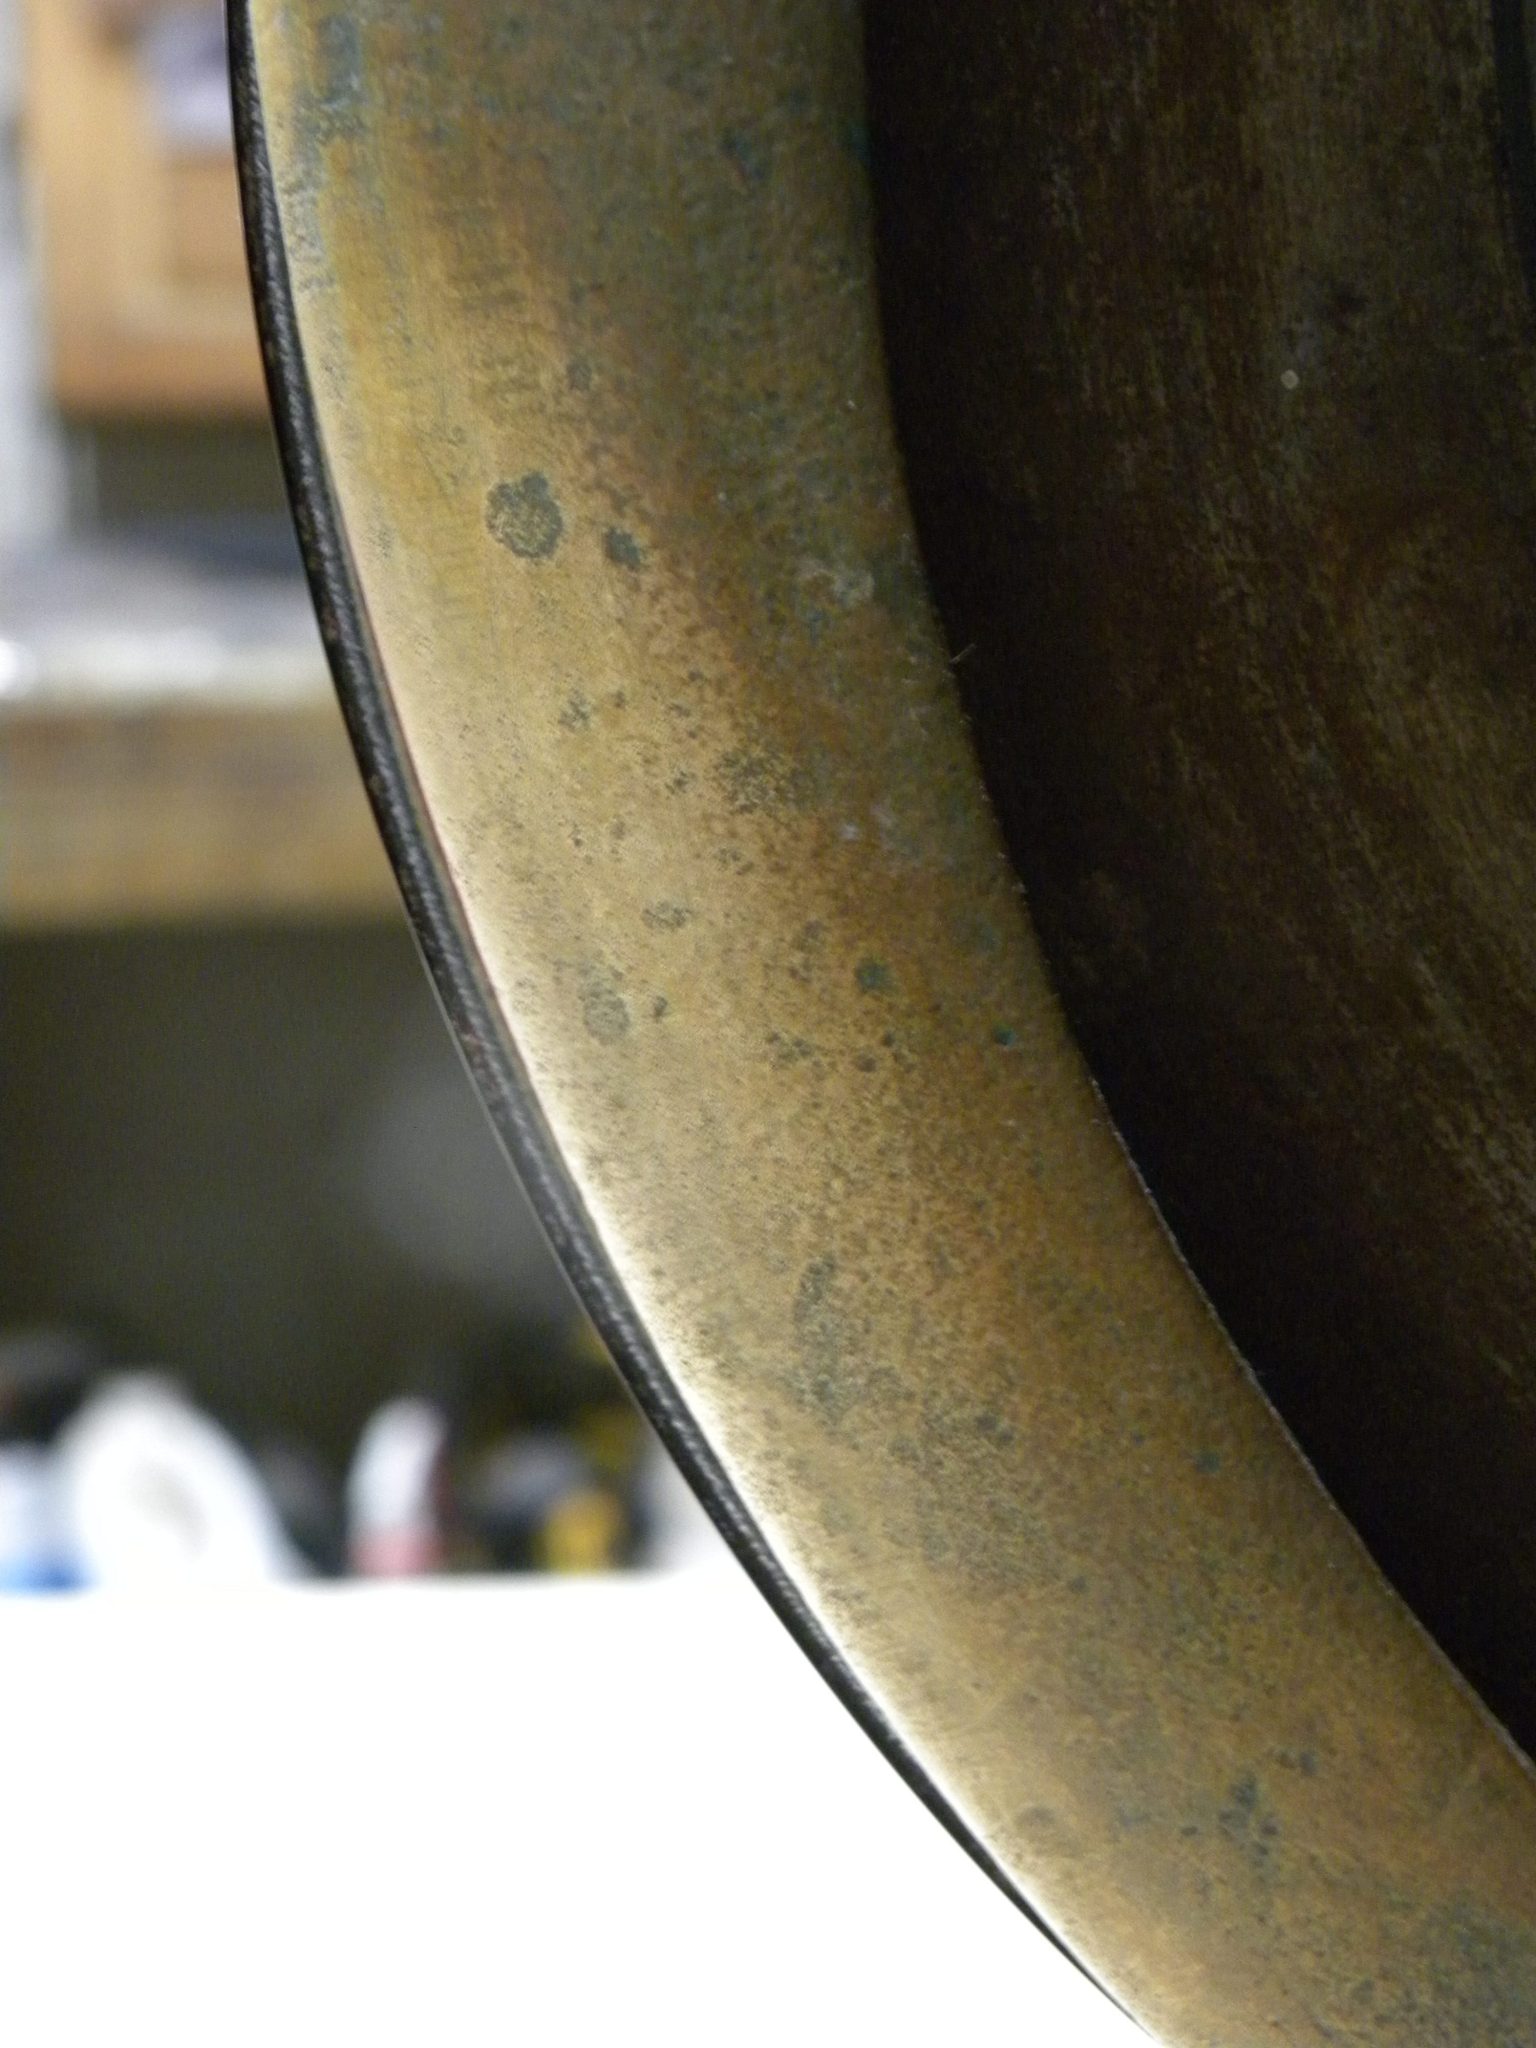
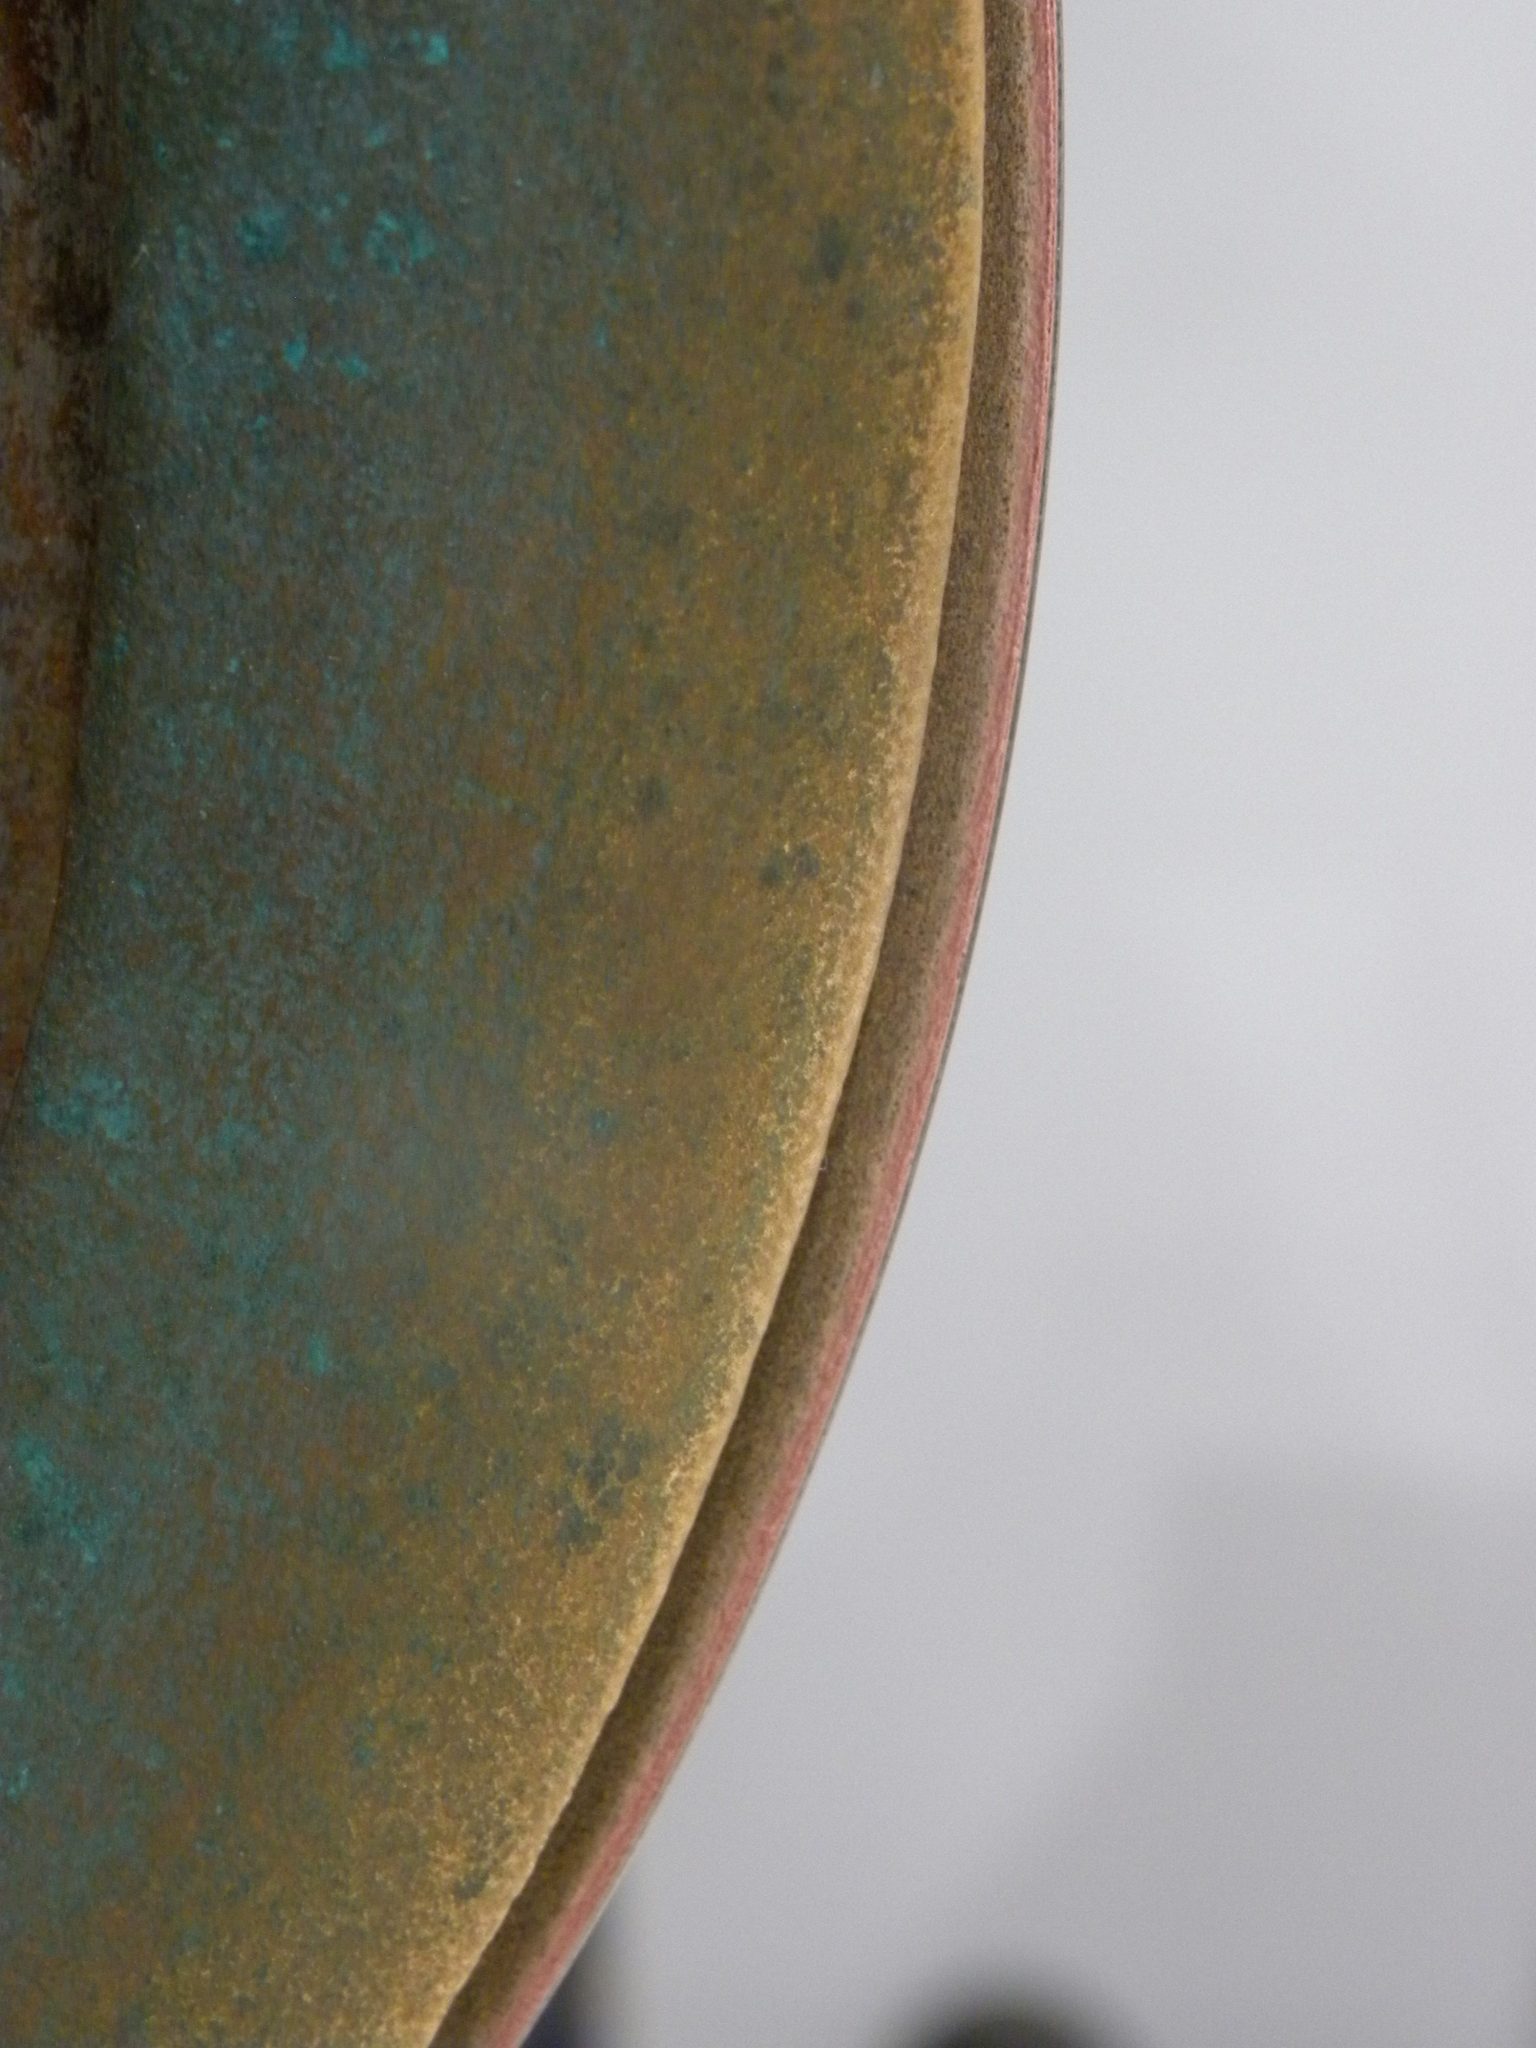
Here you can see a close up of the same area. Notice how shiny and worn the guard is in the area where I do my work. You can also see how much of the blade is exposed when I shave Whitetails.
SETTING THE BACK GUARD
On the right side or back side of the blade, I see or hear of people removing this guard. This is not a good idea, it protects you if you over reach when shaving. Also, it helps to protect the skin from being damaged. Here I have the bottom of the blade closed off with the guard. This keeps the skin from folding up and cutting a line or hole in it.
You can see here, once again, I am working in the middle to lower half of the blade. Also, here is one more close up as to how much blade I have showing when working with Whitetails.
IN CLOSING
I hope this helps to give you some answers on this commonly asked question. Also this information is available in my new online HD video series “Mastering the Fleshing Machine A-Z PLUS”. Over three hours of everything you need to know about fleshing as well as shaving skins on your machine. It can be accessed at www.fleshingmachines.com.
DP


")


")


