IMO, there is no cheaper or easier way to make a custom body, than wrapping your own. when I was taught how to do this, almost 40 years ago, if you didn’t wrap, you most likely did not do birds, since foam bodies were just starting to emerge for taxidermists. the materials needed were, and still are cheap, and are readily available. this method allows you to duplicate, right from the carcass, exactly what needs to be put back in, and allows you to pre shape for the pose you choose. if done properly, there is very little fill if any needed, wire anchoring is solid, and feather grooming is far easier than over a foam body. I am sure there are alternate ways to wrap, and I will share how I was taught and still use today.
material list is as follows:
fine grade excelsior
button and coat thread
calipers
sharpie
butchers twine
leather mallet
post mortem needle
I dissolve in hot water, borax and Para Flakes (moth flakes)
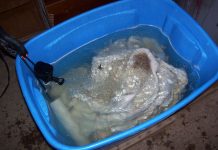
soak the excelsior over night. I do a 5 gallon bucket at a time
you are now ready to start
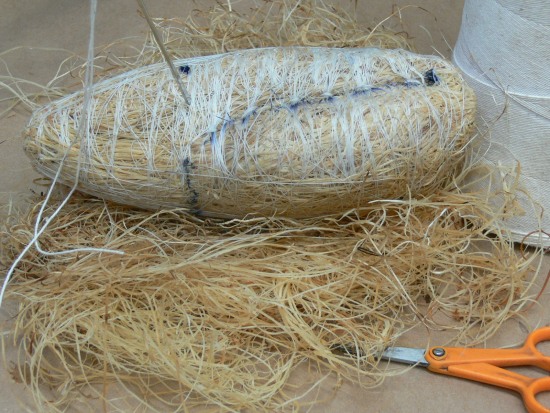
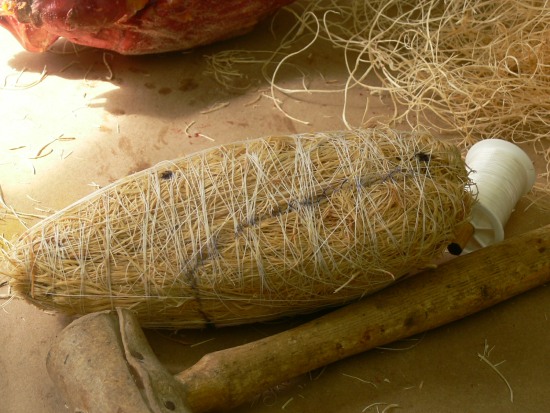
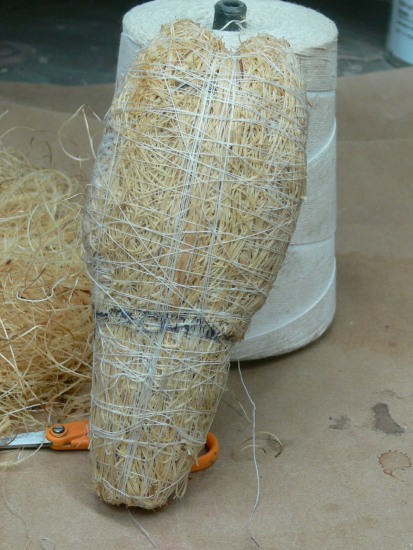
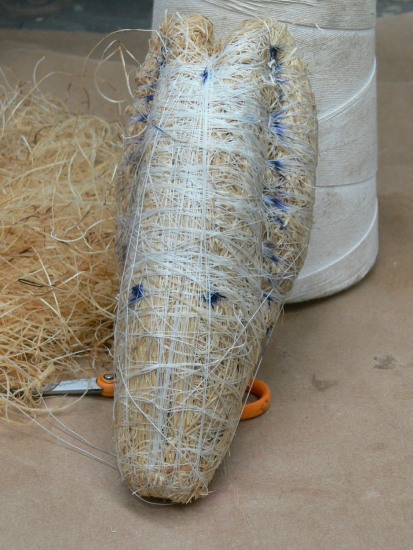
from there, I remove my pre shaped and frozen carcass from the freezer for my actual reference. in this case a Drake Surf Scoter. this is going to be a dead mount of three scoter drakes, Black, Surf and White Wing. With that said, I want to elongate my body a tad, and over wrap somewhat the size to compensate for de fatting let out. I make two separate “flats” as I call them, and rough in the shape with the mallet, and bind these two core parts with thread. this is the heart of the body. the two photos show both the rough shaping, and the fine tuning of the 2 core pieces
I then marry together the two wedges, bending, and spreading them at the neck junction to form the neck pocket. excelsior filler is added along the back, and stuffed to spread the belly area. I use the mallet to beat the excelsior into a balanced and uniform core, this is the heart of the body
Ok, from here, I mark my connection points, chest and belly muscle, that now is added to the core. accuracy is very easy when you have the carcass right in front of you, and if you need to adjust the carcass its right there, and you can duplicate any changes in body shape and duplicate that onto your wrapped body
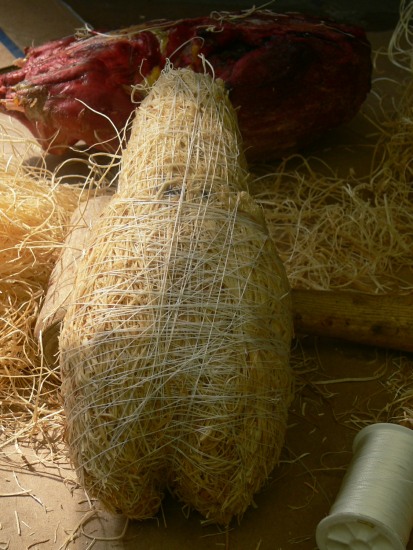
now it’s time to build up our core body. this is when I add the more excelsior to duplicate the natural muscle that shows from the carcass. I pre trim the excelsior with scissors as I apply to the core, and use the leather mallet to help in shaping as I wrap. bottom view, belly and chest done
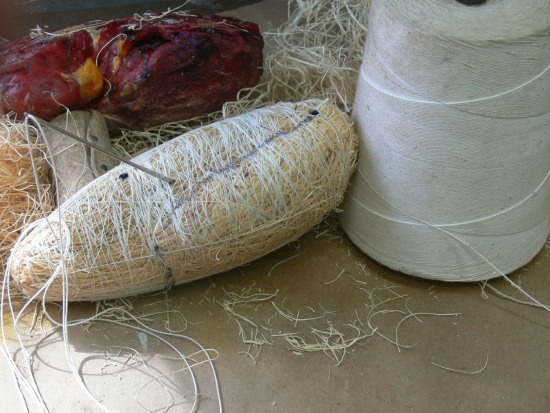
when I am satisfied with the wrapping part of making a body, it’s time to do some fine tuning to areas that need more definition. this is where the butchers twine and post mortem needle are used. the twine is very strong, so you can put a lot of tension on it without it breaking. I just sew from one side of the body to the other, pulling tight to compress the body to define detail. I do this from the wing to body junction to the belly. done correctly, you now have a nice wing pocket
when I am satisfied, and after a test fit in the skin, I make any adjustments that are needed. you can beat this wrapped body into just about any pose with the leather mallet. time to chuck the carcass, and I now re soak and put it in the freezer till it’s time to mount. I do not mount on a dry body, but a damp one. that gives me more time to preen, as the bird dries. also note, that I mount with full wing bones as well as leg bones. this method offers a fully articulated replacement, without having to guess, like the foam and half leg technique. I am sure this is not for everyone, and I am sharing what I was taught, and still use today in all my bird mounts. hope this helps anyone interested in this old school method. finished body photos below

