If you’re like me and operate out of a small studio you just don’t have the room for a tumbler or dryer to aid in deer cape drying. Trust me if I had the room I would have a tumbler. Plans in the near future are to expand my work space and a spot for a tumbler will be reserved. In the meantime we must improvise and be creative.
Before I get too deep into this article, if you do not tan your own deer capes then this article is probably not going to be of any use to you. This article is specifically for those who tan their own deer capes so let’s move on to doing some deer cape drying.
I cannot emphasize enough that deer cape drying is one of the most top priorities if tanning with a brush on tan, applying oil after a soaking tan, and last but not least in mounting up your deer. Three of my main tanning agents used here in my shop is PRO-1, Lutan FN, and Krowtann. At one point during or after the tanning process you must get your cape dry to where the hair is dry and the skin is damp. The thinner you shave down your capes the faster it will go.
If using a brush on synthetic tan like PRO-1 you must get your cape dry after neutralizing and before applying the tanning oil. If using Lutan FN you will need to get your cape dry after the tanning process but before applying the leather or as some call it finishing oil. If you’re a Krowtann user then after you complete the tanning process and before you mount, you must get your cape dry.
No matter what tan you use in house you must get your capes dry BEFORE mounting. Never mount a wet cape, ever! If your cape is too wet during mount up you are asking for problems. For one shrinkage will be X2 then a dry cape and a wet cape will also affect your hide paste by thinning it down, removing its full gluing potential. You will also be exposed to mechanical hair slippage which is the leading cause of hair slippage during mounting.
After allowing your deer cape to hang and drain for a period, you will need to towel dry it as much as you can. Be gentle when drying the hair side with the towels, don’t be too rough. We will finish off the hair drying with a blower. Pat and dry is best when working the hair side. Next turn your deer cape inside out so the flesh side is exposed. Now lay a BIG towel on the table, and then place your deer cape on top flat. Now take another BIG towel and lay that on top of the cape. Now roll up the cape with towels and squeeze as you roll. The towels will wick a good portion of the moisture from the cape.
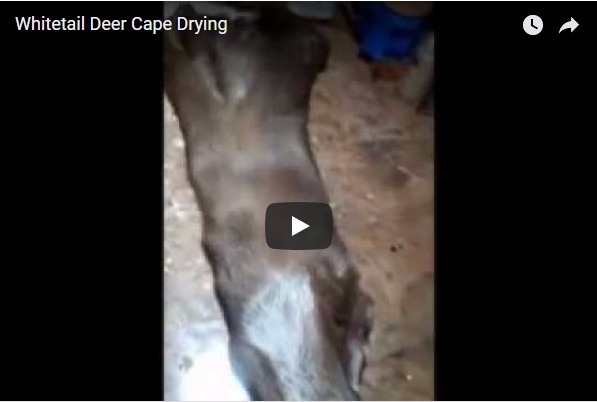
To further the deer cape drying process the next step is explained in the video. Watch the video in its entirety. If you complete ever step I explained and follow up with the procedures in the videos, you will without a doubt have a deer cape that is 90% dry. Perhaps more dry then any tumbler with saw dust could provide in the short period of time. This whole process should take you under 30 minutes from start to finish. Good luck!
You can view the video HERE if it does not load properly


