Can Cause a Taxidermist Nightmares
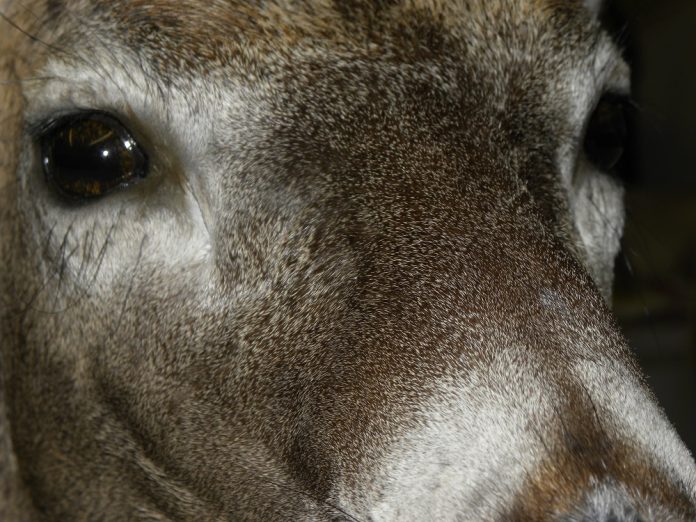
Recently, I was working through my work order backlog and I came across a Whitetail that I remember very well from when my client dropped it off right in the midst of the rut. It was covered in battle scars as well as fresh wounds. I asked the guy if he had hit it with his truck. Laughing he said no, that this buck had been in some hardcore battles with two other deer, one about the same size and another much larger brute. He had open wounds, his nose was ripped to shreds and he had a couple of lower front teeth missing. I could not believe there weren’t any breaks or chips in the antlers.
The client wanted to know if I could save the cape because he wanted to mount it, but only if we could use the original cape. I promptly said sure, no problem. WHAT WAS I THINKING? So we filled out the work order, he paid the necessary deposit and he went on his way. Now, eight months later his work order comes up and the wet tanned cape is thawing. I am now faced with pulling my foot out of my mouth and saving this man’s cape as I said I would do.
So in this article I am going to show you what I did to pull this off. Then when you are faced with a cape like this you can say “Sure, No Problem” just like I did. Remember, repairs are a part of taxidermy, and if done properly, you are the only one who knows where they are. Okay, time to stop talking and get to work.
Let’s do this thing!
We will be starting out with a wet tanned cape and it will be mounted on a W03-7119R from Head Quarters Supply. We have already test fit the cape on the form and installed a medium Gene Smith Quick Nose. Final prep has been done to the cape ie. ear cartilage removed, final splitting and thinning ect. So this is where we will pick up with this article.
As you can see there are many repairs to be made, from the nose to eyes and on down the neck. To start you need to go ahead and repair any holes in the hair line around the nose pad and lips. If it is in the fleshy part just leave as is, no need to sew these, they will be repaired later.

Using 4lb Berkley Fire Line, the Smoke colored in the dark haired areas and the Crystal color in the lighter or white haired areas. Make small stitches making sure to catch the very edge of the skin and bring the needle through at an angle. This will help to hide the stitches from the hair side. This particular Whitetail had many superficial wounds to the face and neck. Only once it was shaved did they start opening up and leaving small puncture like holes in the face and neck area.

You will need to sew these up as well. There is a lot of sewing to do on this cape. But to get the best mount possible it needs to be done and done correctly so you will have limited finish work to do once the deer is mounted and dry. You will most likely have bleeding or at the least very sore fingers when done.
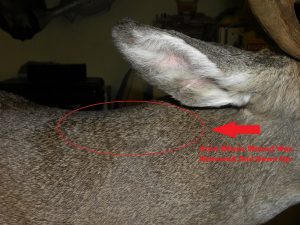
On the back of the neck behind the right ear there is a fairly nasty looking scabbed over wound, for best results you need to cut this area out and sew it up.


Your client will never remember it was there. To do this, just part the hair and with a sharp scalpel cut the area out following along the edge of the good hair. If you take your time cutting, it should go right back together like a zipper.
Now once you have your form prepped you can mount as normal and let dry. Do not worry about holes in the nose pad. Line up your hair patterns using references. With a project like this you can really see how much shrinkage you have from mounting to dry. Notice how the wounds opened up as the nose pad dried out.
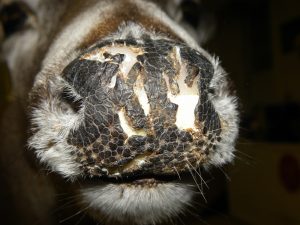
After the deer has had adequate time to dry you can move forward with your finish work as normal. The only difference is rebuilding the nose pad. First make sure there are no parts of the skin that has curled up and not stuck to the form. You can do this by clipping off any loose skin with a pair of small scissors. Next mix just enough Aves Fit-it Sculpt to fill in the open areas in the nose pad and with a small modeling tool apply it.
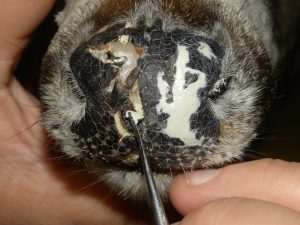
You should actually do this step first. This way the Fix-It Sculpt can begin to set up while you do your other filler work and painting. Once the filler on the nose pad has kicked, lightly sand the surface of the pad just enough to blend the filler and skin together. Be careful not to get into the hair line and damage the small hairs around the nose.
Okay, now you need to finish this nose up. Mix you some more Fix-It Sculpt, this time add a little black powdered Tempera paint. This will give you a medium grey color, which will provide a good base color for the nose pad. Next apply a thin layer over the nose being extremely careful not to get it in the hair.
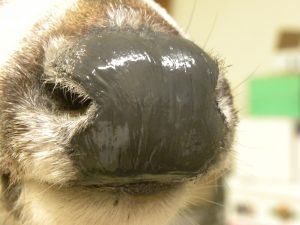
Now, with a mold of a freshly harvested deer nose, with a liberal coat of Apoxie Safety Solvent firmly but carefully press it into the nose pad.
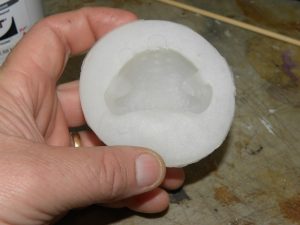
This will give you a bit of texture to the nose instead of a slick surface to work with. Next go ahead and paint the nose using your normal schedule. Then finish retexturing the nose pad using an applicator bottle with Liquitex. Apply a little gloss, and your repaired nose is complete.
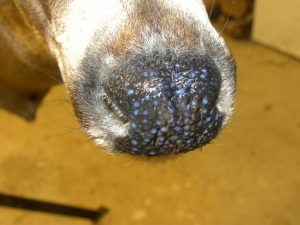
With a little know how, time and patience you can pull off repairs such as this. Here you can see where the scabbed over wound was removed and stitched up. It looks much better than having that nasty scar showing on your client’s wall.
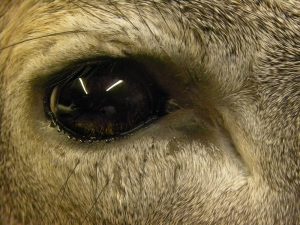
Now the battle scars around the eyes and down the muzzle are hidden. This gives you a much better final product and you were able to use the original cape.
I hoped I was able to share some repair tips in this article that will help you to save a special trophy for a client one day. For tips and other techniques click here.
DP


