
[avatar user=”D.Price” size=”thumbnail” align=”center” link=”file” target=”_blank” /]
Never let someone tell you that it can’t be done
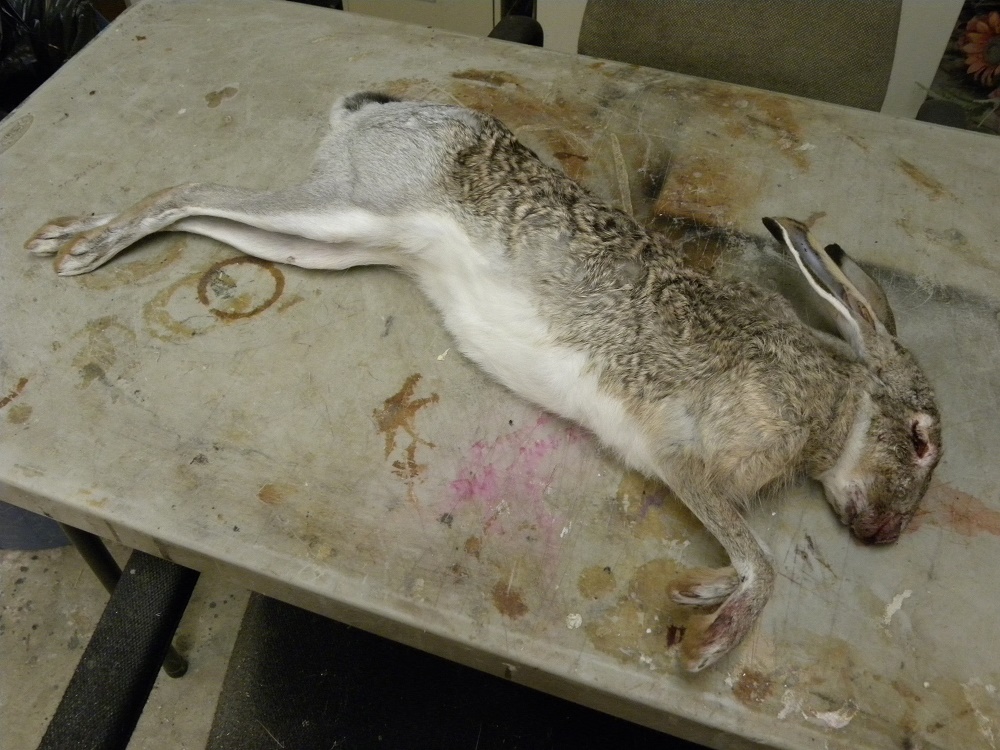
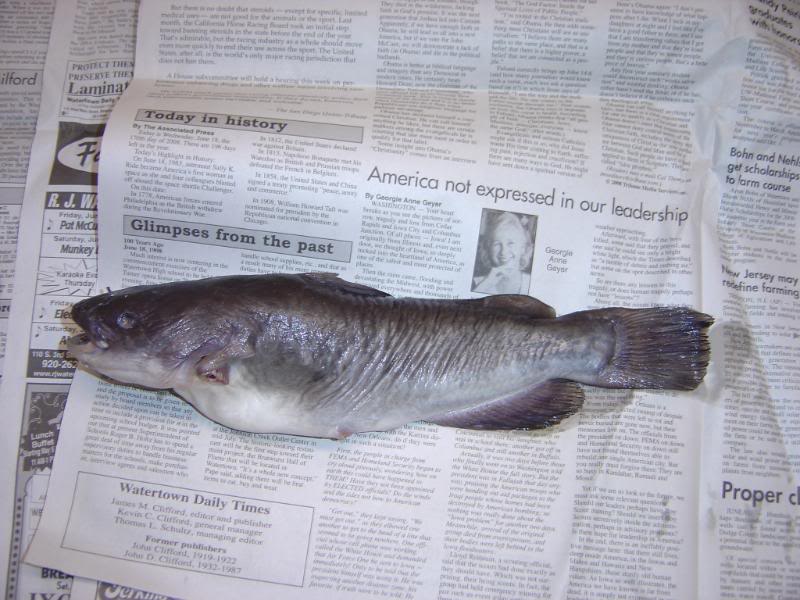
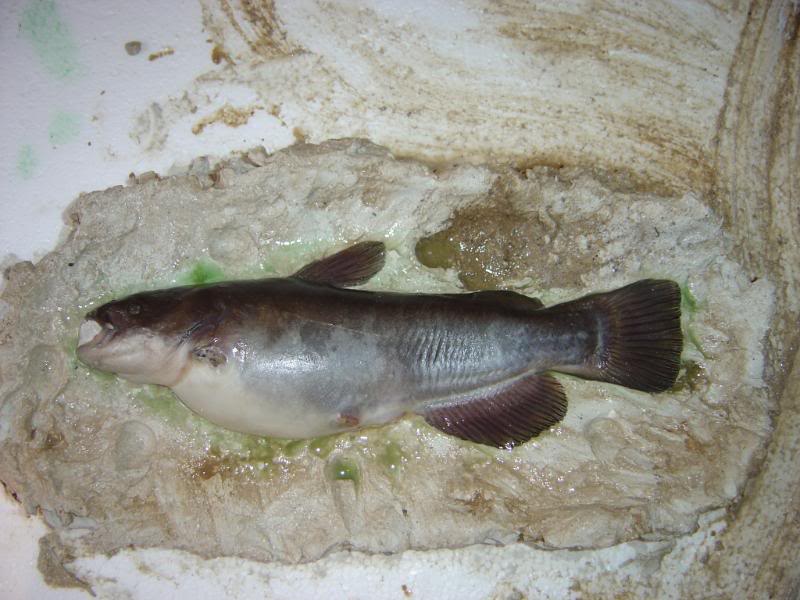
Every now and then you take in a specimen that you have never mounted before, right? I mean no one person can say that they have mounted every single bird, fish, mammal or reptile on earth. If so, I haven’t met them. Well that happened to me recently, a local client and his young son had been to Texas on a Whitetail hunt. After they had filled their deer tags they had a day left before they had to catch their flight home. The guide, who sounded to be a very generous man, gave them the opportunity to do a little Black-Tailed Jack Rabbit hunting. Needless to say the young boy had a blast; He killed three rabbits total before they had to leave. When they arrived back home I get a phone call asking could I do a Jack Rabbit, and of course I said sure.
Now mind you, being in North Carolina we don’t have Jack Rabbits, hell, I had never even seen one in person before. So, thinking this is pretty cool, I post this very picture on Facebook with the caption “This Should Be Interesting”. Well it wasn’t long, here come all the naysayers; “Freeze Dry”, “You Have to Freeze Dry It”, “It’s The Only Way” etc. So I got to looking and there were manikins for Jack Rabbits on the market, limited yes, but available so I questioned back in a reply “Why Do They Make Jack Rabbit Forms If They Can’t Be Mounted?” and I get a “Well Let Me Know When You Get It Together…LOL”. Well, me being me, I made up my mind right then I was going to skin, tan and mount this rabbit .
“Never Let Someone Tell You That It Can’t Be Done”…..that goes for anything in life, not just taxidermy. So I did a little research, got some good reference material and ordered my supplies.
Now we are going to show all these “Negative Nancys” how to MOUNT a Jack rabbit using John Schmidt’s JKR-600 from Van Dykes.
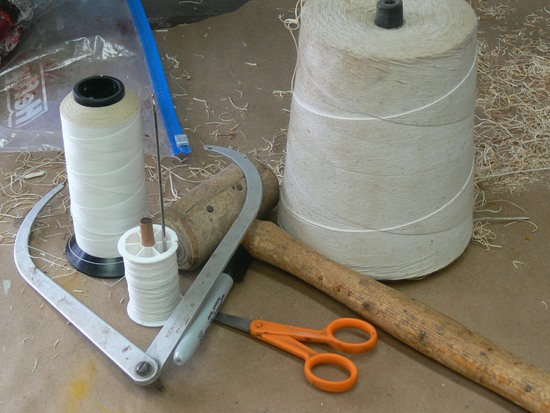
Skinning and Prepping
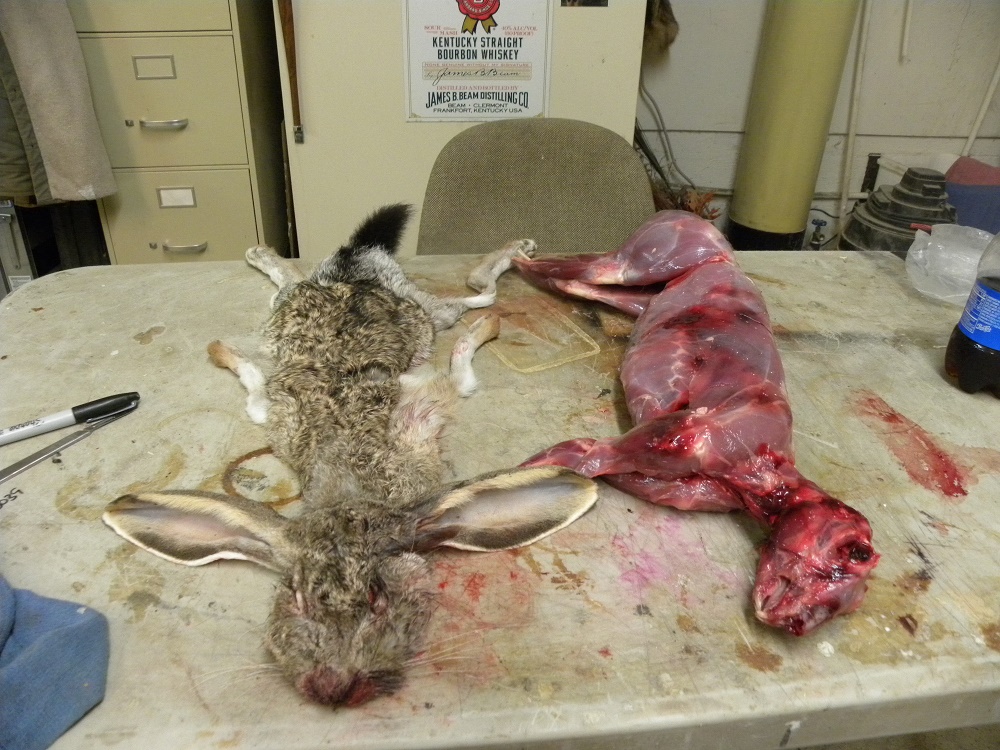
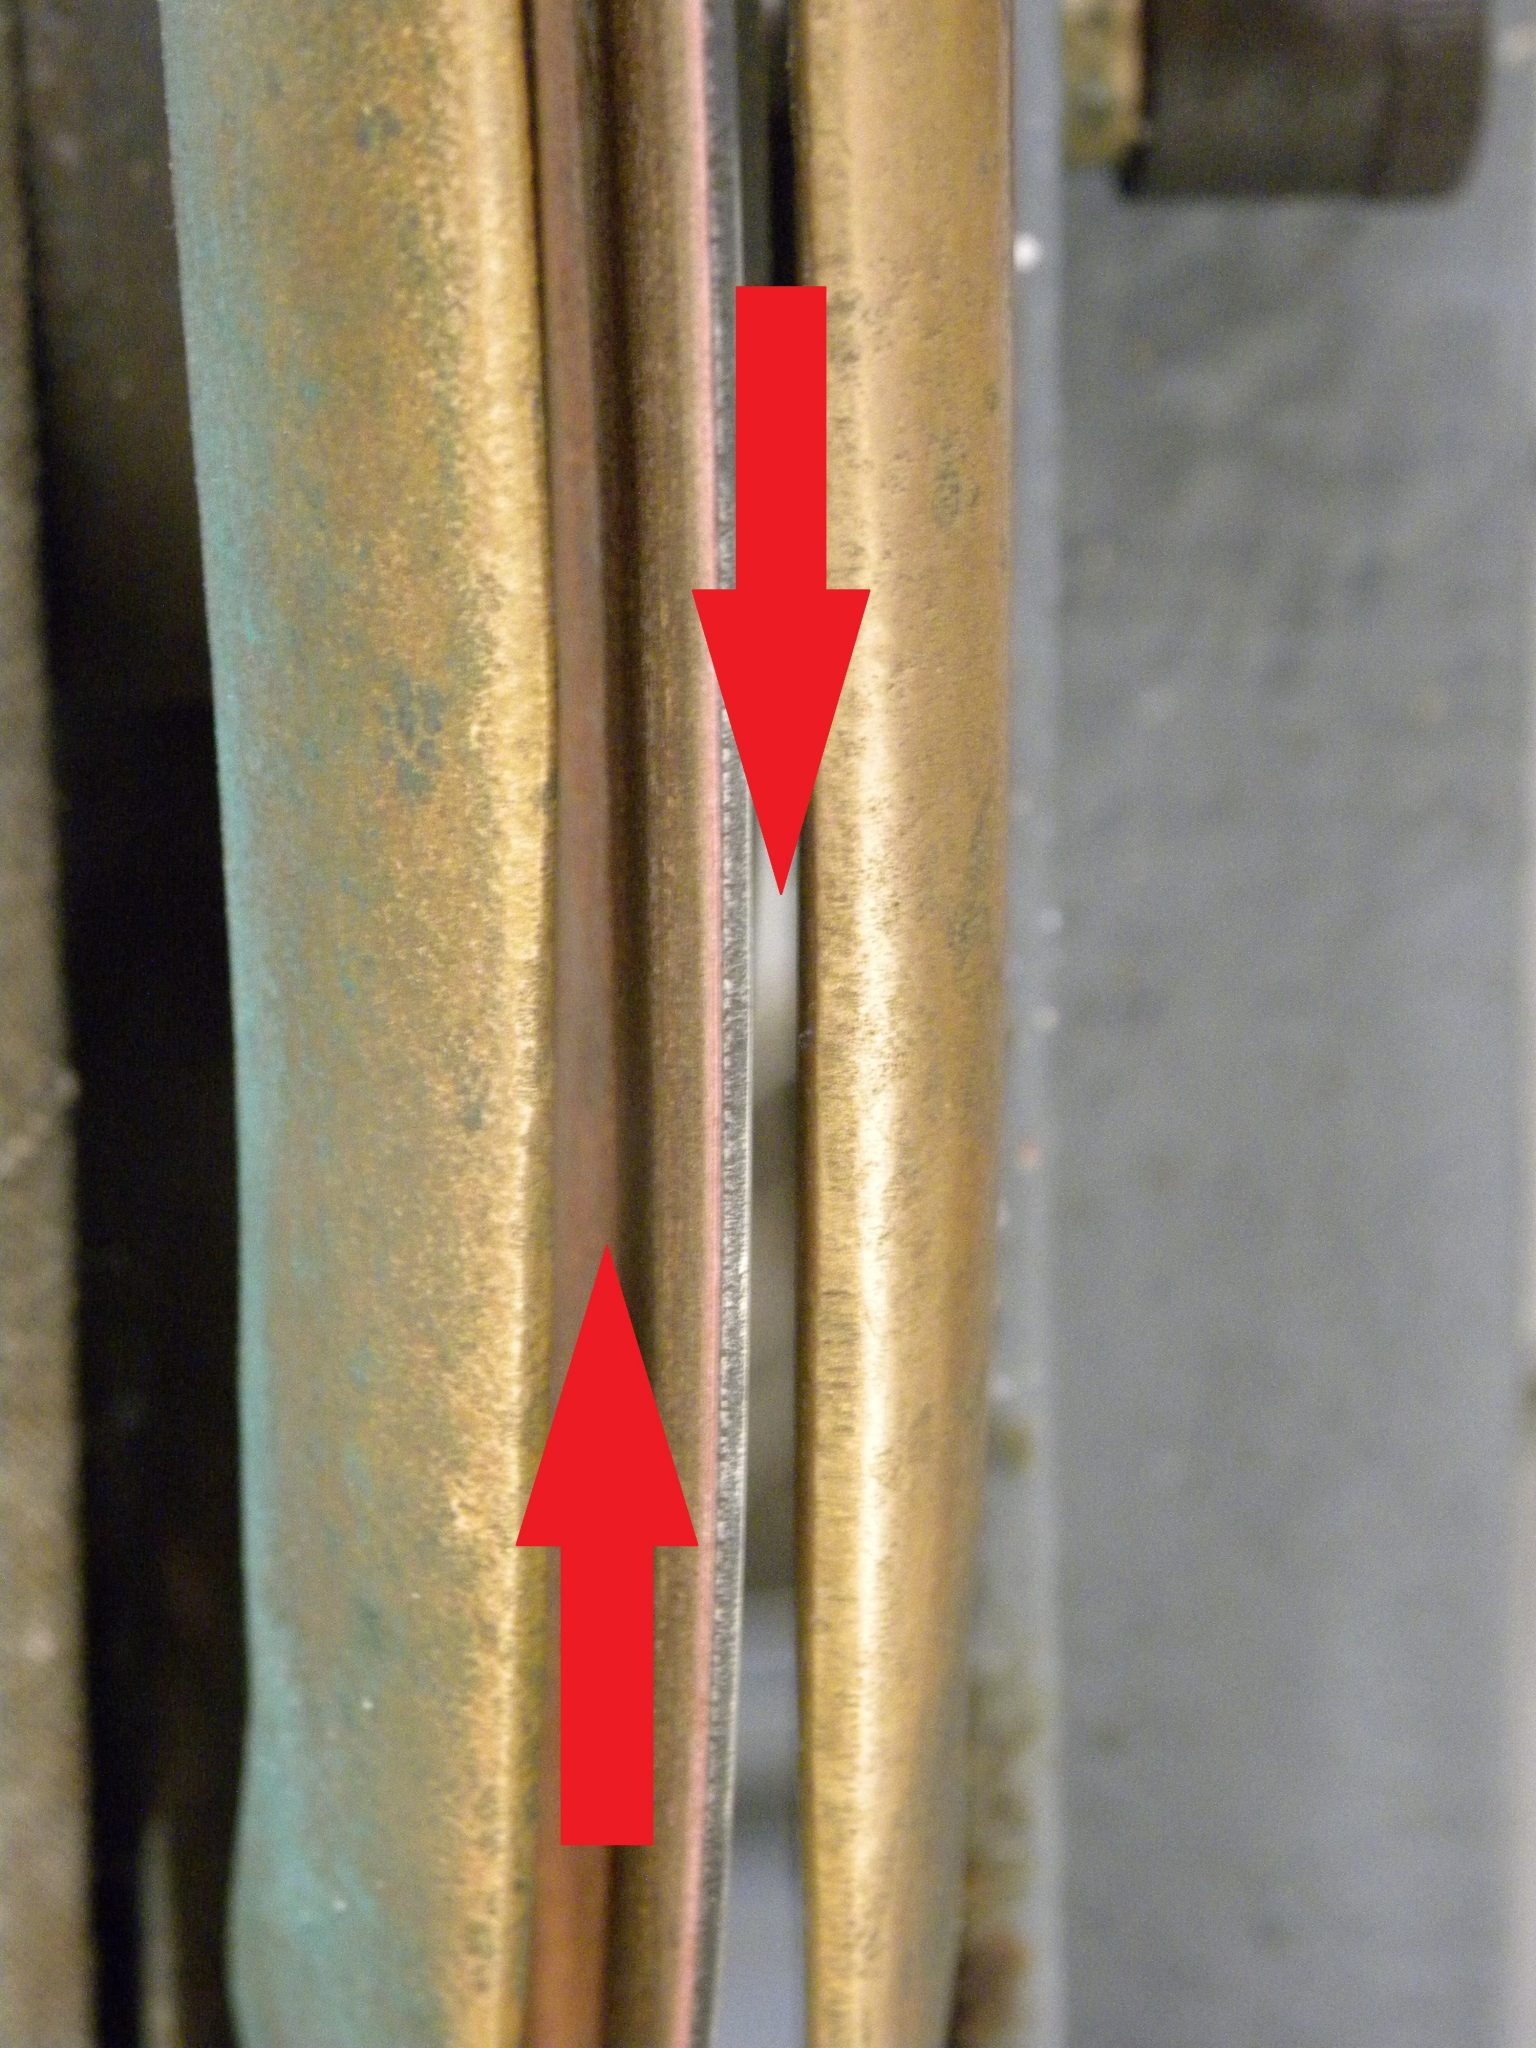
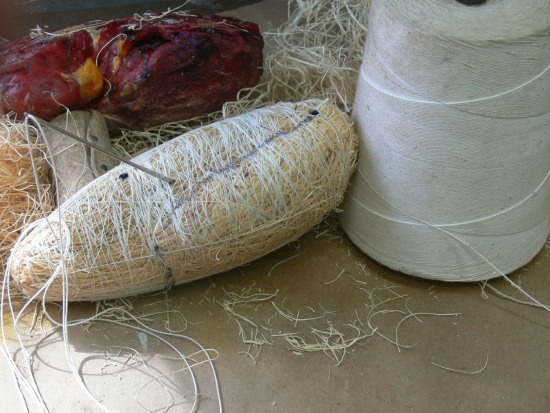
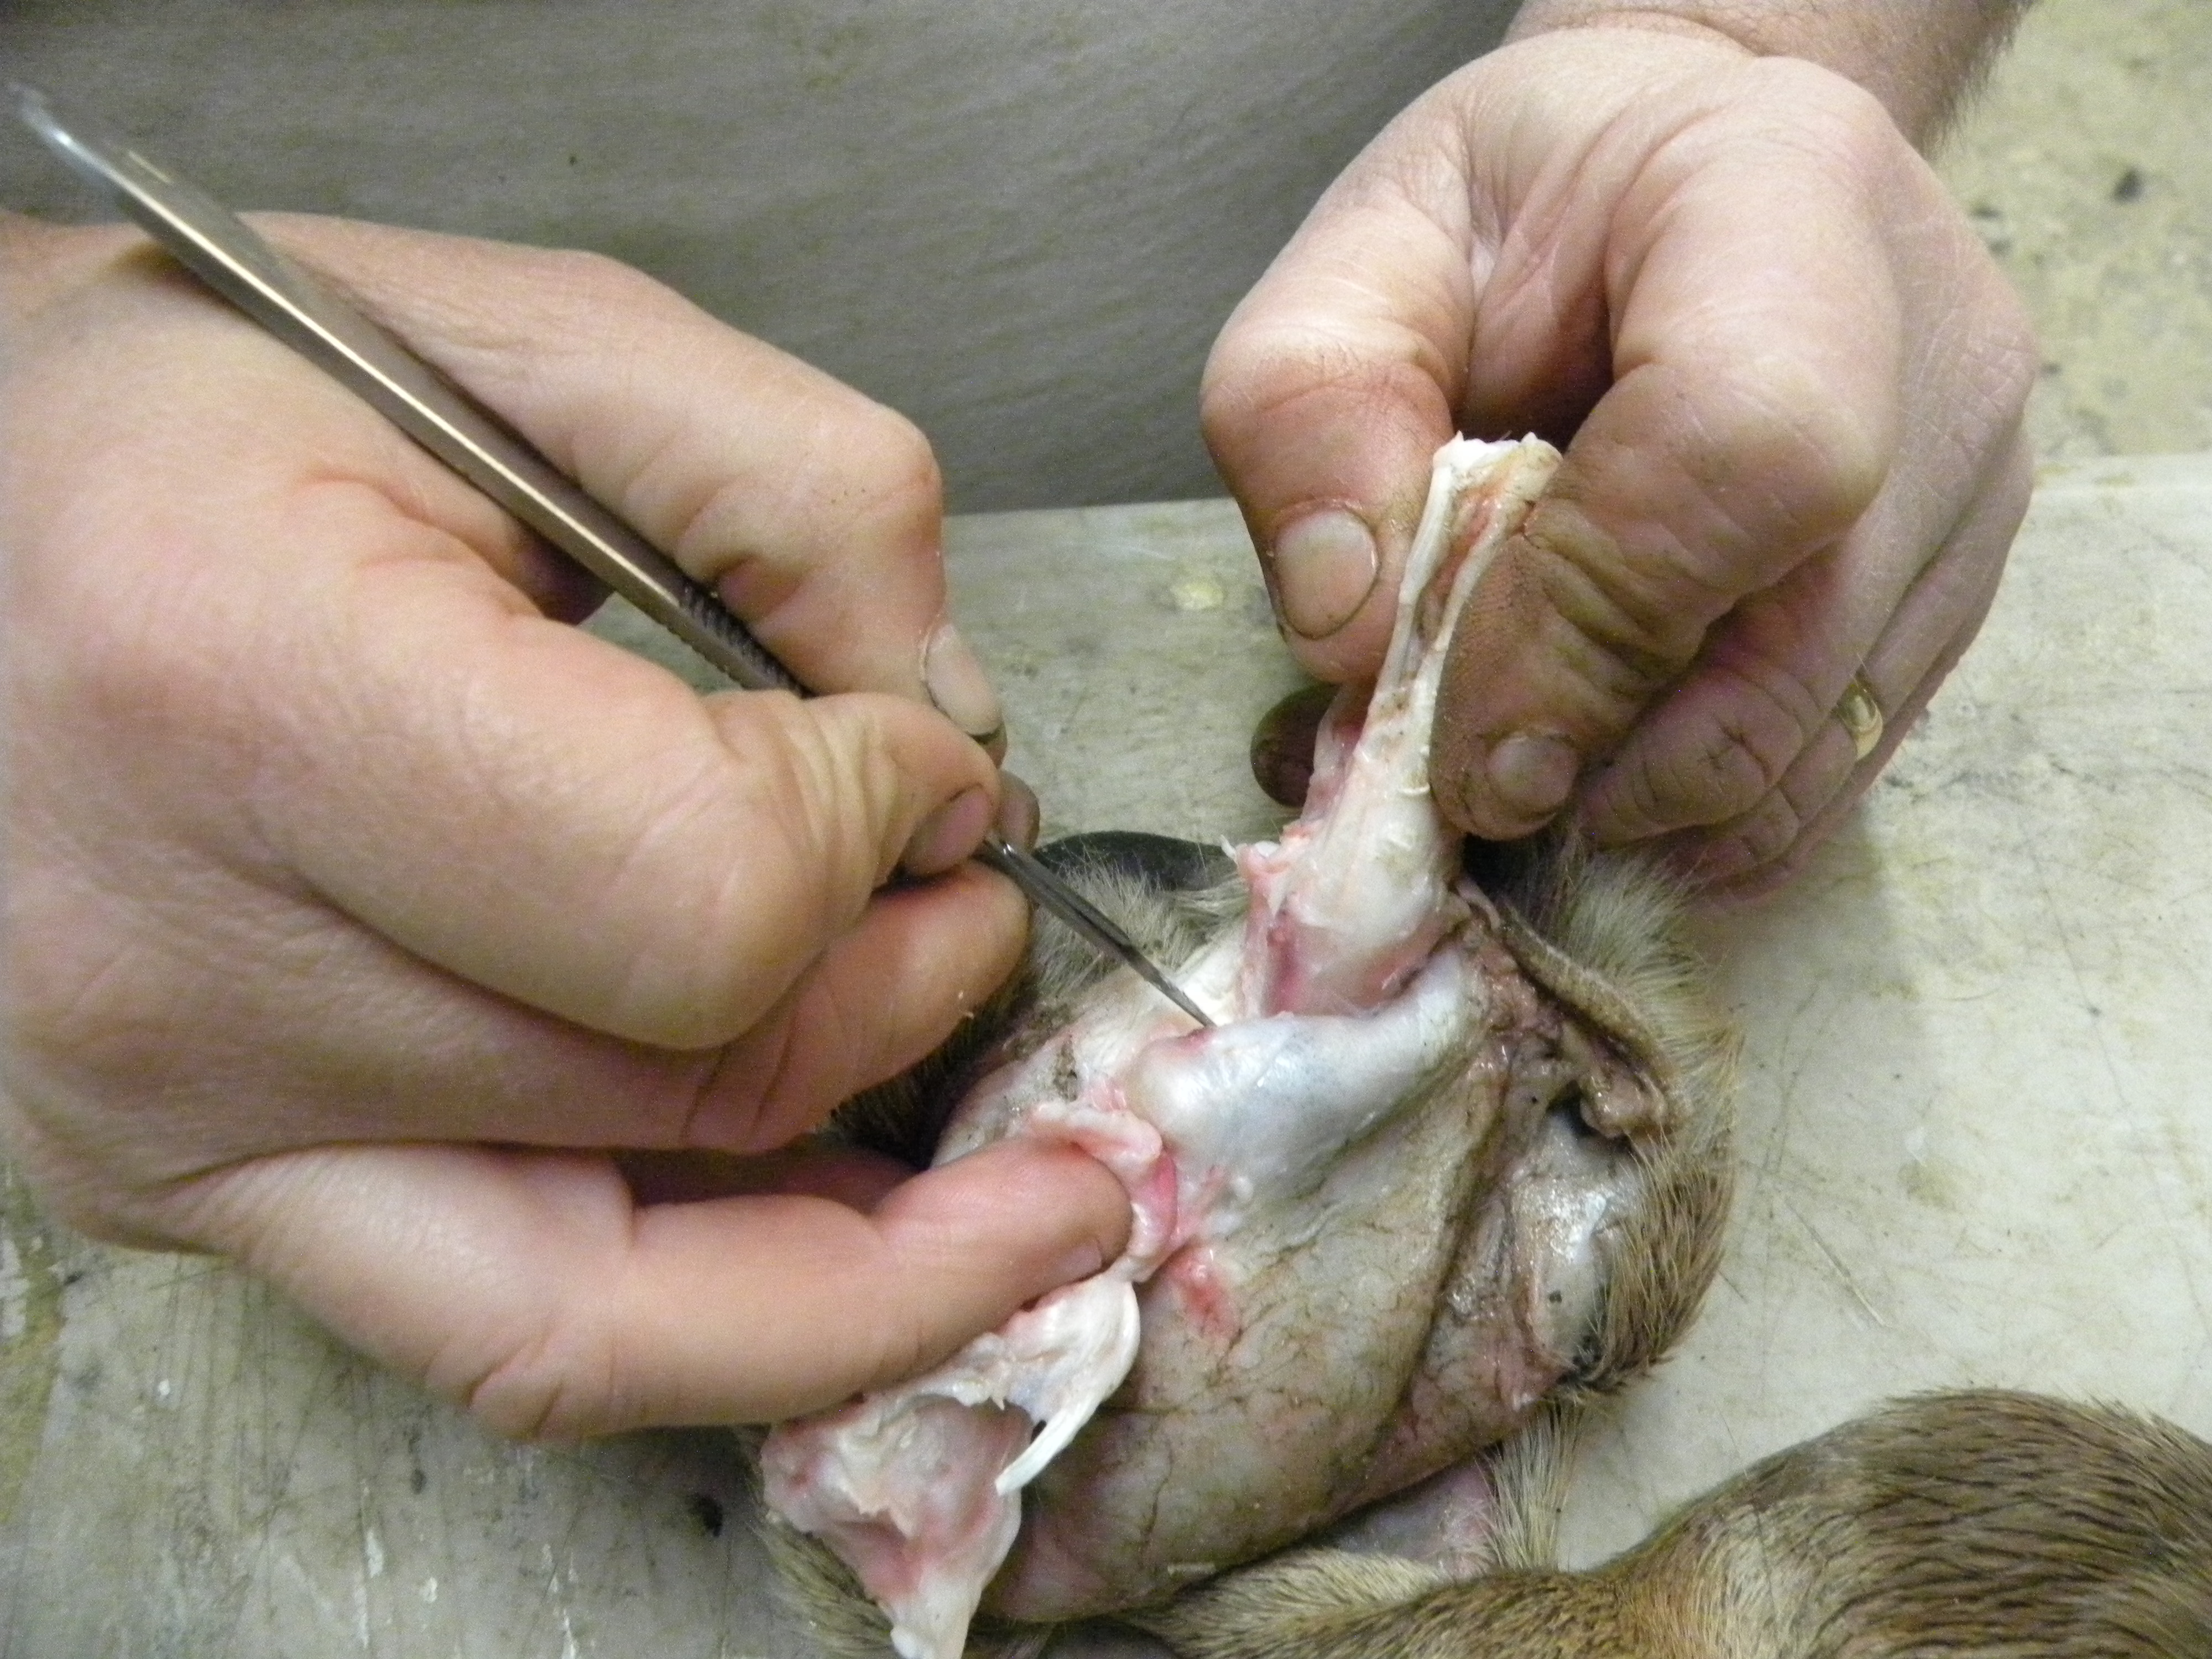
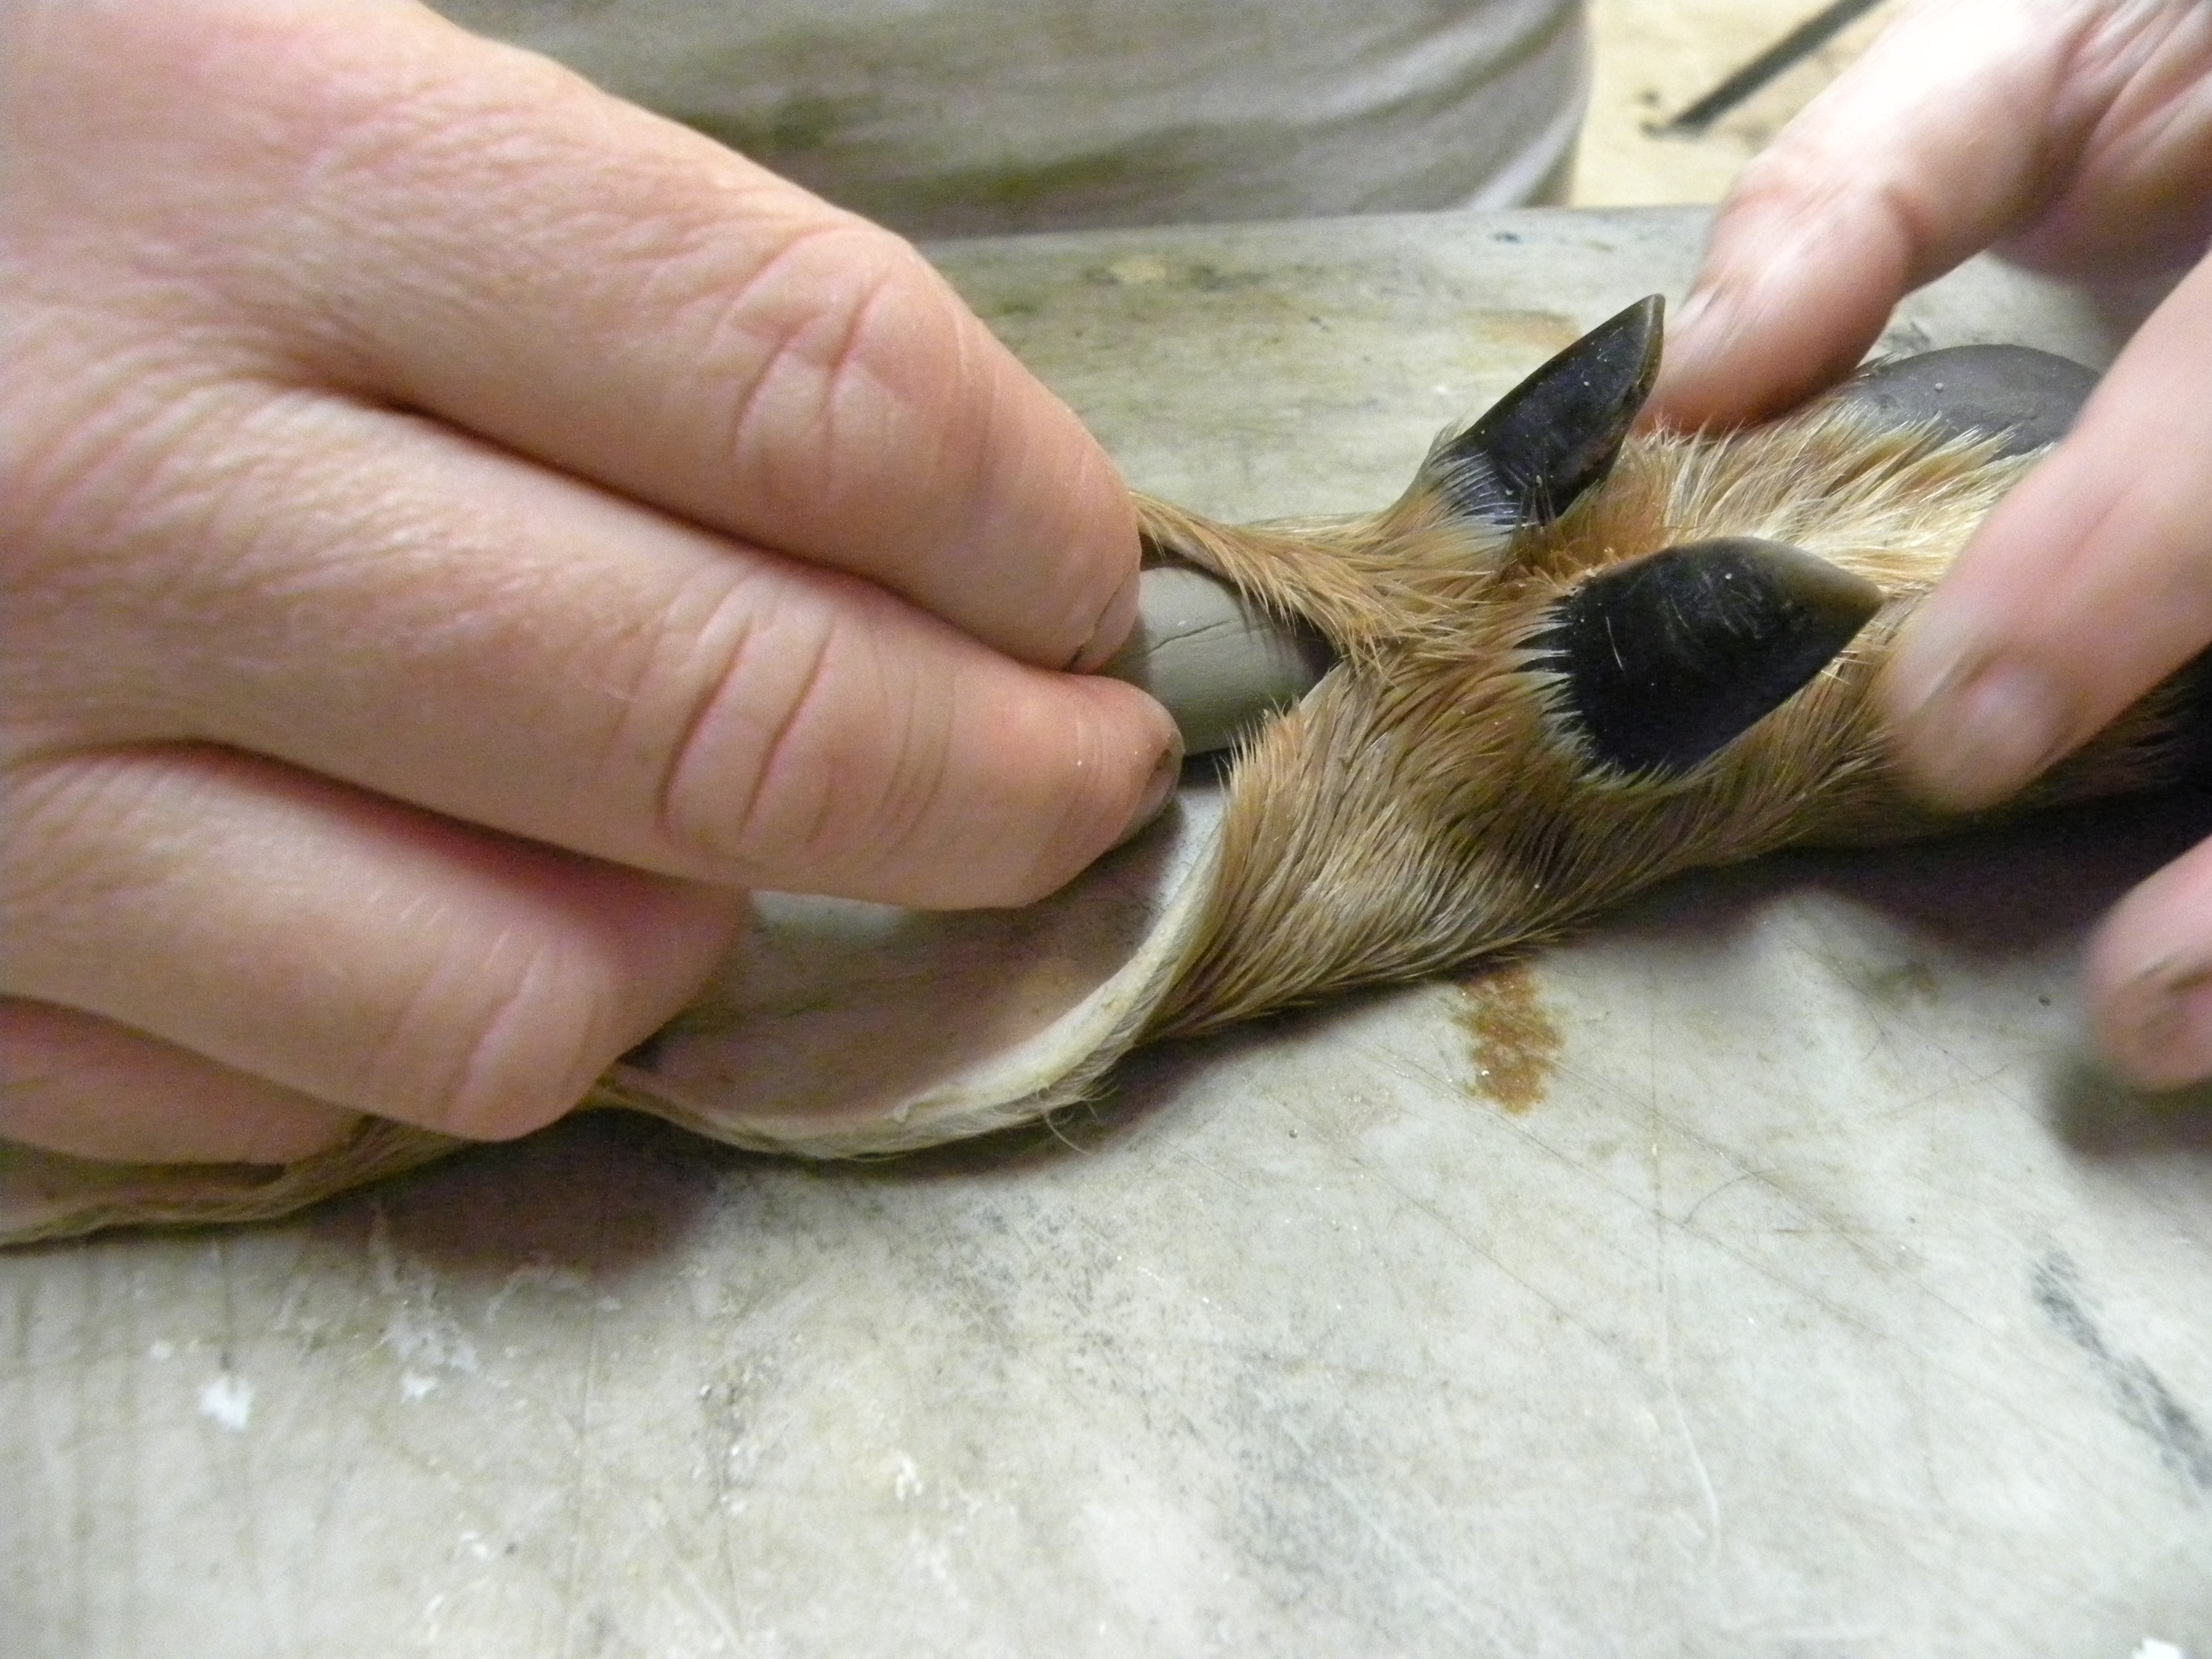
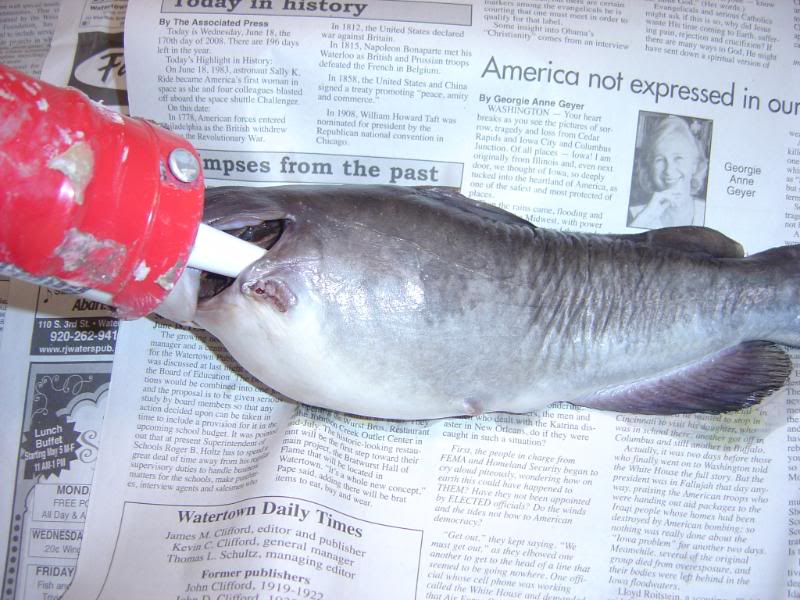
You are going to start the skinning process by using a ventral incision. Cutting from the vent down to the foot on both legs, this will be the only incision made, the front legs will be cased out completely down to the toes. Once you get the skin started it is fairly simple to remove, rabbit skin is actually pretty tough when pulling on it. DO NOT PULL ON THE HAIR, it will come out.
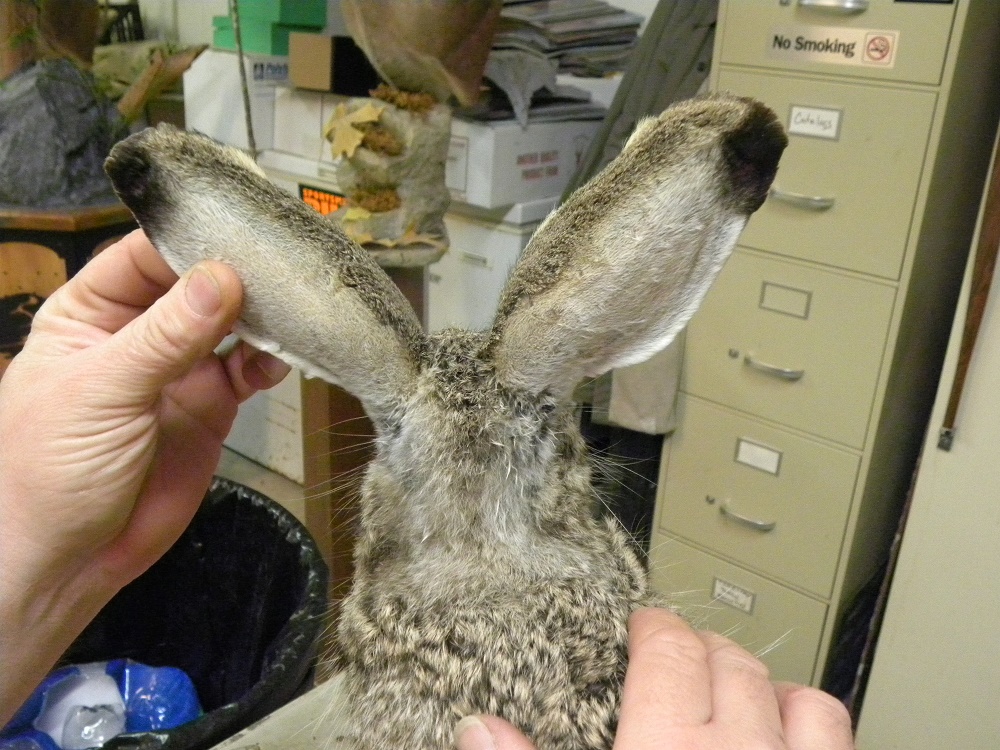
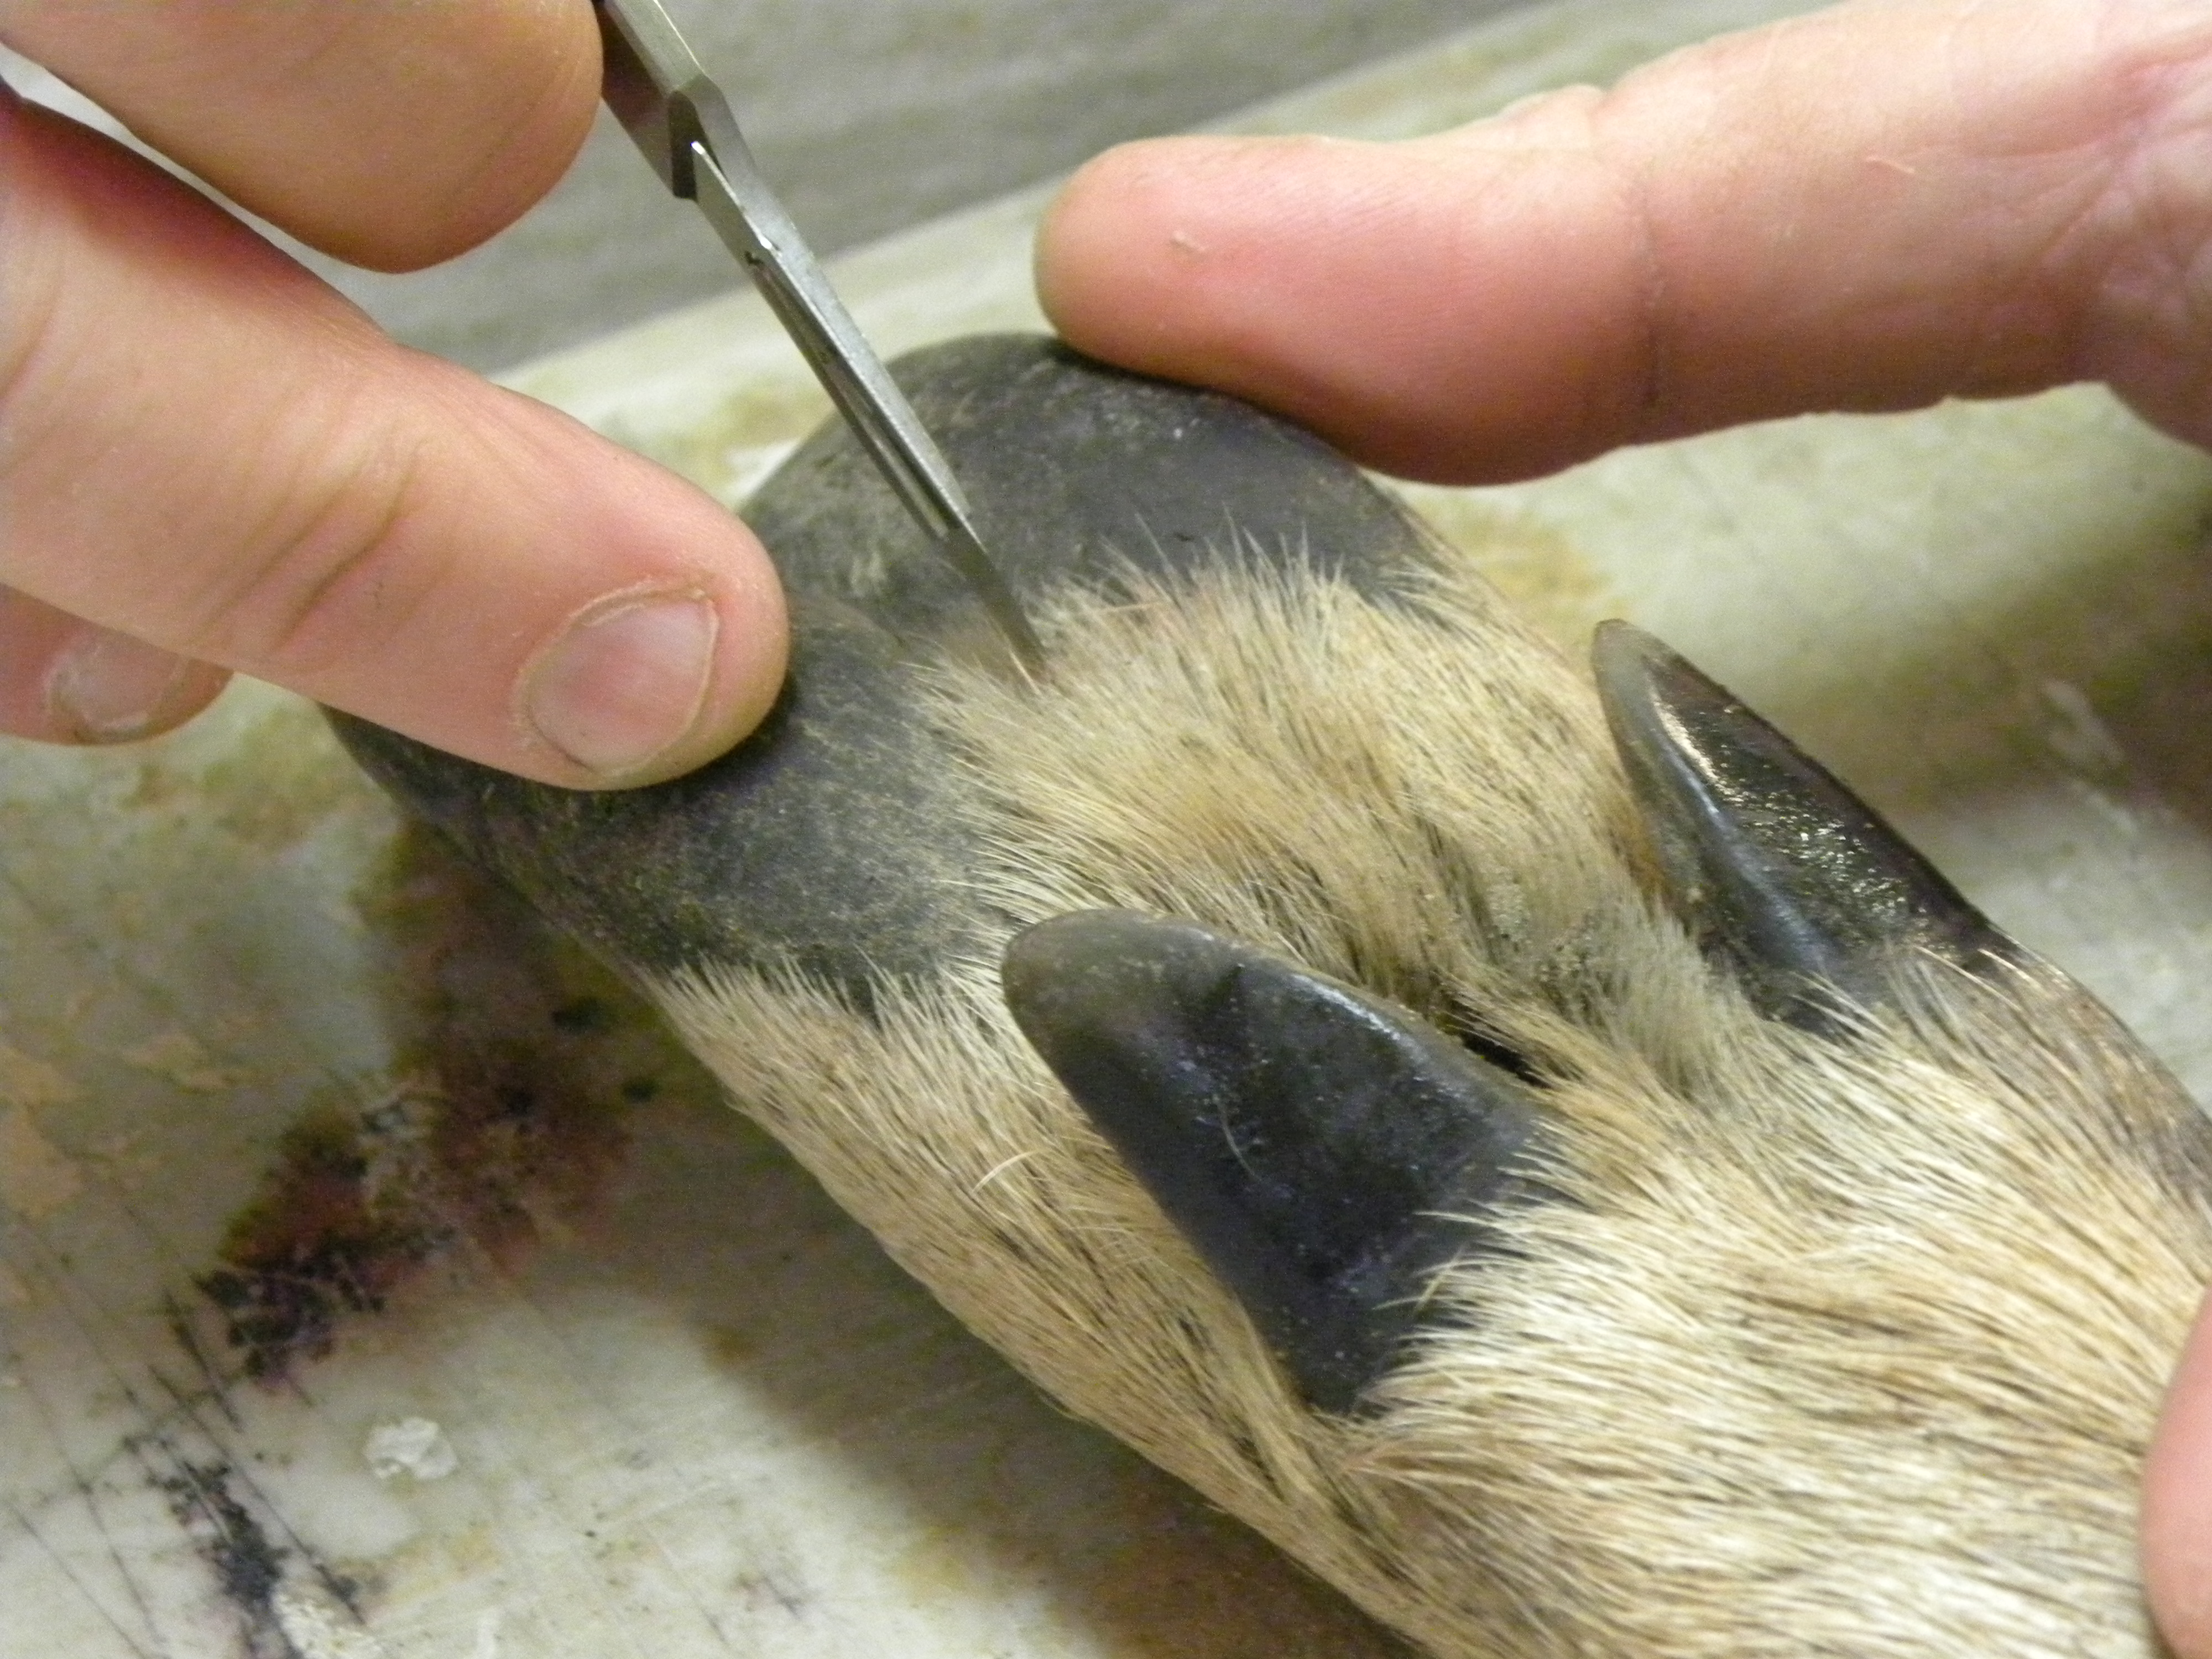
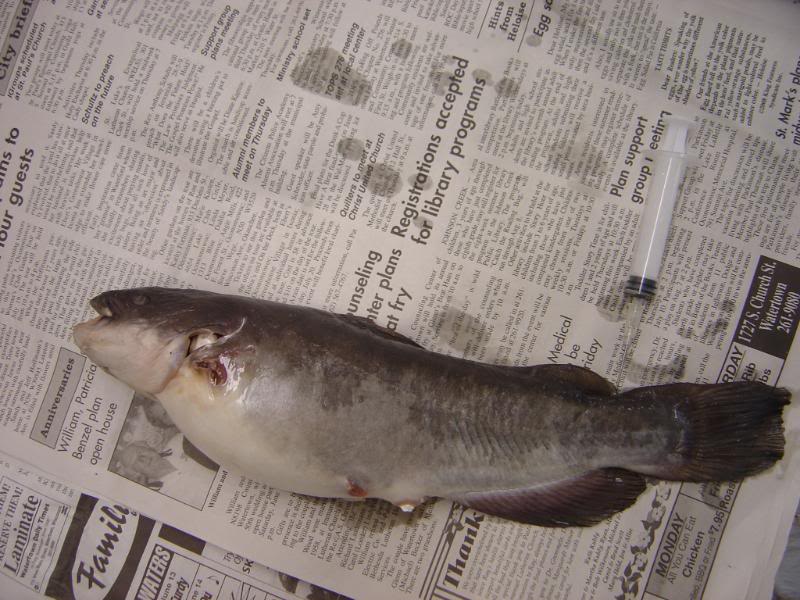
Once you have the skin off, split the eyes, lips and nose as you would on any other mammal. When turning the ears be extra careful, while they separate very easily they are paper thin and will tear. Skin the toes out all the way to the claw, much like you would a Squirrel. On these small critters I choose to leave the toe bones in after turning, this will give you shape for the toes without having to force tiny amounts of clay down into the toe skin itself.
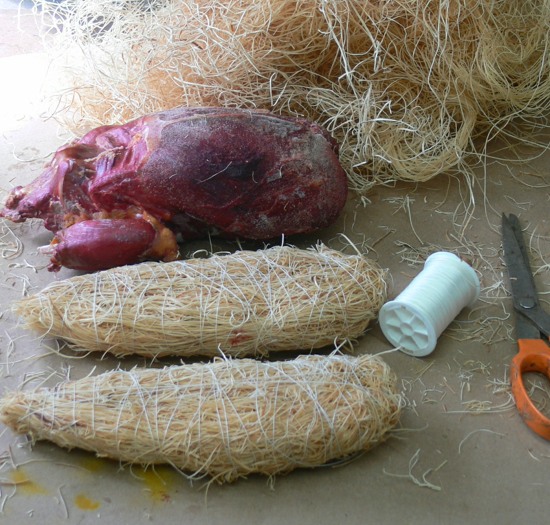
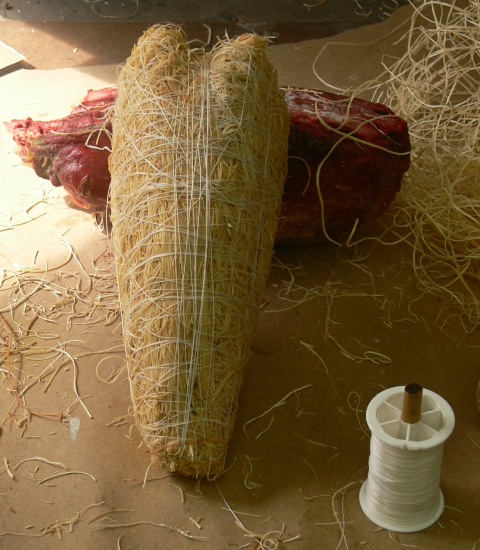
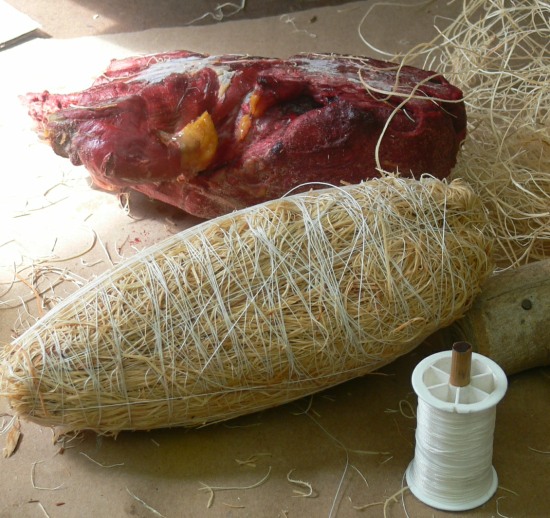
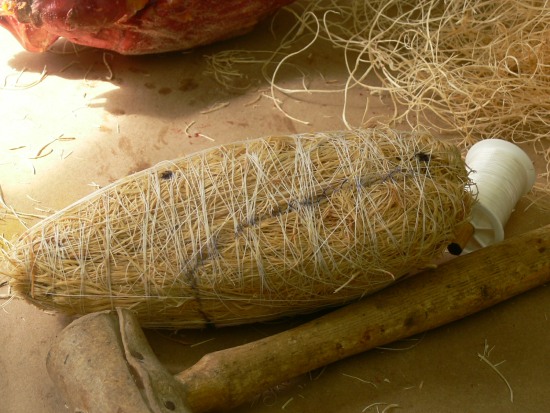
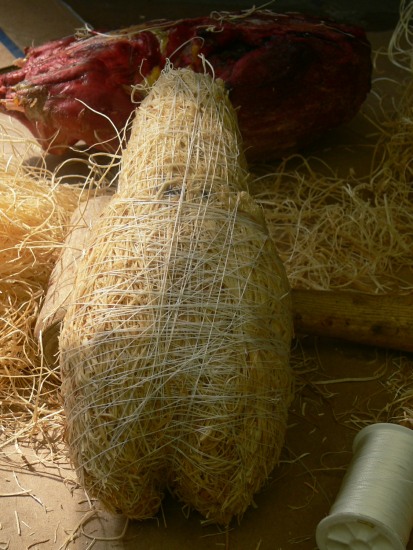
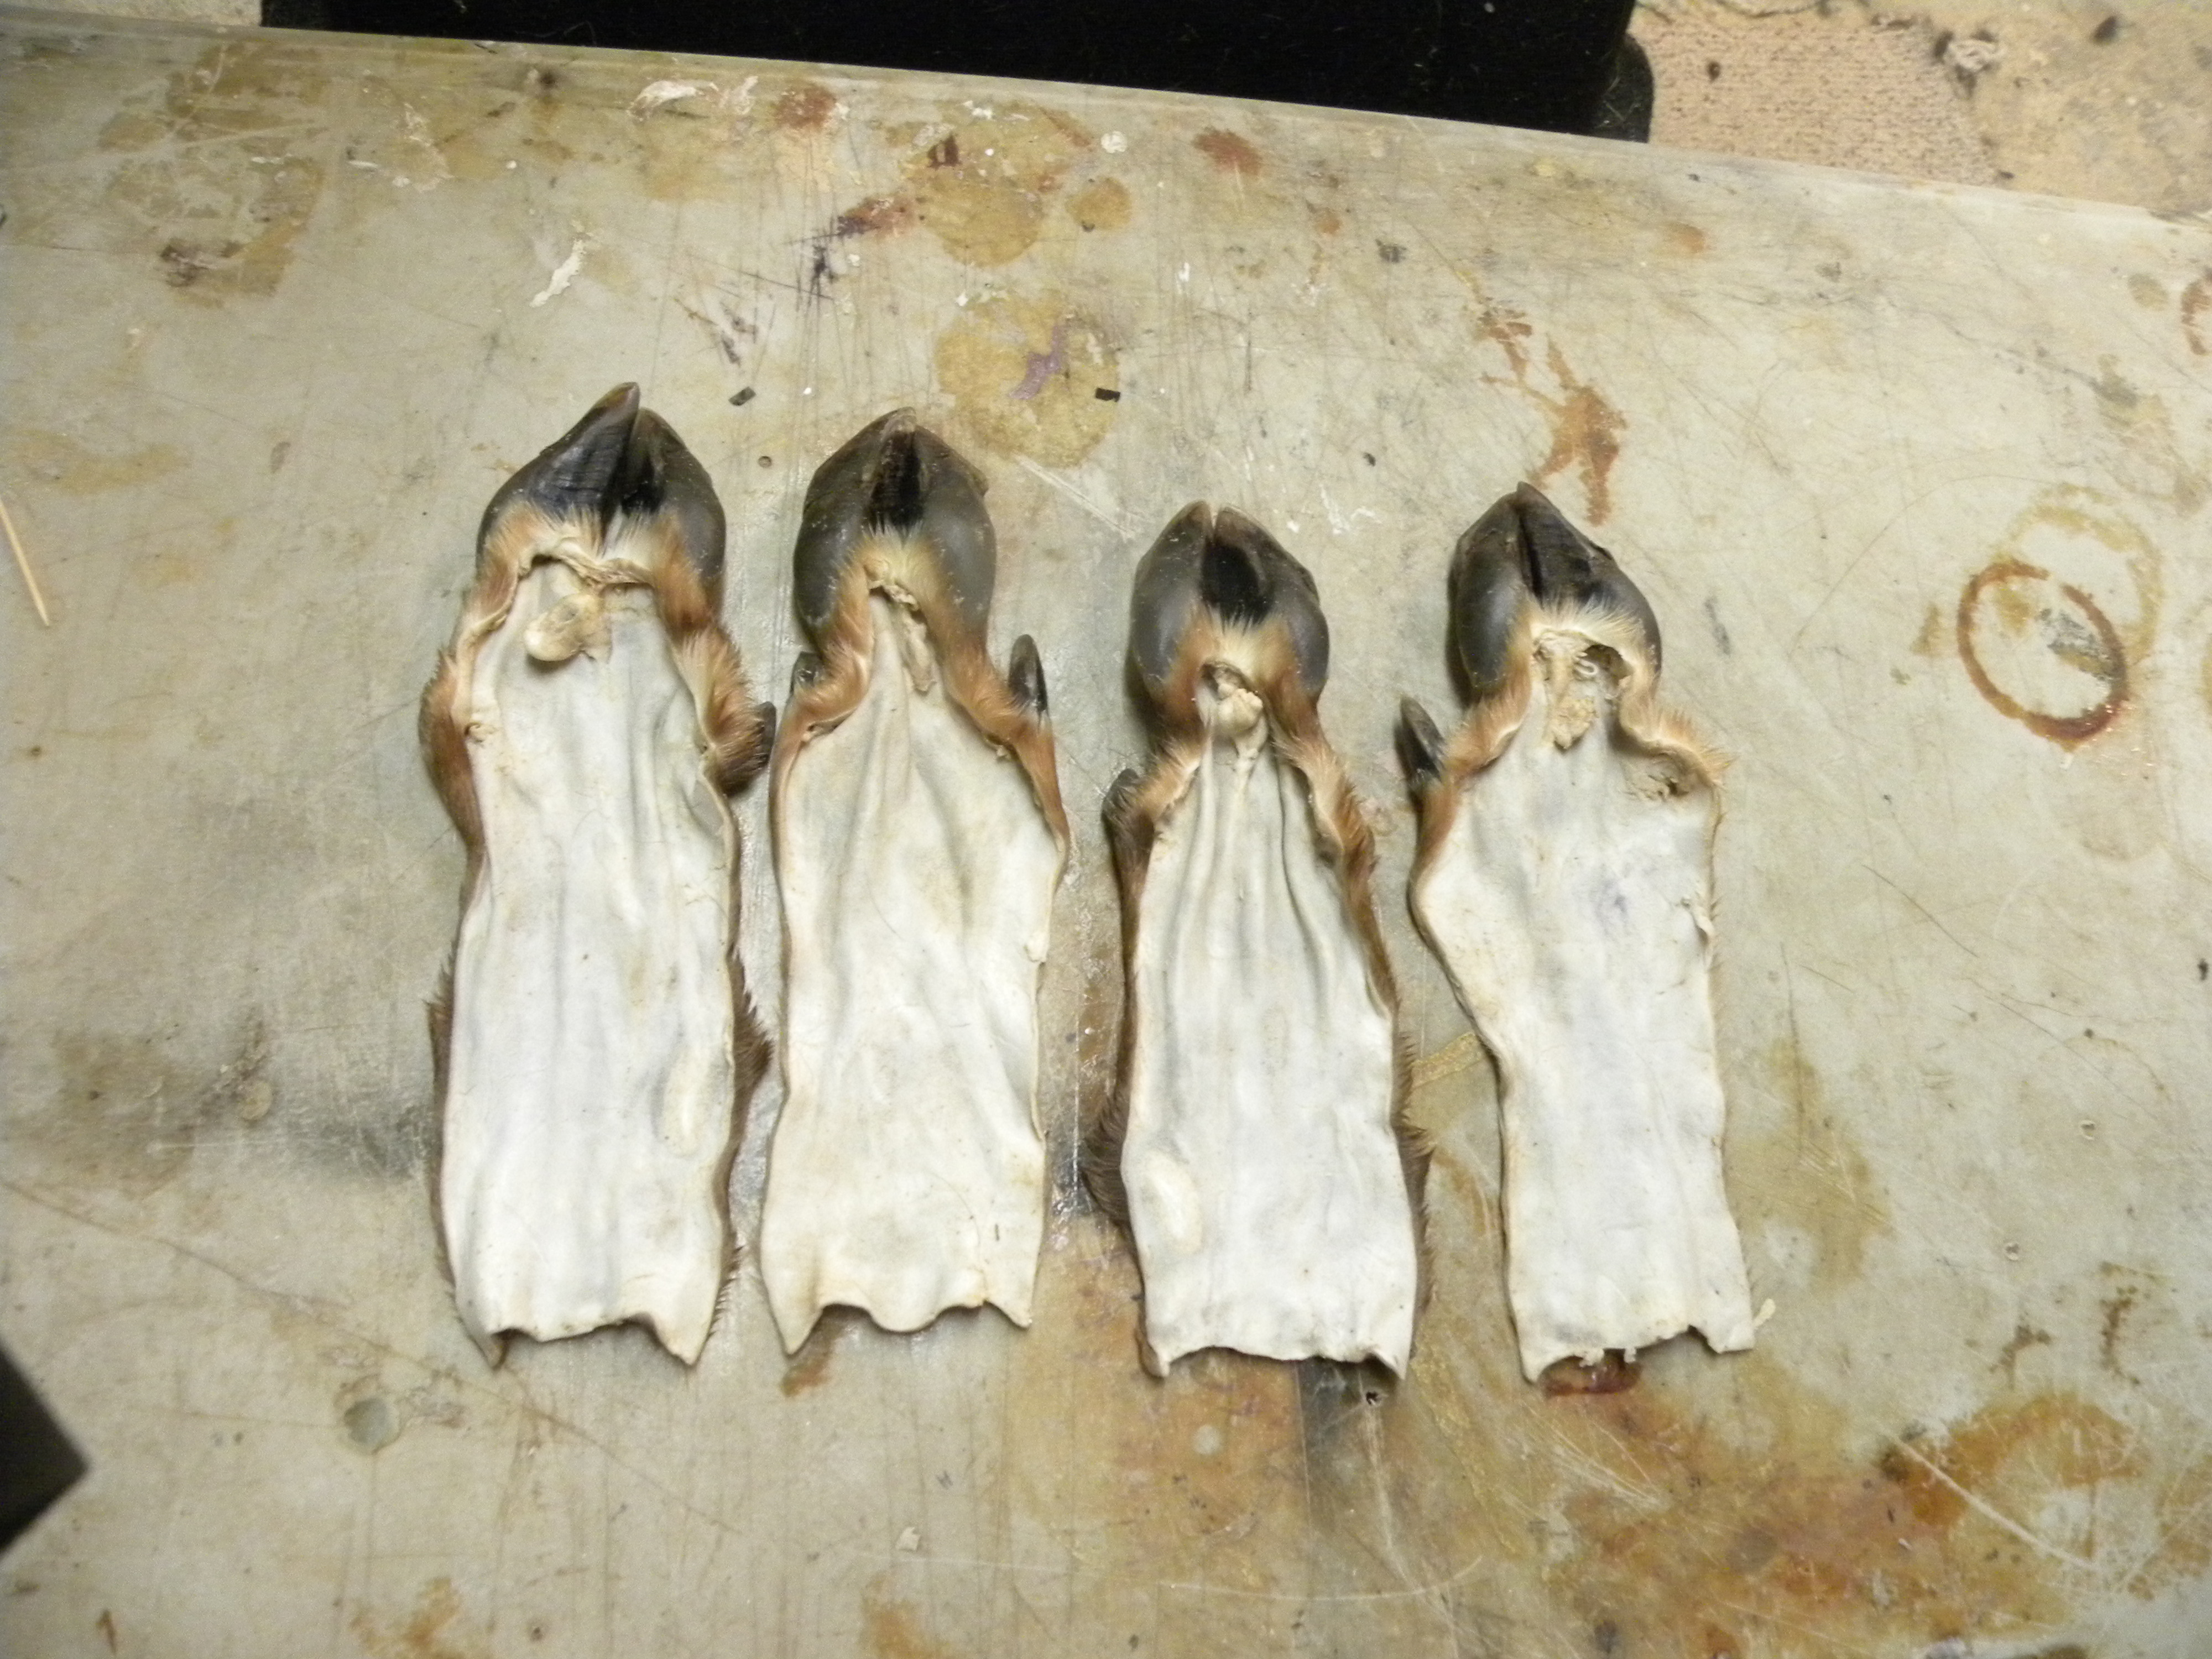
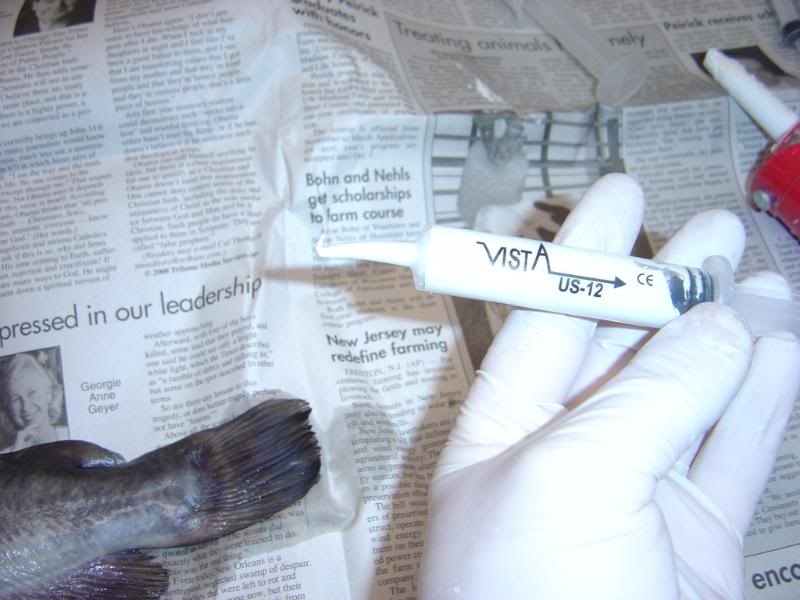
Ok, preserving the skin can be done several different ways. At this point you can Dry Preserve or powder it, in house tan it yourself or salt dry it and send it to a commercial tannery. I chose to tan this one in house using Lutan-FN, and here is why. DP is not a good option in my opinion when leaving the toe bones in it. I feel the tan will preserve them better and narrow the chances of insect infestation. This skin is way too fragile to be sending off and being handled excessively in a commercial atmosphere.
If you do decide to tan it in house, DO NOT put it in an acid pickle; You will stand a very good chance of having rabbit soup if you do. Go straight into the tan with it, by pass the pickle bath altogether. The skin is so thin the tan will preserve it without it being plumped for shaving/thinning purposes. Once it has been in tan a couple of days and all flesh and membrane have been removed give it a quick neutralizing. Lutan-FN has a fairly high pH as far as tans go so five to ten minutes max will do the job, anything over that, you take a chance of really loosening up the fur.
The Mounting Process
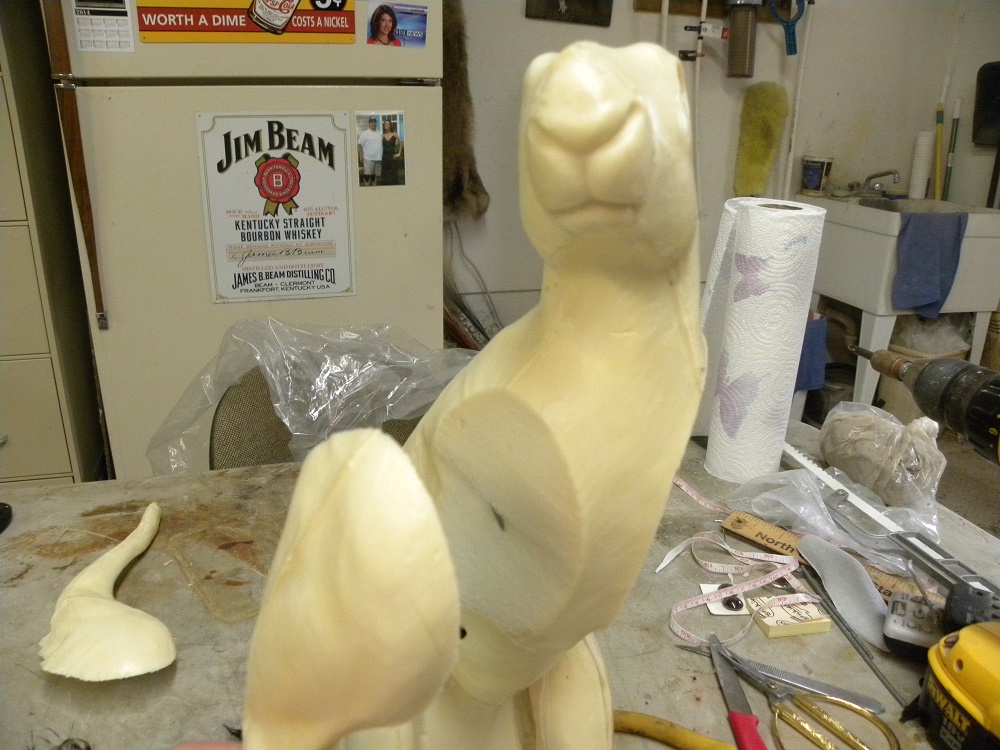
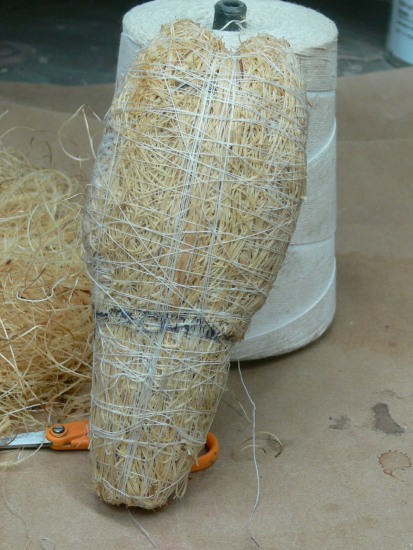
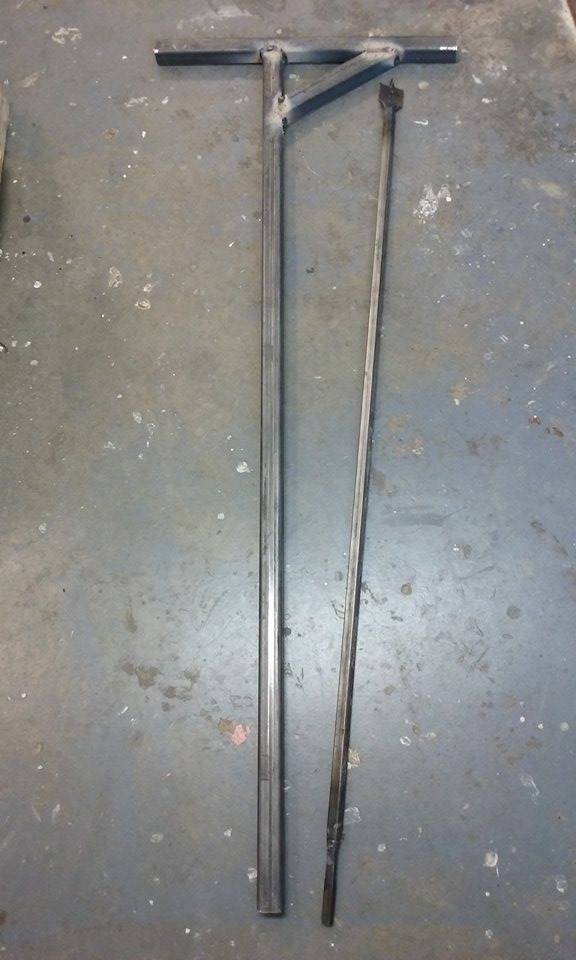
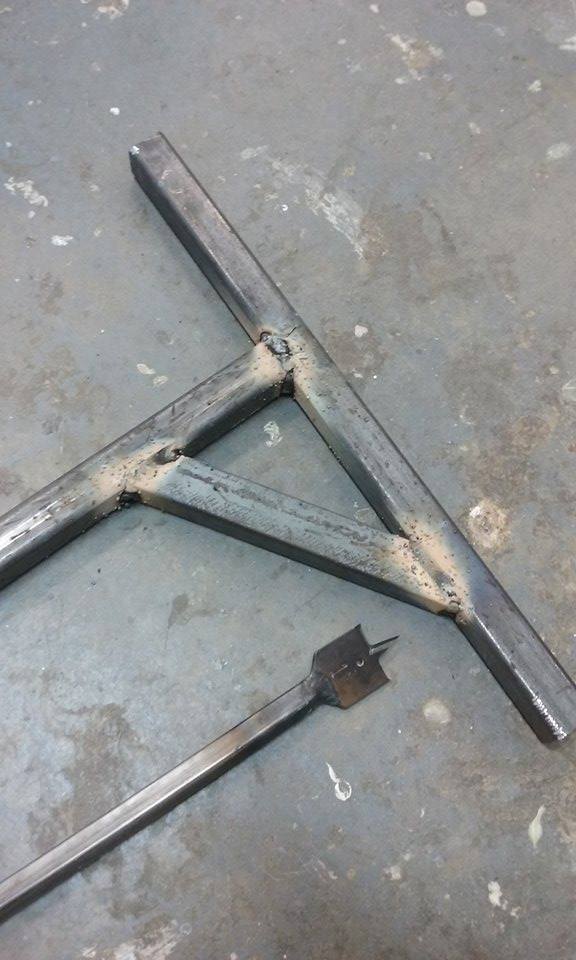
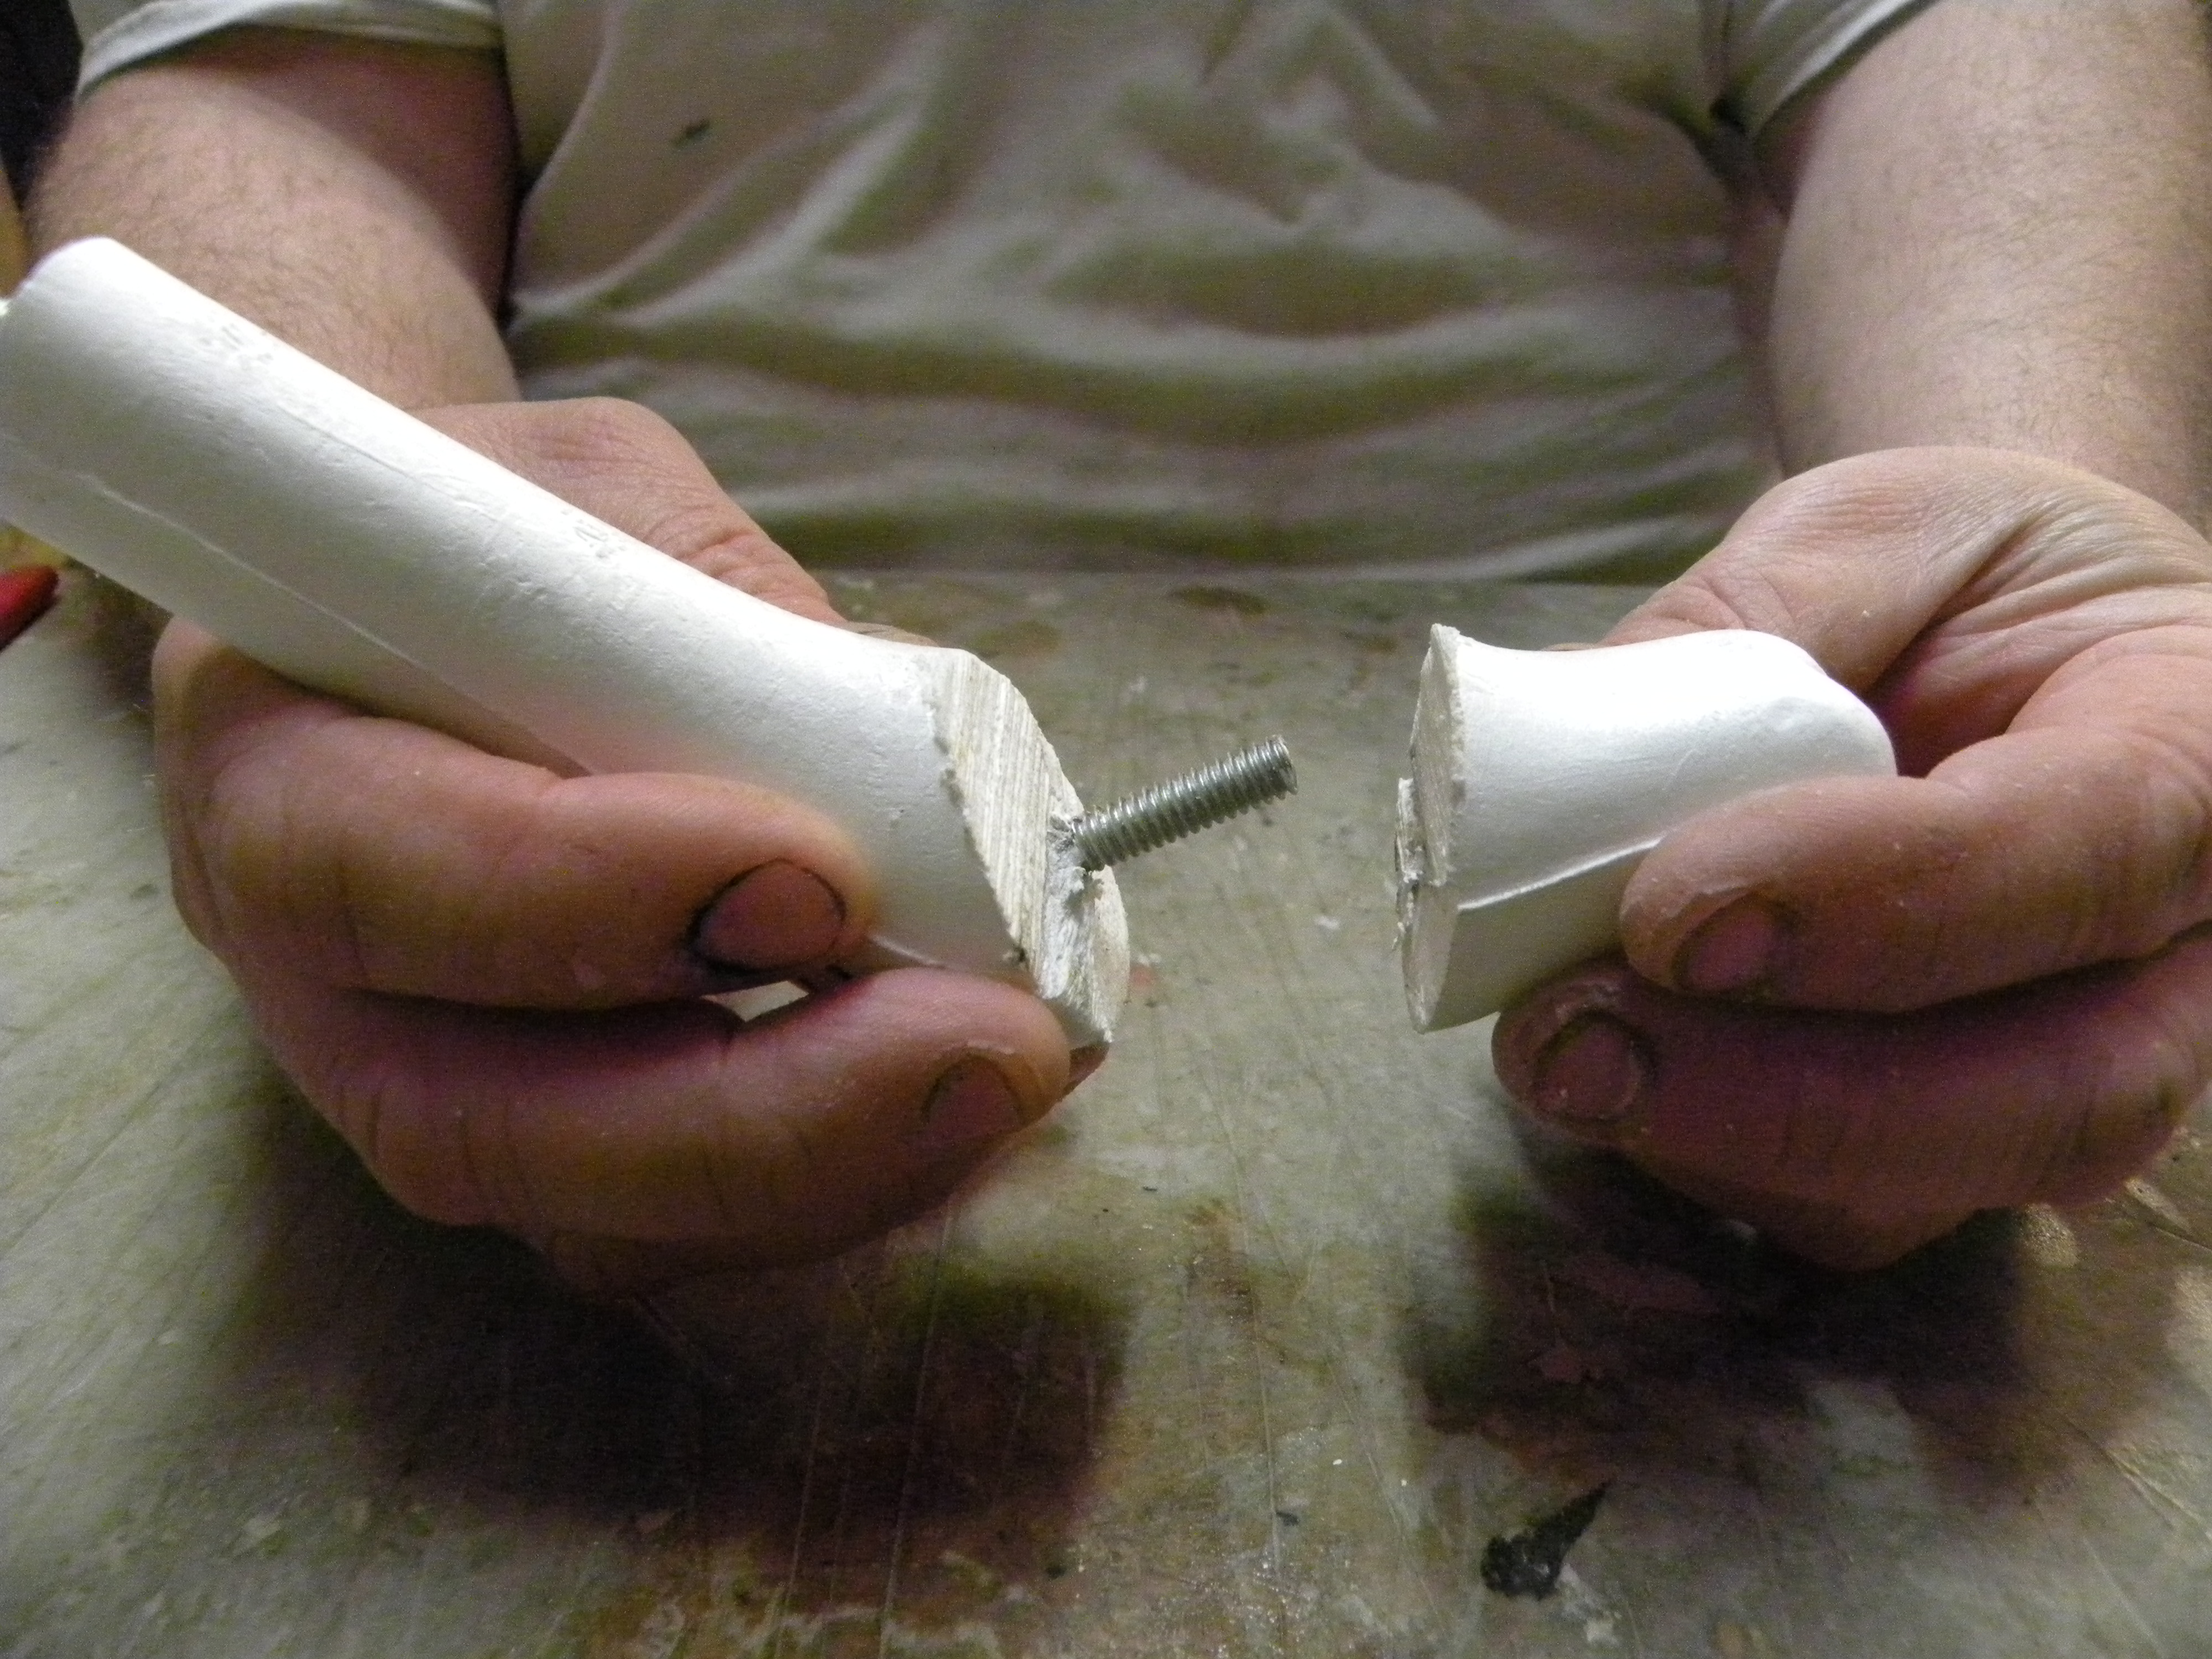
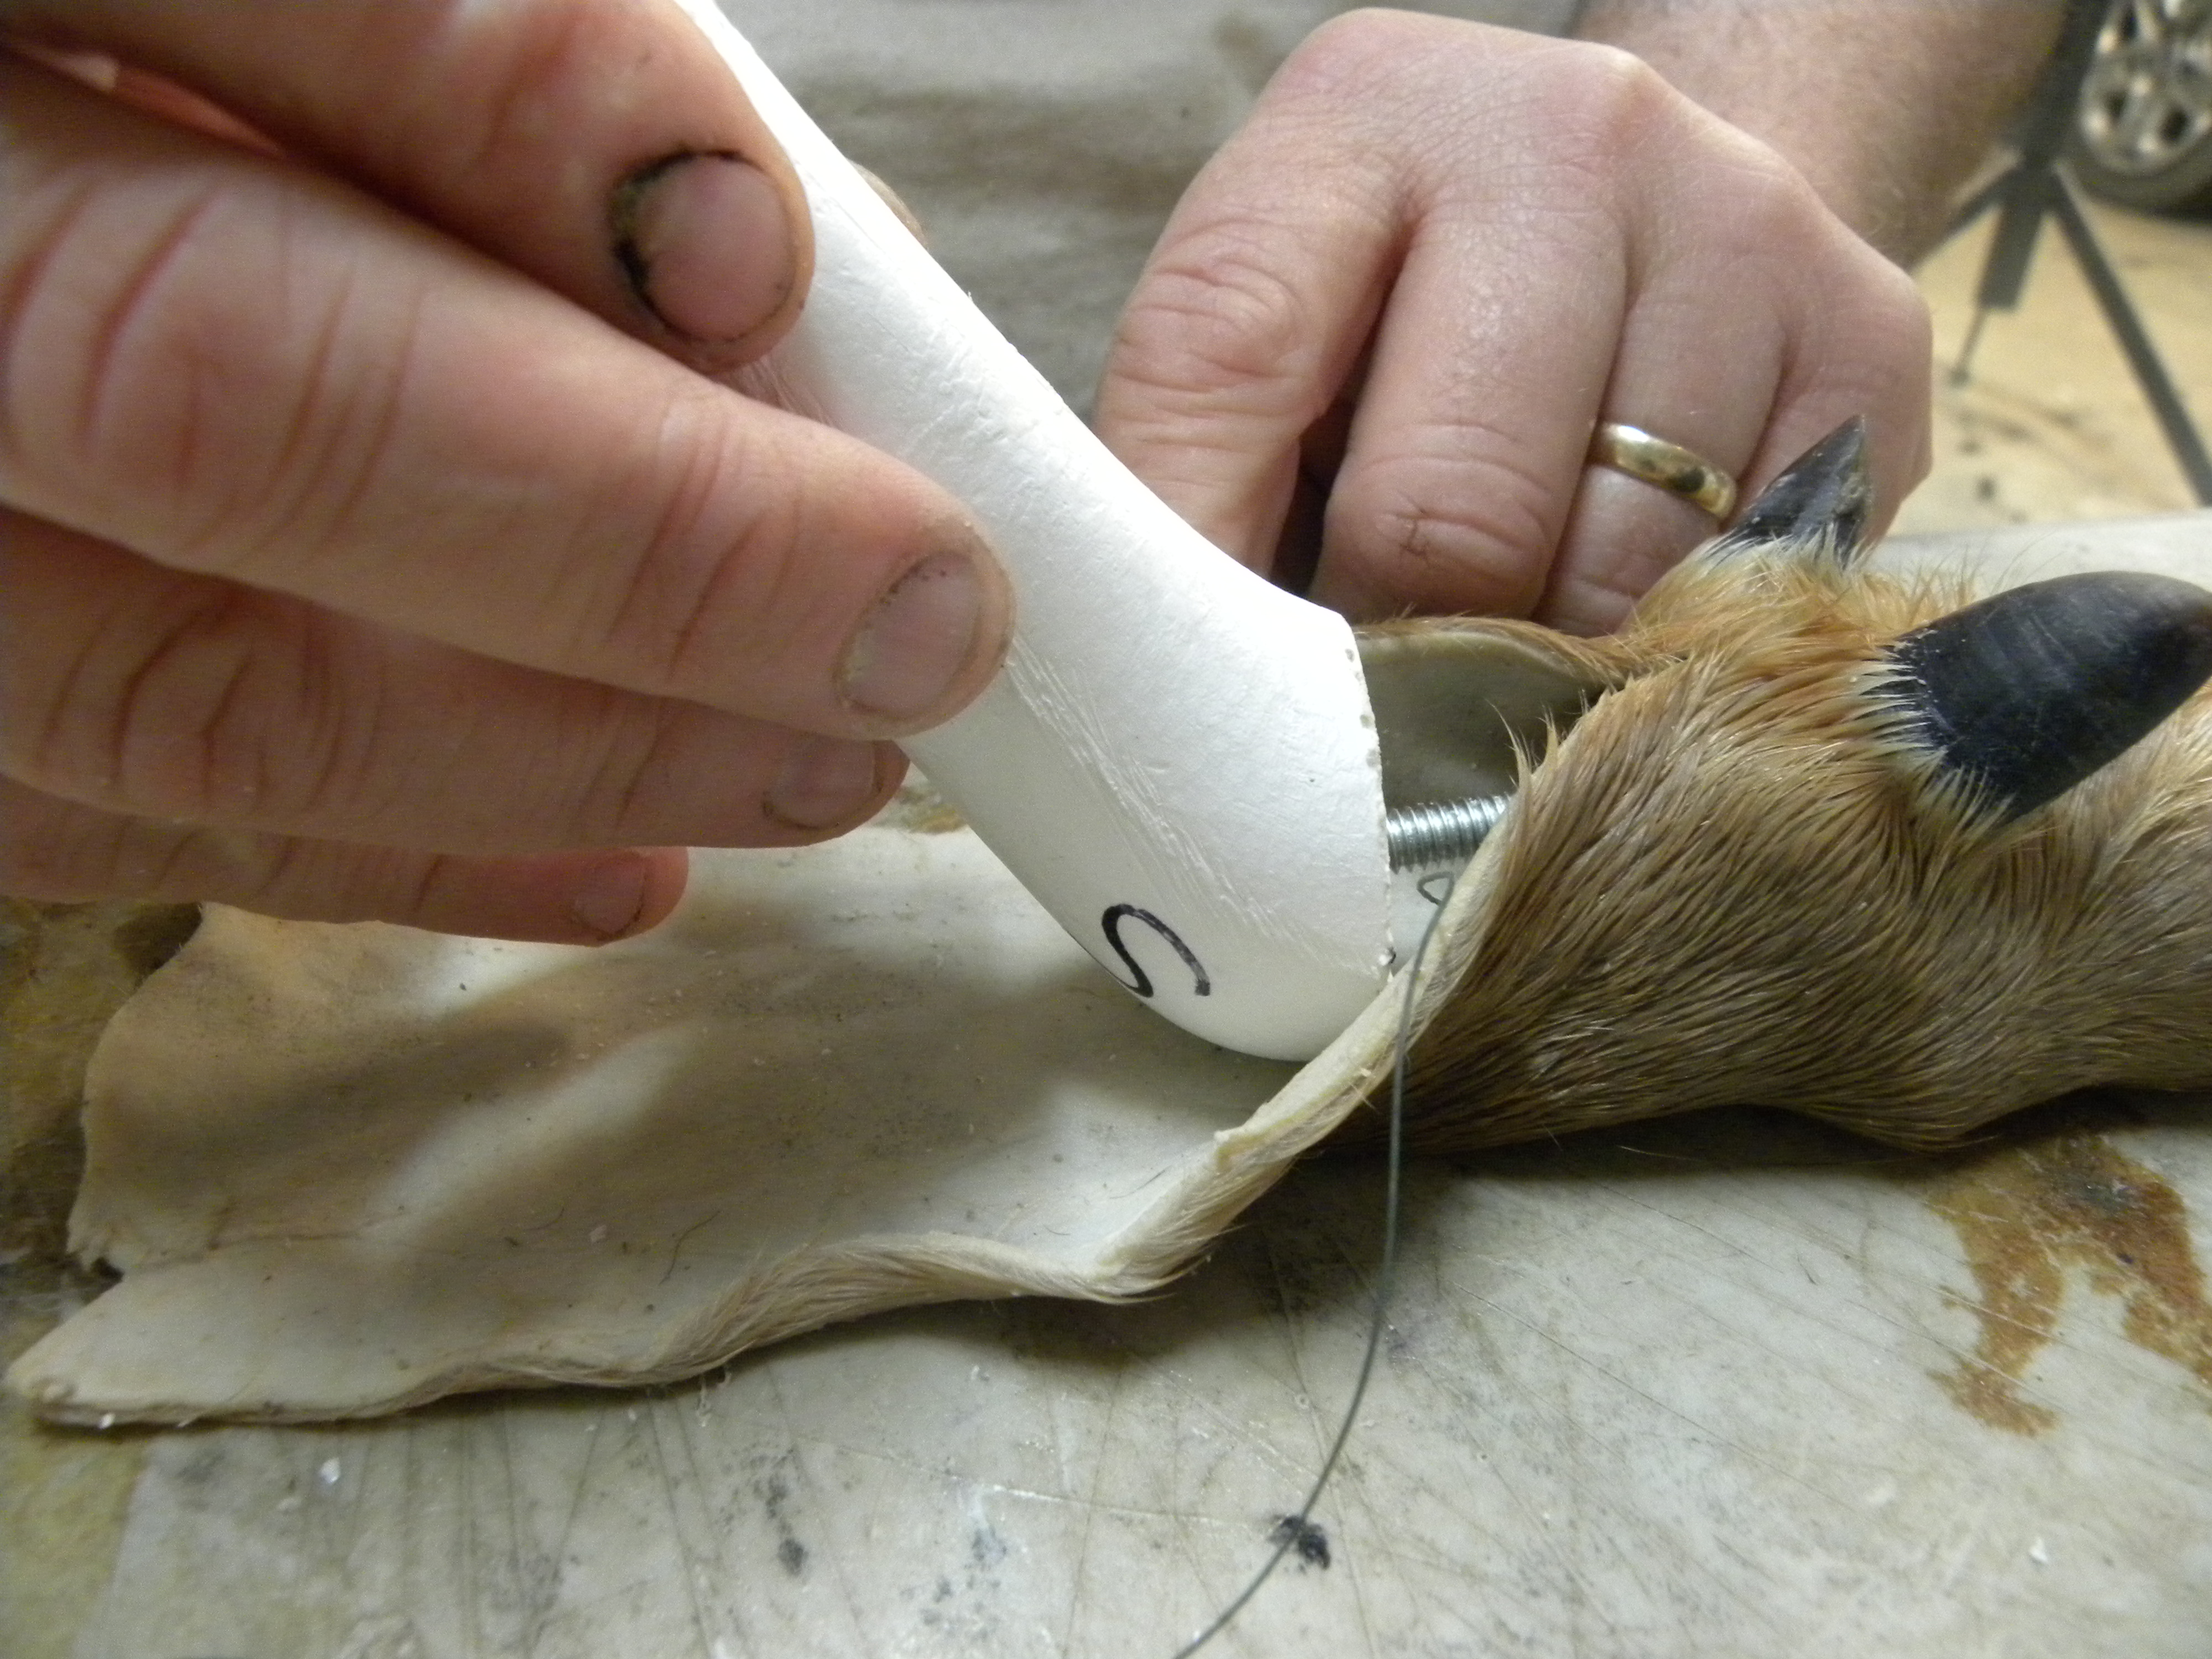
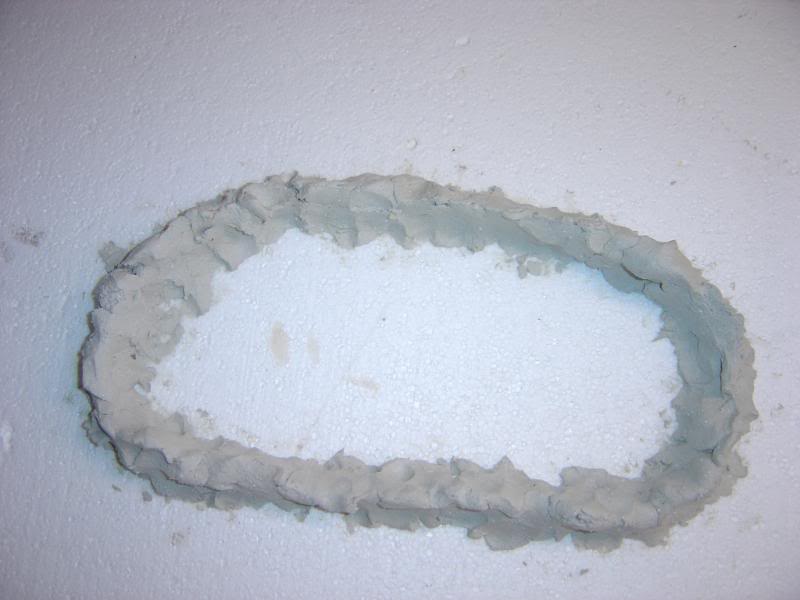
Now let’s mount the Jack Rabbit up. Prepping the form is fairly simple. Start by making any relief cuts needed, on this particular form they were all on the back legs. Next with a saw remove the front legs completely. With a sharp knife remove the lower part of the leg foam which would be the foot, you will replace this with clay so you can shape it and position it to where it needs to be. Do not cut the leg wire; It will help give you support and strength where the clay will be.
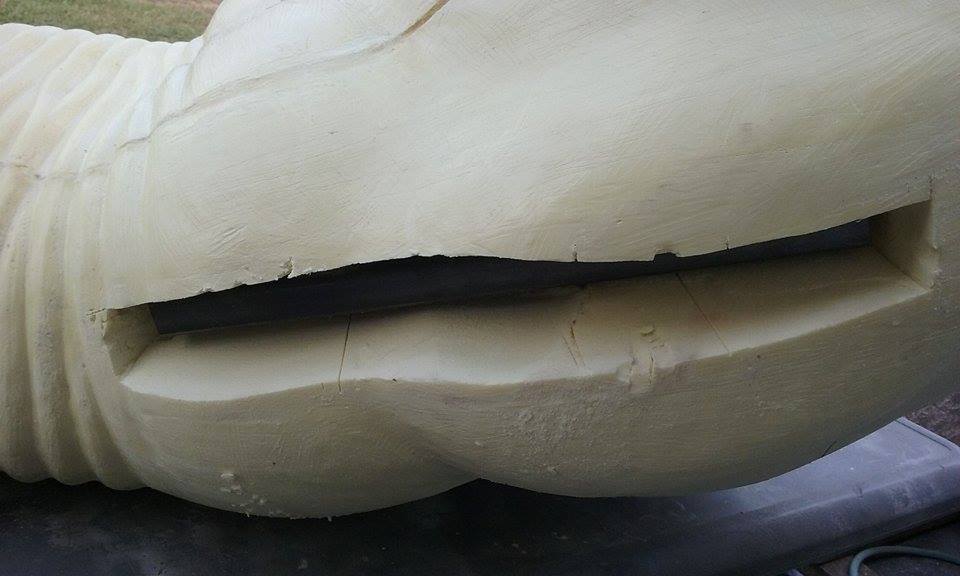
I actually found that McKenzie had celastic/fabric earliners for Jack Rabbits (Not sure how they are used in freeze drying). So I decided to use them for mounting purposes because these ears are so thin and it was a young client’s mount. I wanted them to be as strong as possible. If you decide to go this route remove the cartilage just like you would on a deer. You will need to Dremel out a recess at the location for the ear canals for the liner butts to sit in.
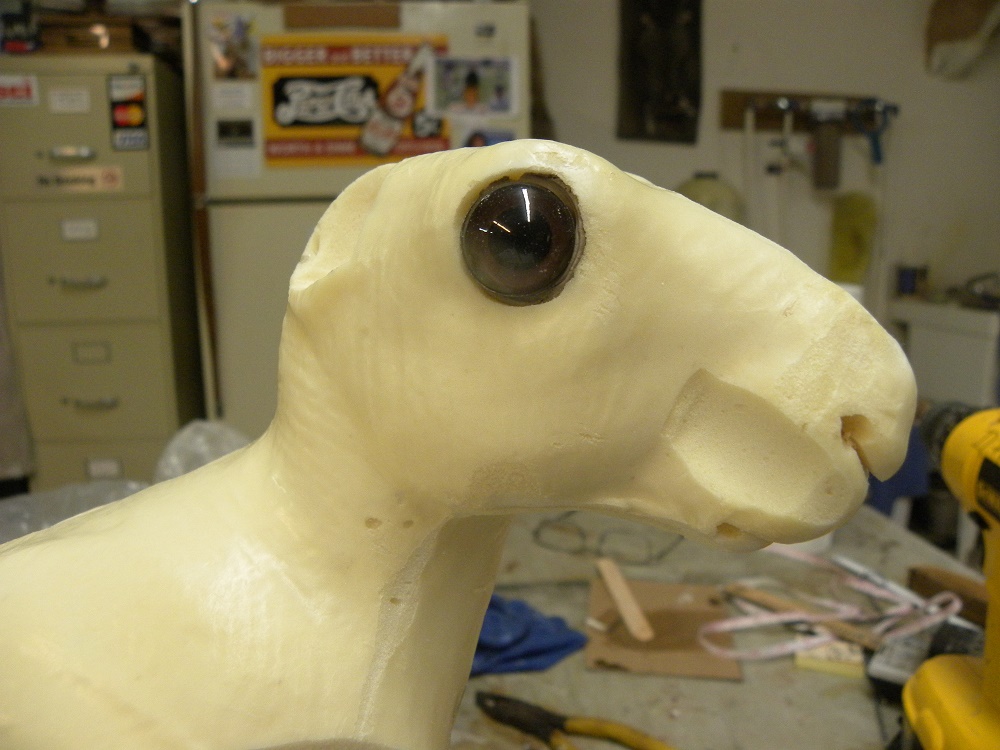
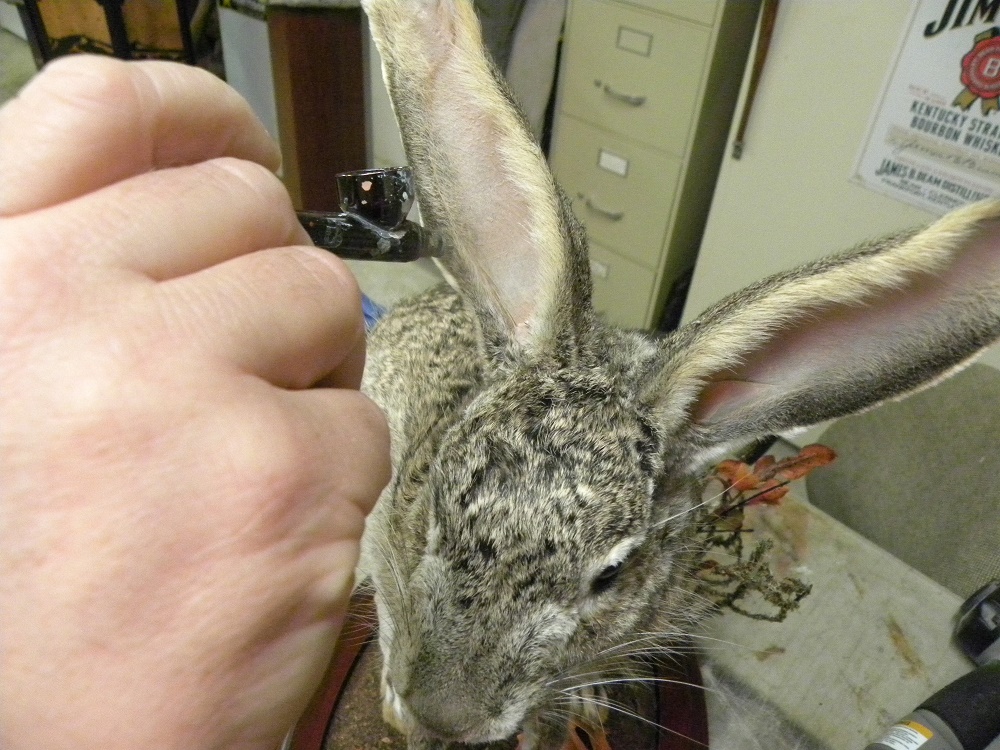
Next pop the eyes in making sure they are symmetrical. Remember humans make these forms so they are never perfect, make any adjustments needed per your references. Also at this time Dremel out an area for your whisker bed. Test fit the face to make sure you get it in the correct location. You will fill this area with clay. Cut your lip slot and nostril openings as well.
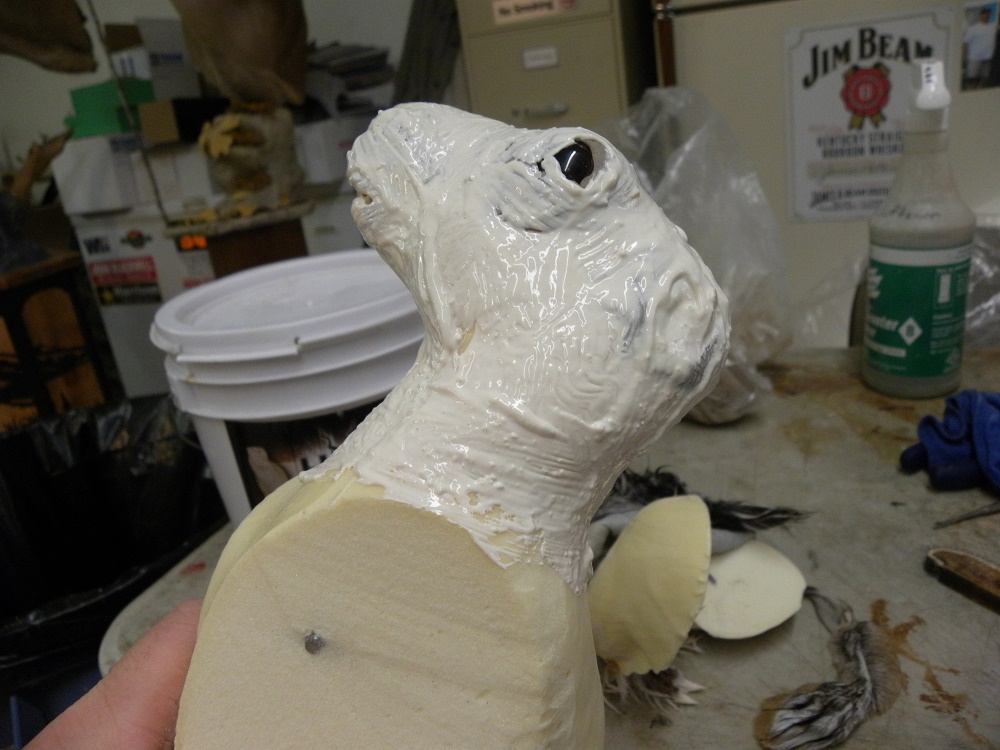
Now do any clay work such as around the eyes, whisker beds, ear butts and feet. Sew up any bullet or skinner holes in the skin and glue in your earliners. Next you are going to add a liberal coat of hide glue to the two front legs and slide them up and into the leg skins. Once the front legs are roughly adjusted into place, apply glue to the head and neck area and slide the head end of the form into the skin.
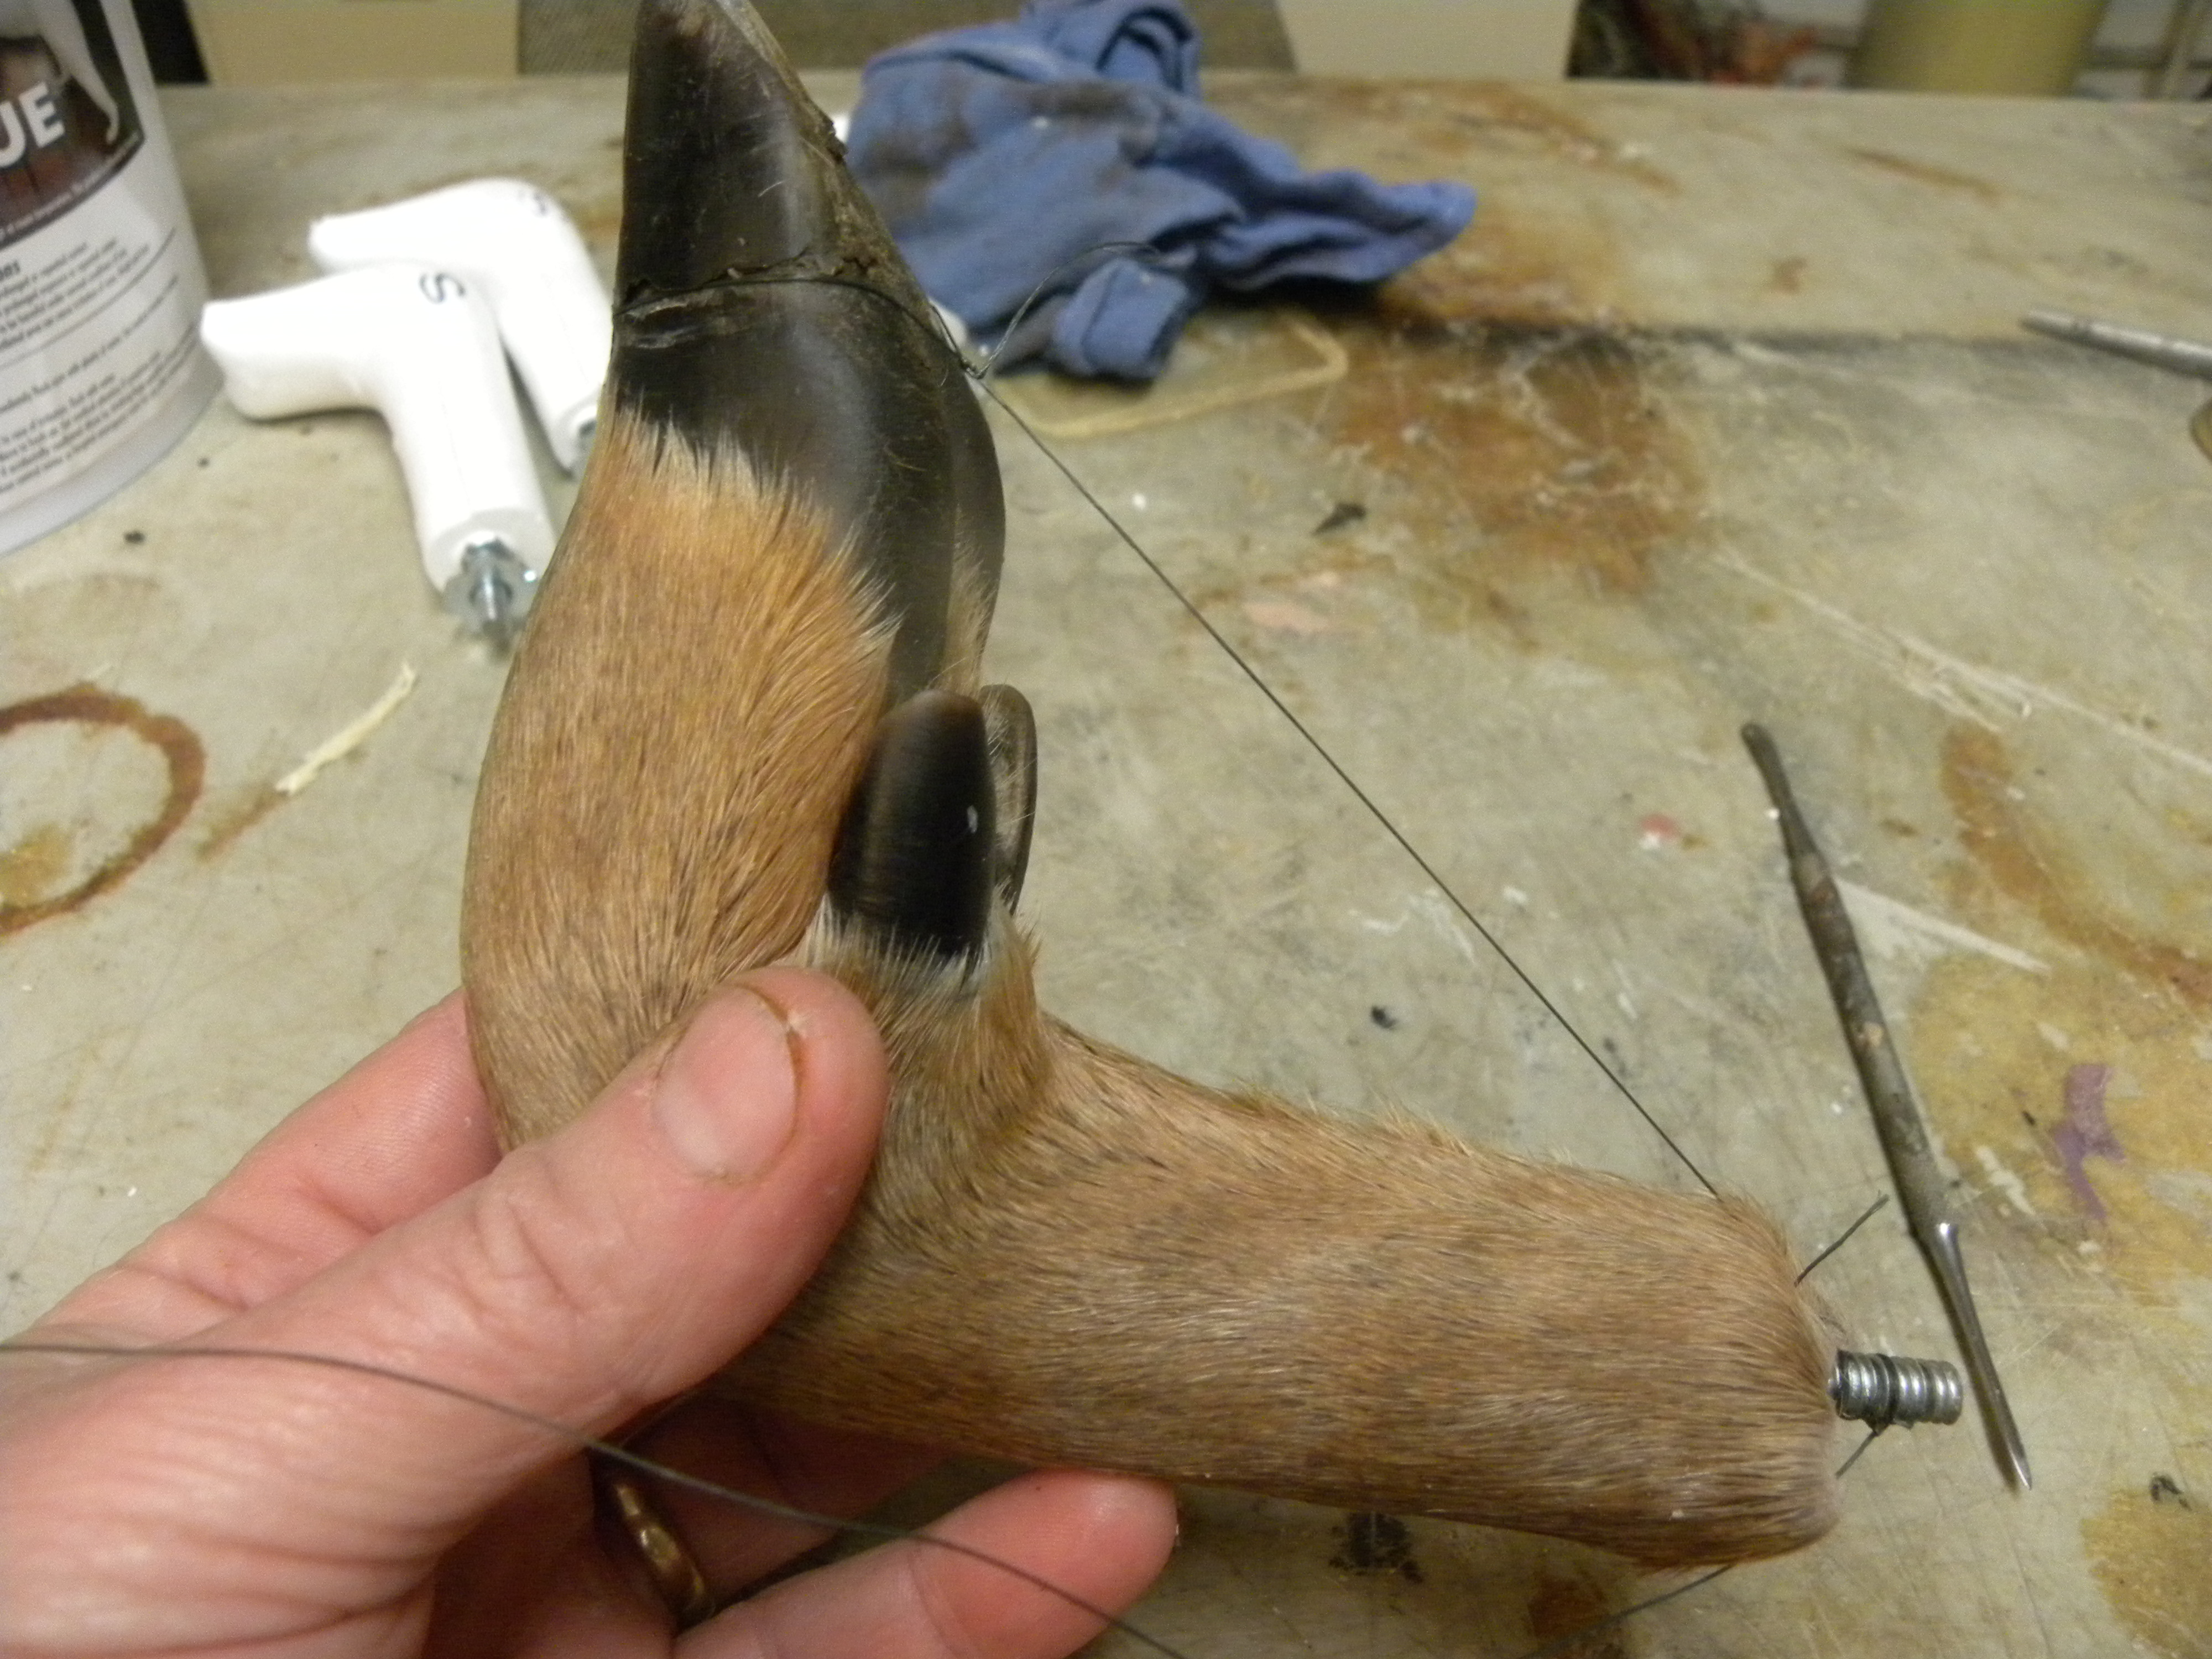
Once the head is semi mounted and the ears are in place finish applying glue to the form. Make sure to get glue on the surface where the legs were removed as well. Pull the skin up into place, working it toward the tail end of the form being extremely careful to keep the glue out of the fur. With several T-Pins, temporarily pin the front legs into position through the skin. Pull the back leg skins and tail into position, insert the tail wire into the tail skin and sew up you incision.
Now you are going to need to secure the front legs permanently into place; Using a sharp knife or scalpel make a small incision into both shoulders. Insert a 2 ½” wood screw through the leg and into the body of the manikin. Counter sink the screw heads just enough to cover with a bit of clay and pop in a stitch or two to close the incision. You can now remove your T-Pins so you can taxi the skin into place.
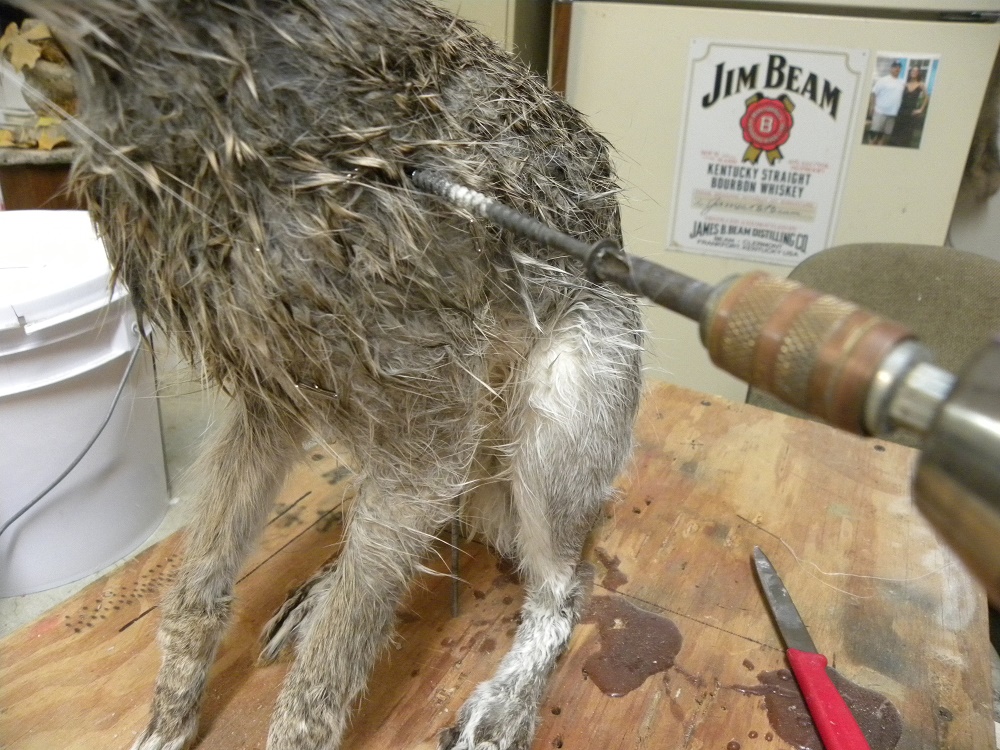
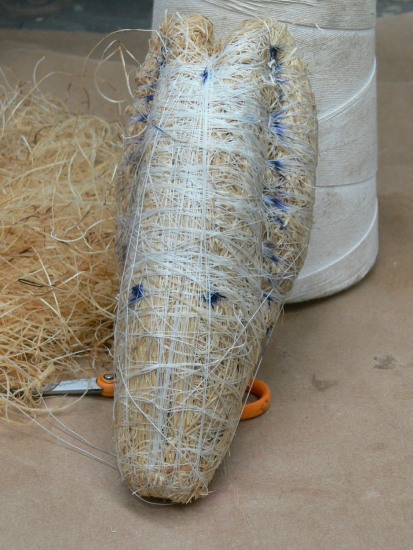
To get the fluffy look of a rabbit, you need to blow the fur as dry as you can possibly get it. If you let it dry naturally you will end up with a matted up psycho Hare.
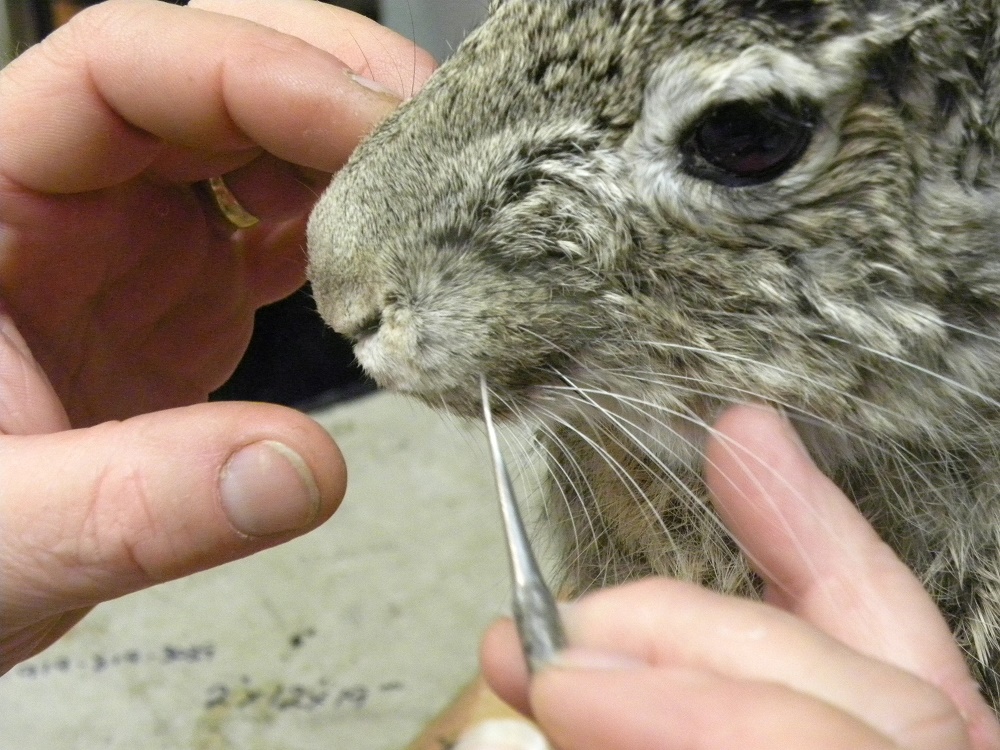
Once you have the fur dry, do your face work, eyes, nose, lips and ear positioning. Using a small tipped modeling tool, slowly push the whisker roots into the clay. Start at the front and work your way back one at a time on both sides of the face. This will really make the whiskers pop out and give you a more realistic look than just letting them dry in place.
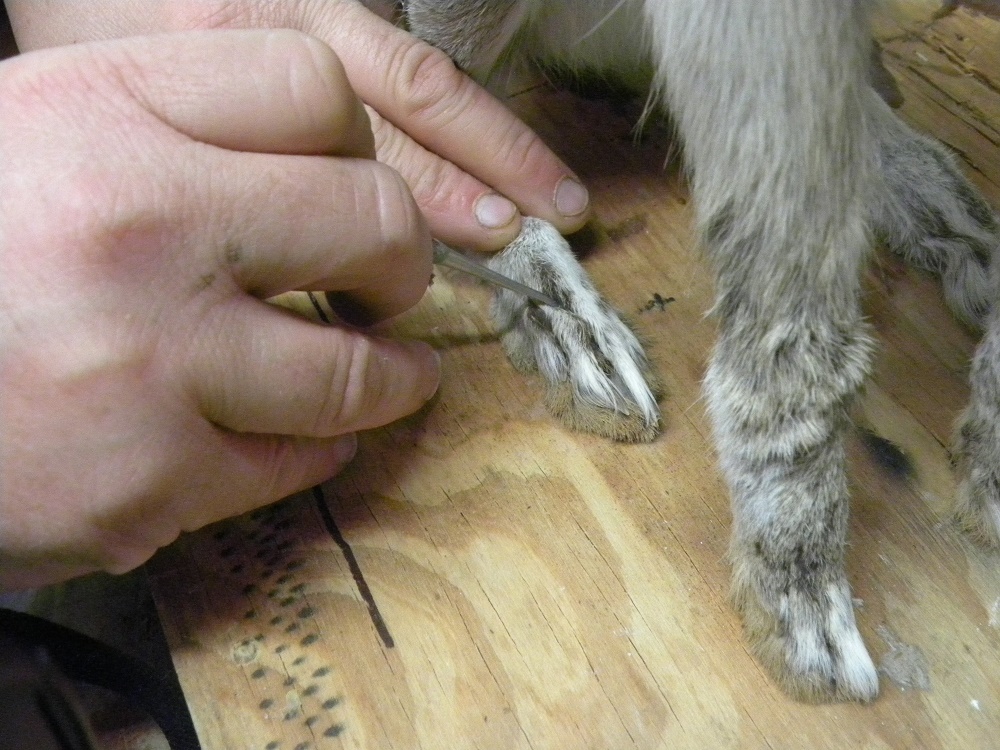
Almost done! make sure to position the toes the way you would like them. You may want to use a good reference photo for this. Also, you need to work as many wrinkles out of the ears as possible, because they will show once dried. It is very important to watch both of these (the toes and ears) areas during the first day or so of drying, because shrinkage will cause them to move.
After the mount has dried thoroughly, the finish work should be minimal. Do any needed filler work around eyes and nostrils. Then all that is needed to do is airbrush a little color into the inner ears and on the face. Finally, attach the mount to your desired base and you are done. Aso, check out my Training Videos for more “How To’s” .
DP


")


