
Here is a short tutorial on molding a catfish. Due to the oily nature and skin of catfish, molding and casting is a good way to go.
The pictures will do much of the talking.
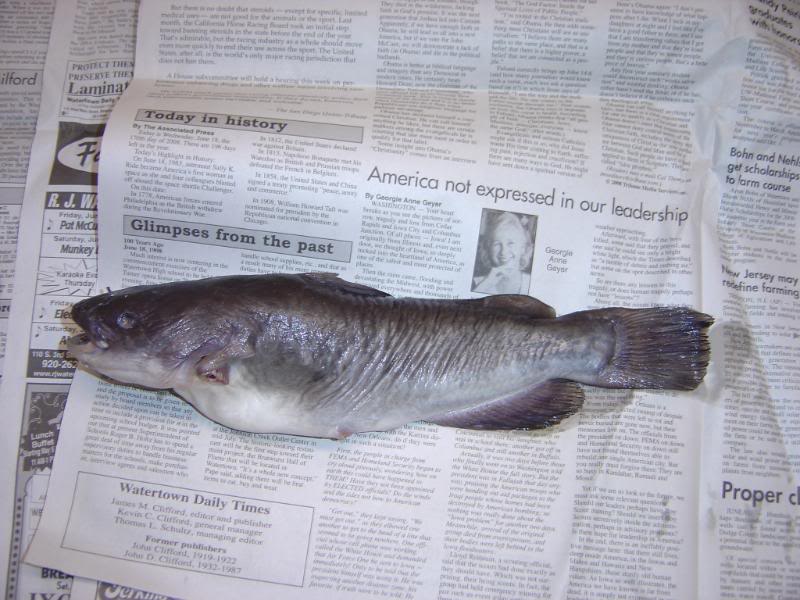
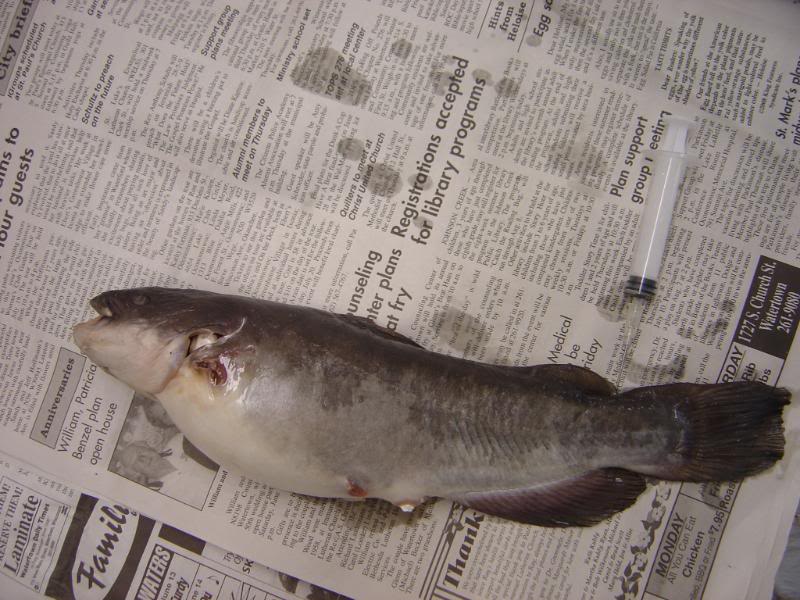
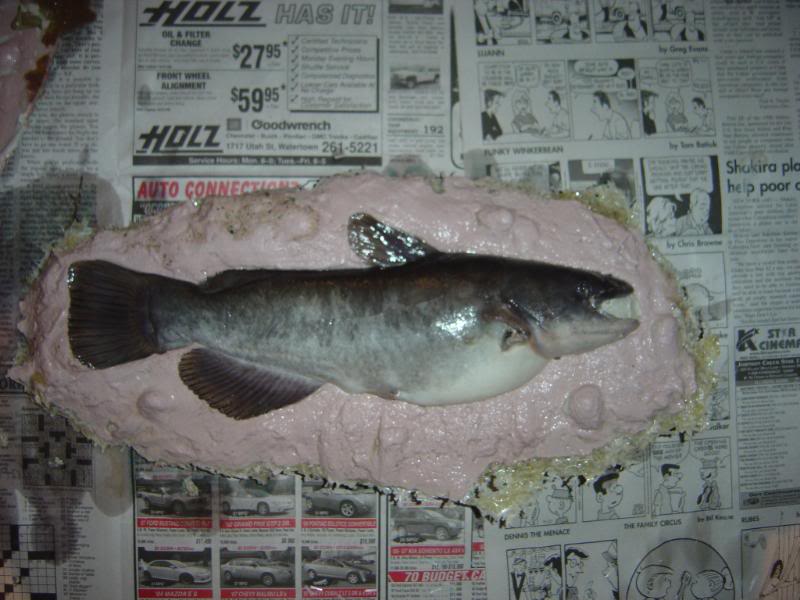
Our fine specimen -A 13″ bullhead. As you can see, the fish is slightly dried out and shrunken in. This is common for catfish that have been frozen.
First step is to spray the fish off. If it has been frozen, this is all you need to do to prep for molding.
The biggest obstacle when molding catfish is to bring the fish back to a natural shape—in other words fill out the wrinkles and shrunken gut. Here is my method:
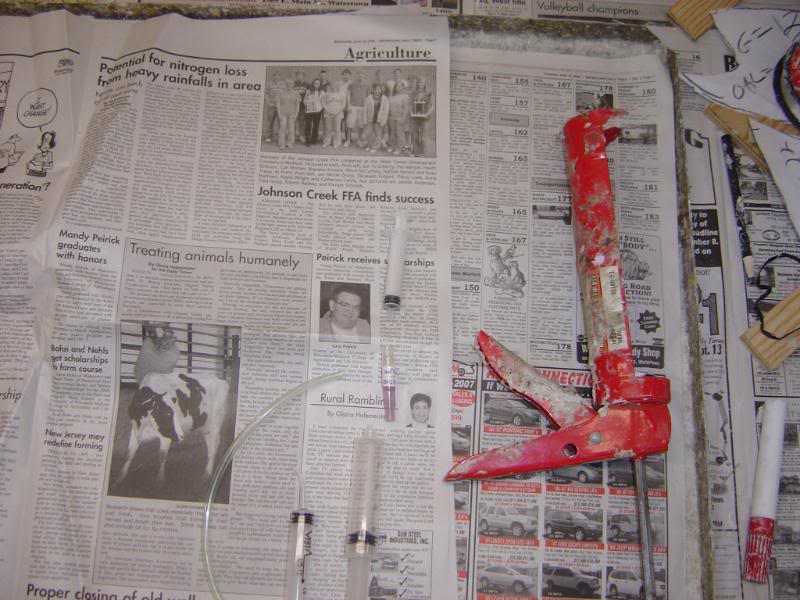
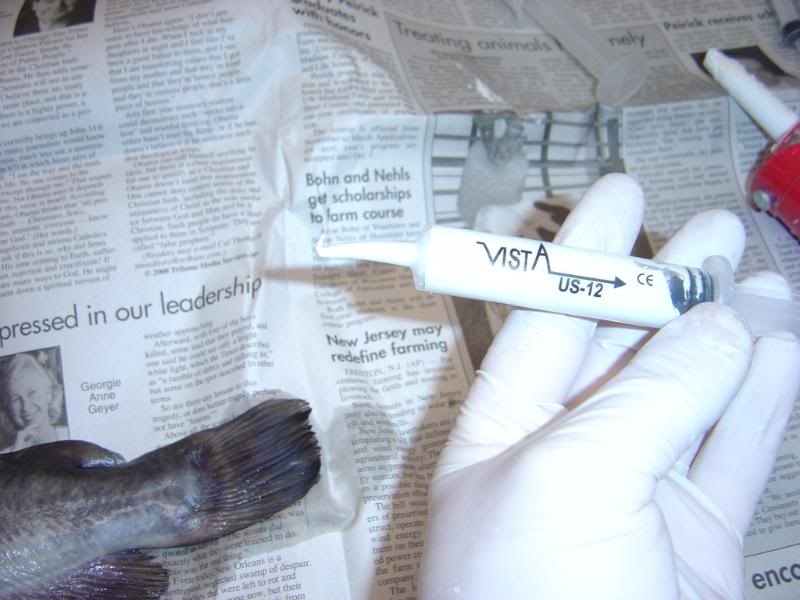
There are a number of methods you can use to plump or fill the gut back out. We will be using latex caulk. I have three main tools I use to inject the caulk into the shrunken cavities of the fish.
To start, I need to make a small incision under the gill cover to access the stomach cavity. I use a scalpel to make the cut and push it into the cavity and move it around a bit so I have a clear shot

Through this hole, I can now inject my caulking. I start with this set up
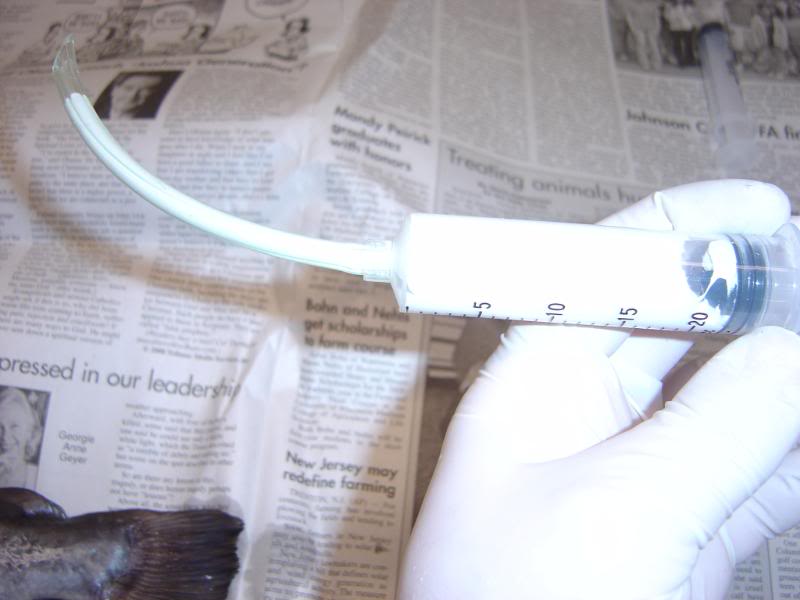
I push the tube end into the farthest reaches of the cavity. I am not trying to completely fill it at this point, just plump out the edges of the cavity.
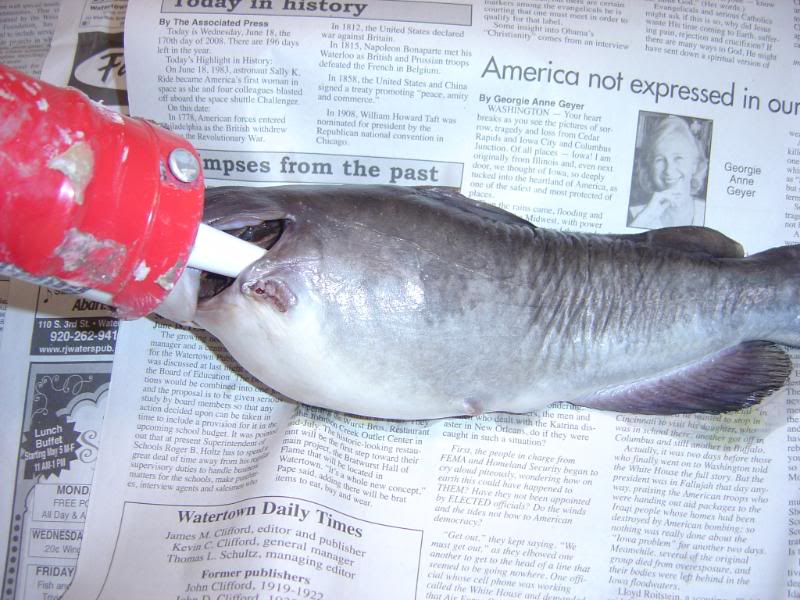
After this is done, I insert the caulk gun into the cavity and fill it until the skin is smooth. Do not overfill .
Take a small amount of cotton and push it into the hole we made under the gill cover—this will contain the caulk so it doesn’t leak out .
I use this set up
To inject a small amount of caulking up the vent.
Now for the wrinkles near the tail and on the face. I use a needle and syringe to inject water under the skin. Always do this from the seam line.

I “swish” the needle back and forth under the skin with steady pressure until the wrinkle area is restored. Catfish have some natural muscle detail that looks like wrinkles—use reference when injecting.
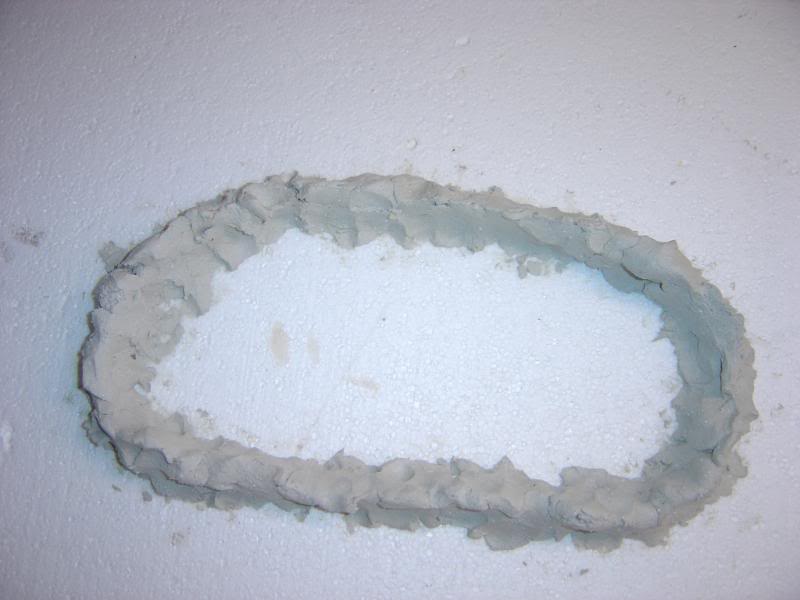
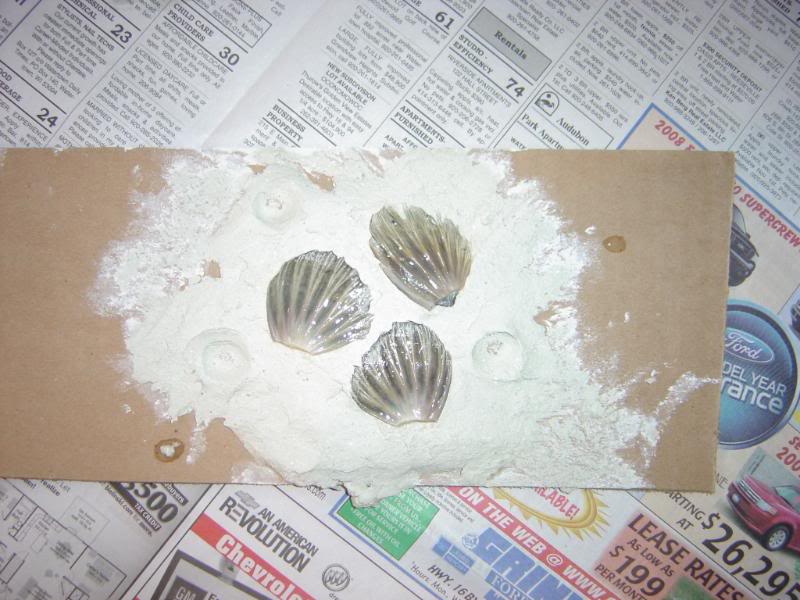
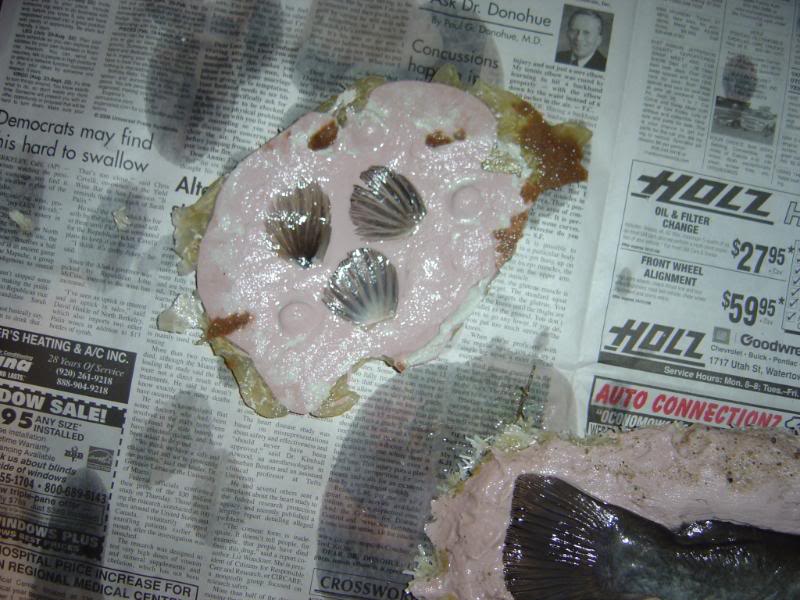
Time to lay the fish up for molding. We will start by making a dam out of high fiber—–mix it thick, and make a ring bigger than the fish
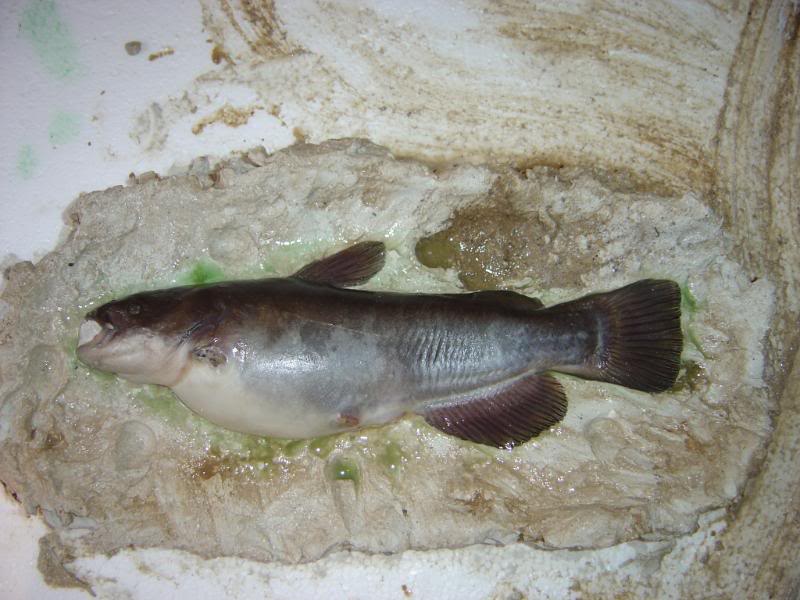
Mix up a batch of “soupy” high fiber and fill the inside of the dam. You want the fish to fall into place—-you do not want to put s lot of pressure on it to get it bedded half way down. This is the KEY to molding catfish. Smooth the fiber out and add mold keys.
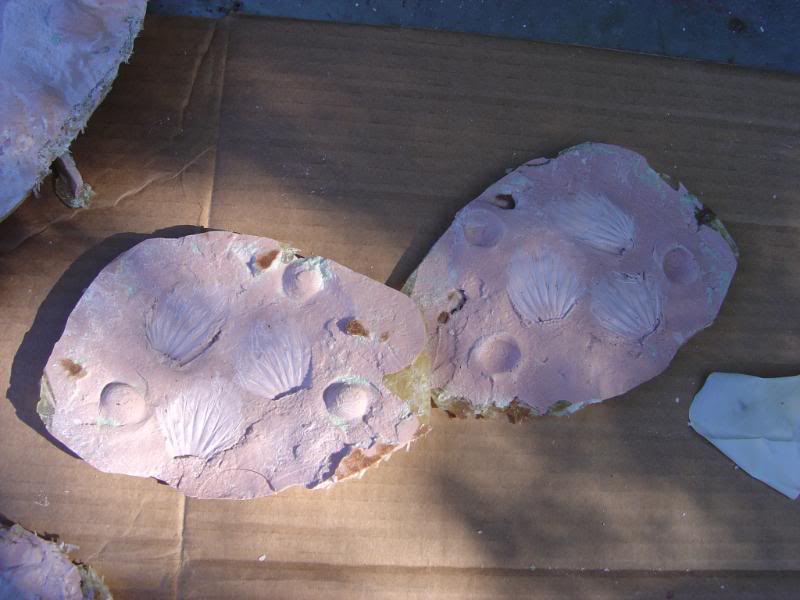
Do the same with the fins
Dry the fish with a hair dryer. You want it dry to the touch.
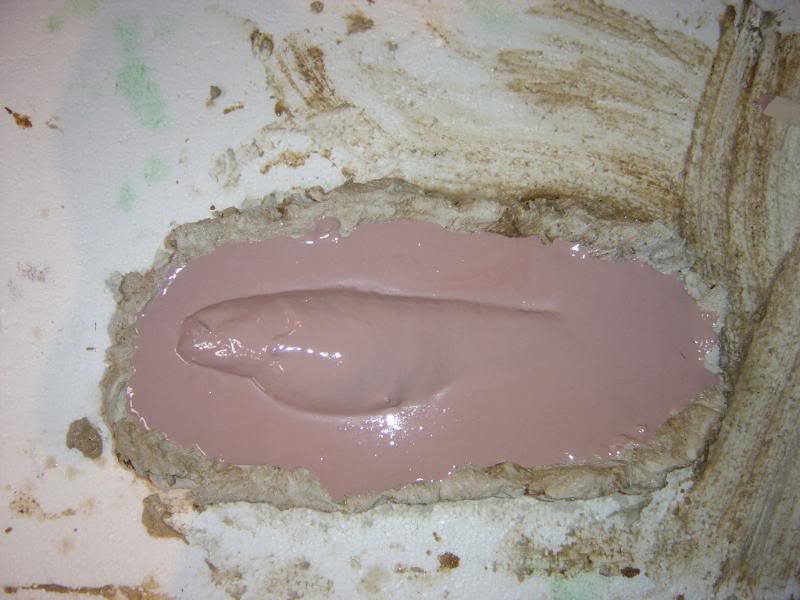
The next step is to add pva mold release. I brushed it on in this case.
Safety first. Be sure you are working in a well ventilated area and you have on eye and respiratory protection. Were gloves when handling chemicals.
After the pva has dried, mix up a batch of auto body filler mixed with resin. The mix should be like pancake batter. From a foot above the fish, pour a stream of the the mix onto the center of the fish, working from head to tail. Let it roll off from the center until covered.
After it has cured,Reinforce it with fiberglass.
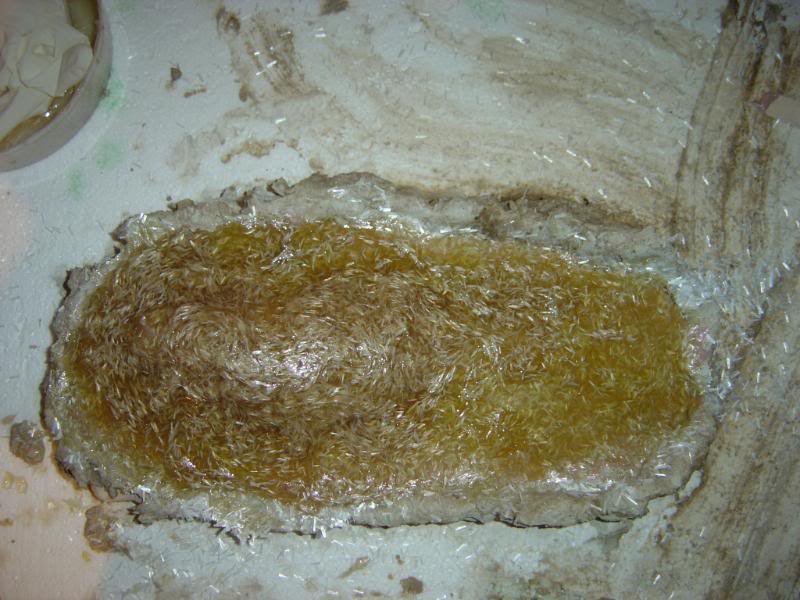
Do the same with the fins.
After your glass has cured, flip the mold and clean off the high fiber. Re inject if necessary.
Put one coat of part all paste mold release on the mold edges. Put a coat of pva on the fish and mold edges. Let dry and repeat step your auto body /resin pour. After it cures, strengthen with more glass.
Do the same with the fins.
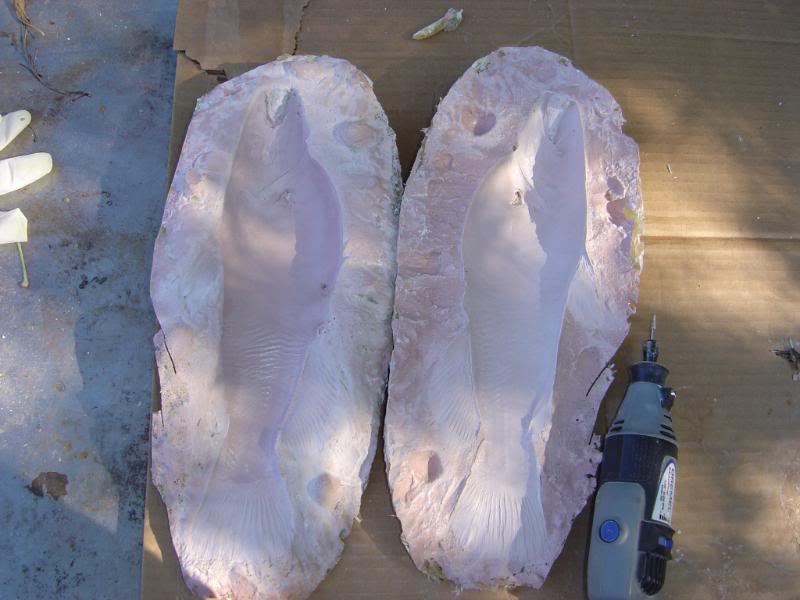
Time to demold the fish.
You may have to use a jig saw to cut around the edges of your mold. I use a screw driver, and work it under the edges and carefully pry up. Go slow on this step and don’t use to much horse power. Wash your mold out , and clean up an imperfections with a dremel and apoxie.
You can now cast your blank. I normally give the mold three coats of part all paste ( buffing between coats) and one coat of pva. I use white gelcoat first, and laminate fiberglass with resin to strengthen the gelcoat. Mix cabosil with resin to form a paste. Apply the paste to the seams of the blank and clamp shut.
The finished bullhead
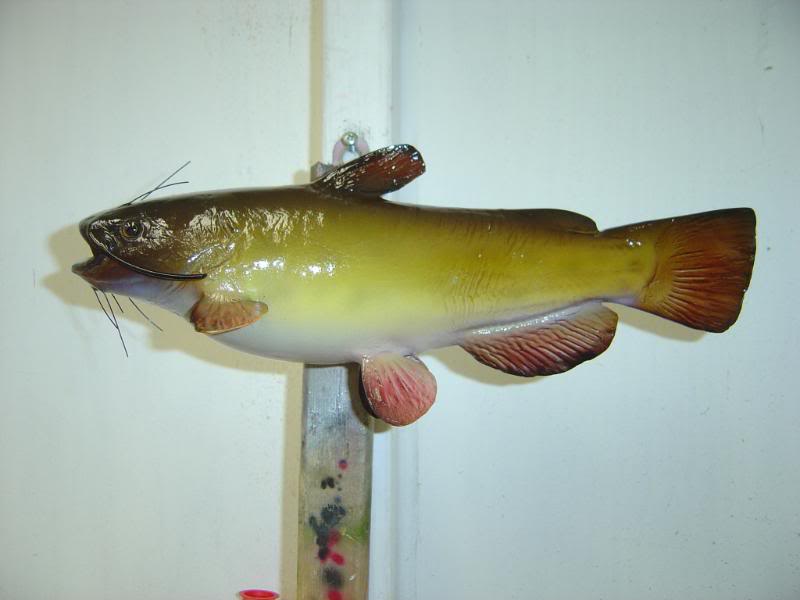
A catfish molded and cast using the same method


